I used the recipe from Ricki Carroll’s Home Cheese Making book with some minor modifications.
First, I gathered everything I thought I would use, put them into my cheese pot, and boiled them for sterilization. (Inevitably, I forget something. That’s what bleach spray is for.) This is a wooden spoon, wire basket, cheese mold & follower, cheese mat, butter muslin, a 1-cup measure, curd knife, and tongs.
While this was boiling, I cleaned the counters and put down paper towels to put all the clean stuff on when it came out of the pot.
Using other tongs, I extracted the sterile tongs. When the sterile tongs were cool, I used them to take out everything else. Then I emptied the nearly-boiling water out of the pot and waited for the pot to cool.
When it had, I added 2 gallons of good whole milk and stirred in 1/2 tablespoon of calcium chloride diluted in a half a cup of non-chlorinated water.
I heated the milk to 88º in a water bath, then sprinkled a packet of thermophilic culture on the surface, waited two minutes for it to rehydrate, and stirred it in. I covered and let the milk ‘ripen’ for 20 minutes. Then I added 1/2 tsp. of rennet diluted in 1/4 cup non-chlorinated water and stirred gently, covered and left it alone for 30 minutes. (There are no pictures of these steps because the visuals are really boring.)
Then, behold the magic of cheese with this clean break:
Here, the instructions said to cut the curds into 1/4″ cubes. This is pretty hard to do. I started with the knife and cut them up further with a silicone whisk (note to self: boil that next time). Here’s a picture with half of the pot cut and the other half whisked (soon to be entirely whisked):
Now, the exciting drama of very slow heating. The goal is to heat the curds slowly at first — 1º every two minutes. Eventually you want it to get to 116º at around the 45-minute mark. I tried not to stress about it too much, just set a countdown timer for 45 minutes and got a feel for whether it was heating too quickly or slowly to hit the desired temperature as time went on. The curds changed in appearance as they cooked, pulling apart and showing more whey between them:
The recipe didn’t mention stirring, but I stirred slowly most of the time to distribute the heat evenly and discourage clumping. And eventually, ta-da!
I lined my cheese mold with muslin and transferred the curds into it using a wire basket.
With previous cheeses, the curds first go into the muslin to drain for a period of time, then salt is added before they go into the mold. This type of cheese just goes directly into the mold — which means it is very wet and not at all compacted. I ended up packing the curds into the mold over the sink and pressing them in with my hands so they would all fit, while a lot of whey drained out.
Then I pressed the cheese with an increasing series of weights, eventually doing 40 lbs. overnight:
The next day, the cheese looked very different:
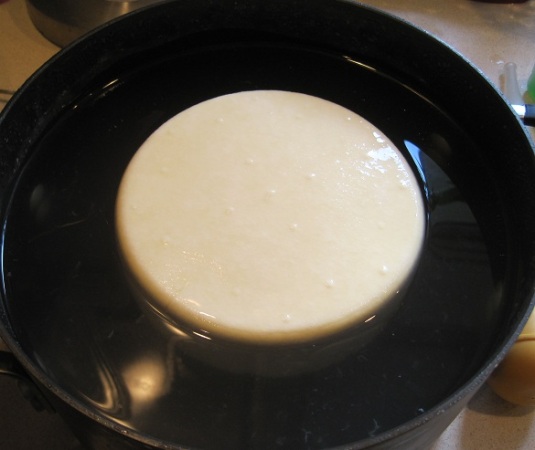
It was brining time. We already had a brine solution (essentially, non-chlorinated water saturated with cheese salt) so I boiled it to kill off any bacteria, then chilled it back down to fridge temperature before plopping the cheese into it.
After 12 hours in the brine, I took the cheese out and patted it dry.
Now it needs to be flipped every day for a few weeks and occasionally after that. In two months, it will get rubbed with olive oil. Then it should age 4 months or more before we try it. I can’t wait!
Here it is nestled in our tiny cheese fridge with Stephanie’s manchego:


Sep 09, 2013 @ 13:26:14
Well done, that is a nice looking cheese.
LikeLike
Sep 09, 2013 @ 13:30:24
Thank you!
LikeLike
Sep 09, 2013 @ 16:45:32
looks beautiful! (and do-able!) cheese is on my to-do list, for sure!! thanks for such a great pictorial! 🙂
LikeLike