Maple blunt end spoon? Spatula? Saute tool?

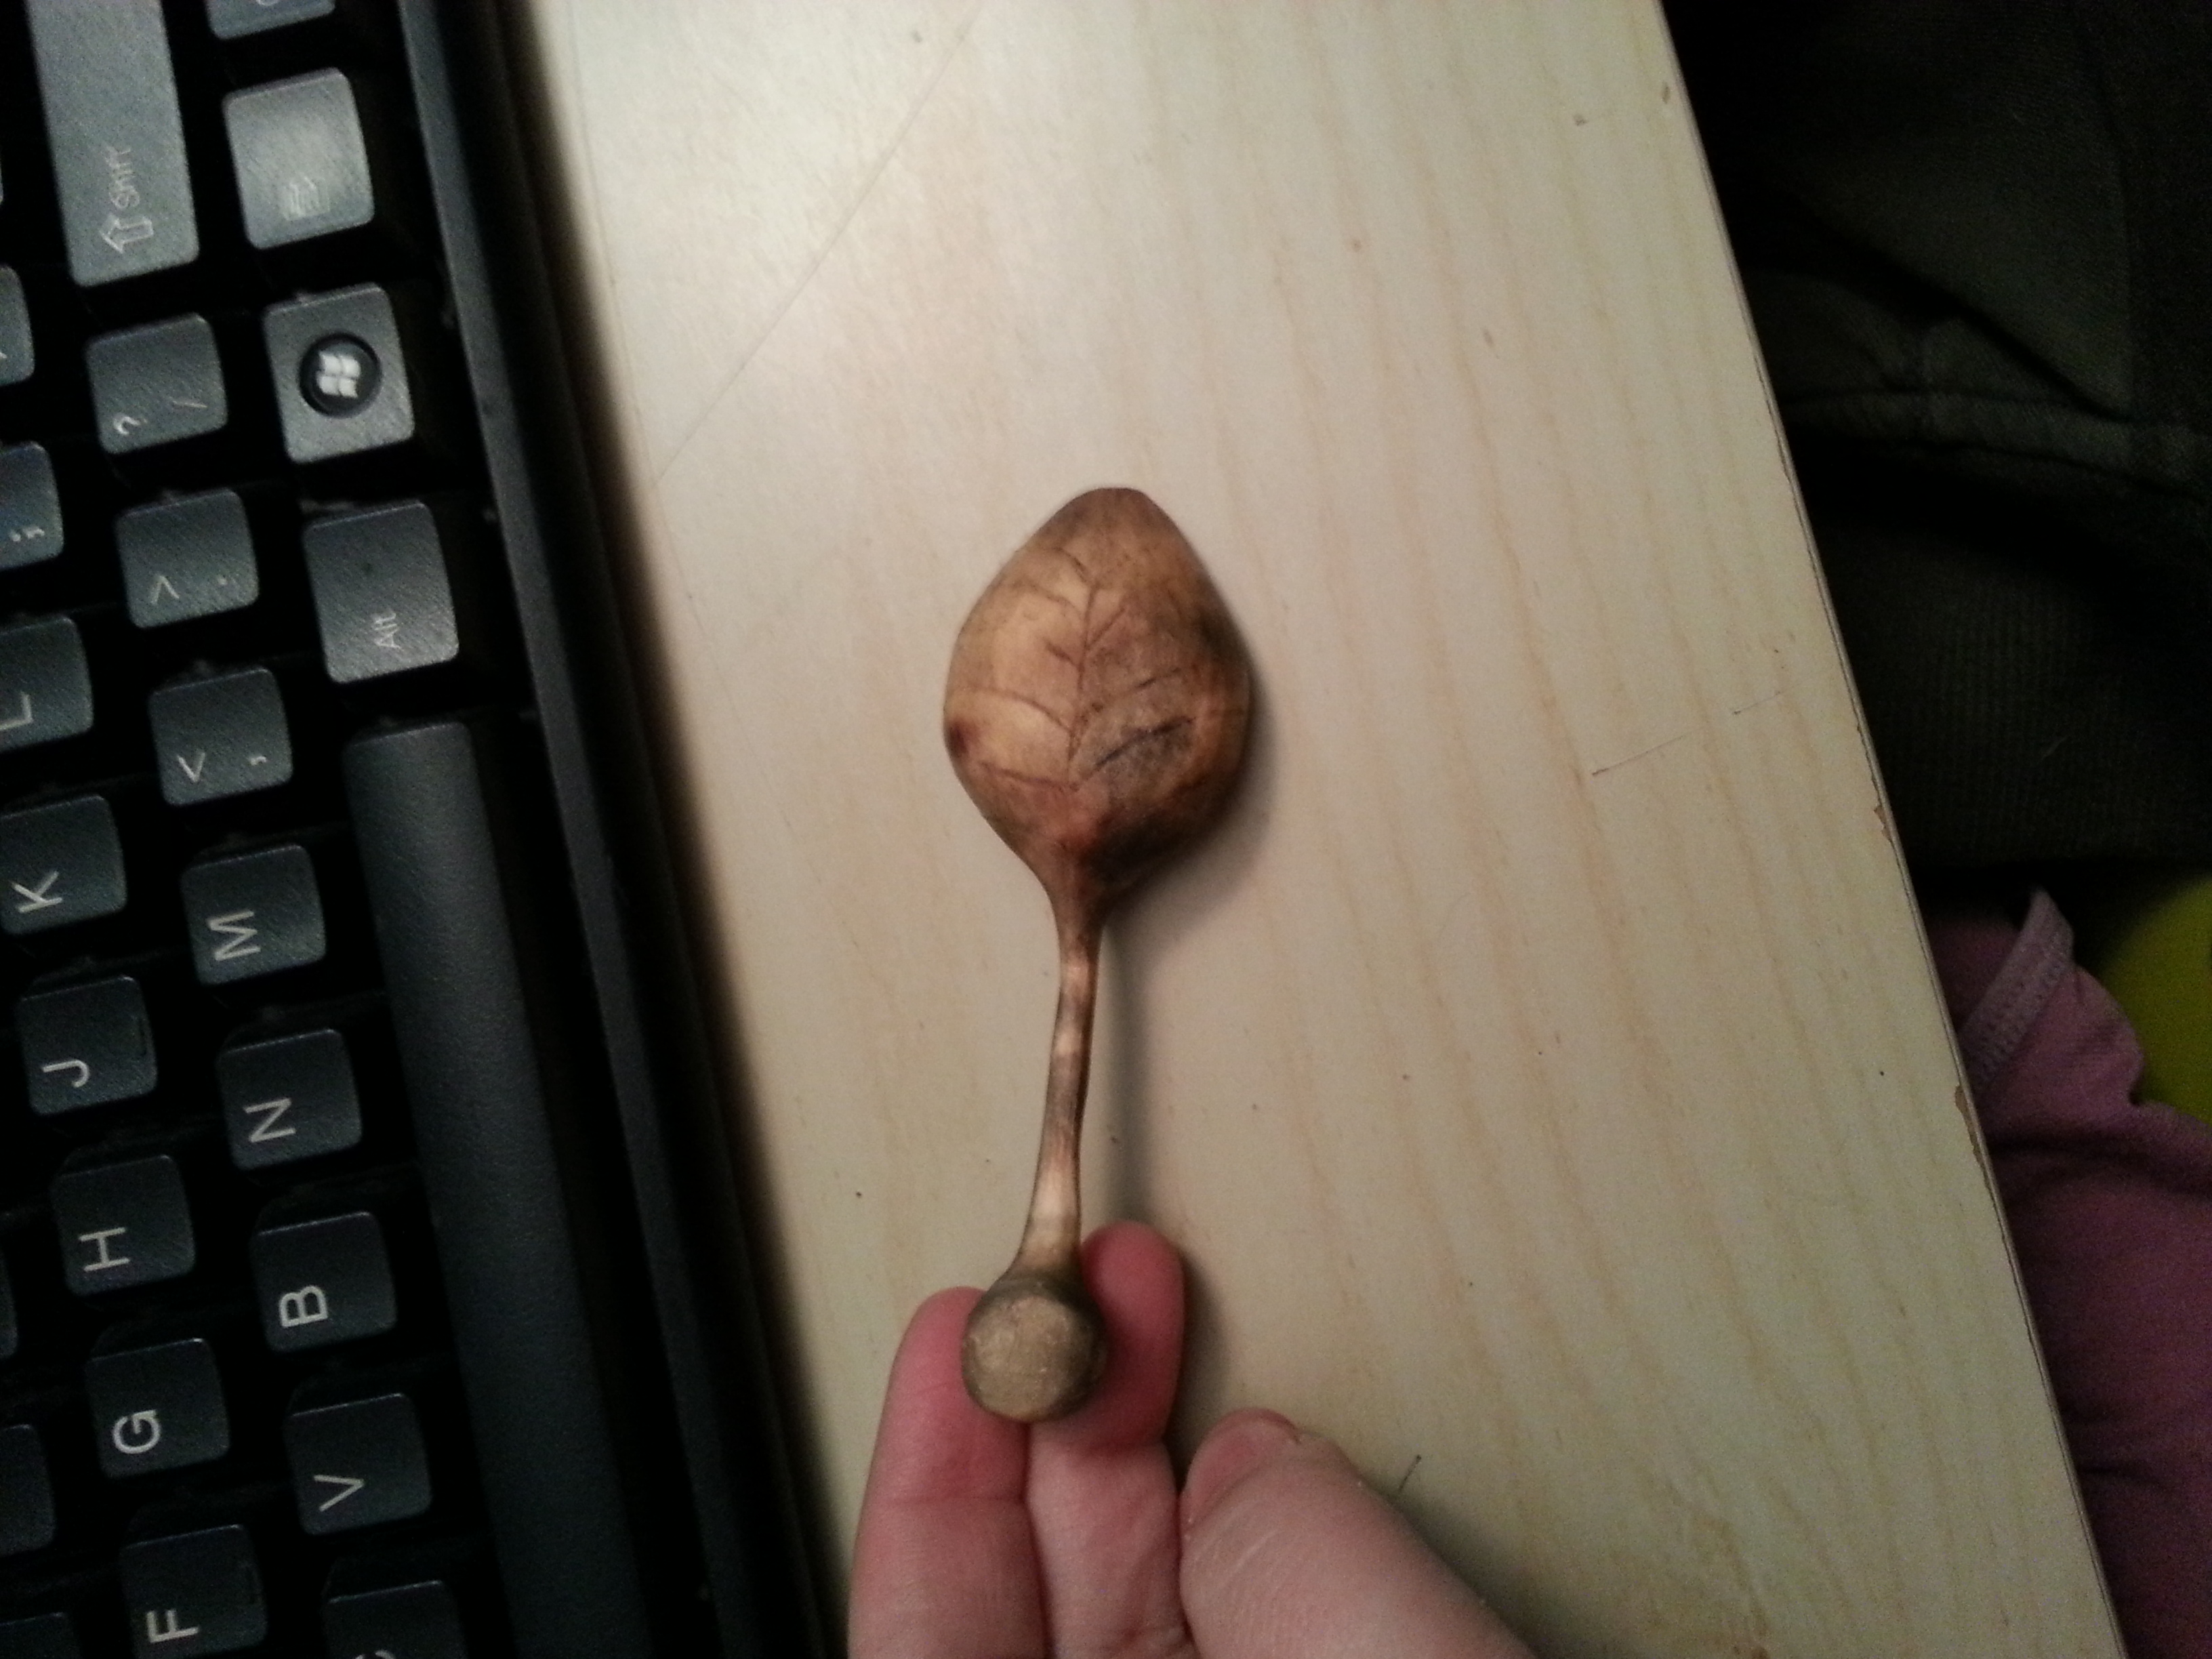
I’m not really sure what the technical term for this kitchen tool is, but it’s my favorite go to tool. It’s wooden with a nice sturdy handle, a blunt end, curved inner surface and open ended. It’s great for sauteing in pans where you are concerned about scratching the non-stick surface. It’s capable of “scraping” up the edges and getting the crispy bits, while also being useful for flipping and not terrible for serving. (Though it is often pointed out that we have many better tools for serving)

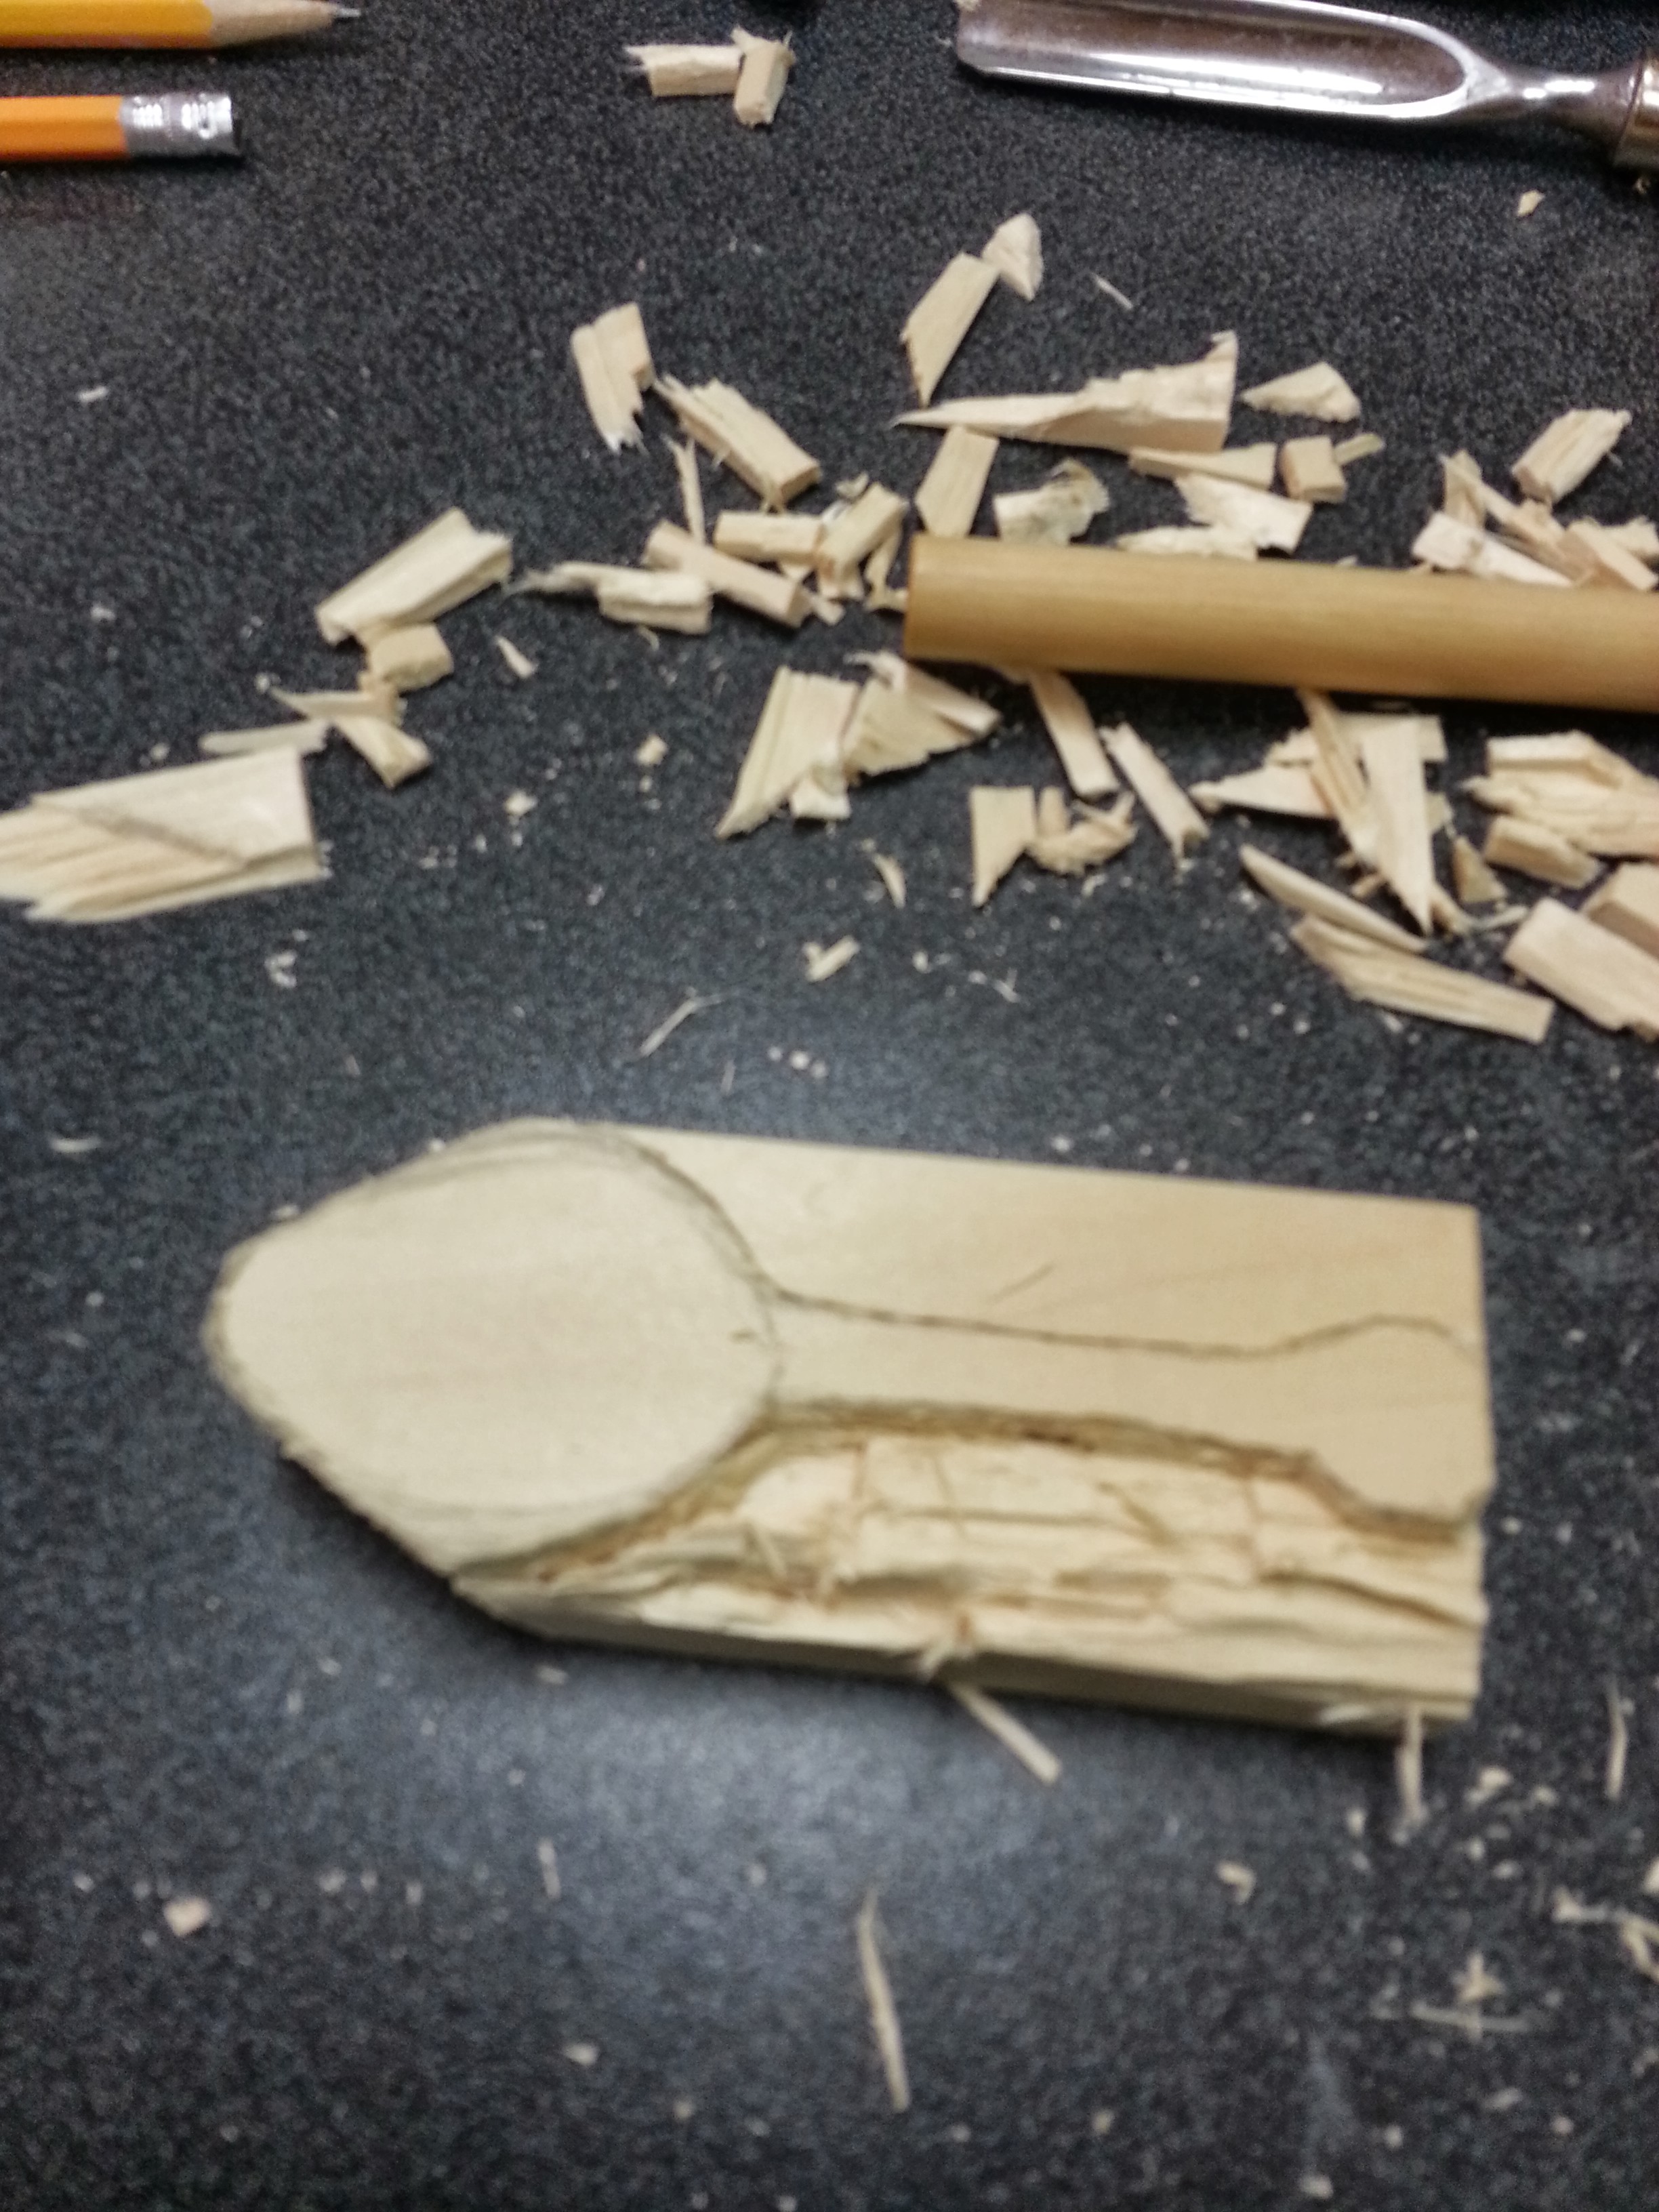
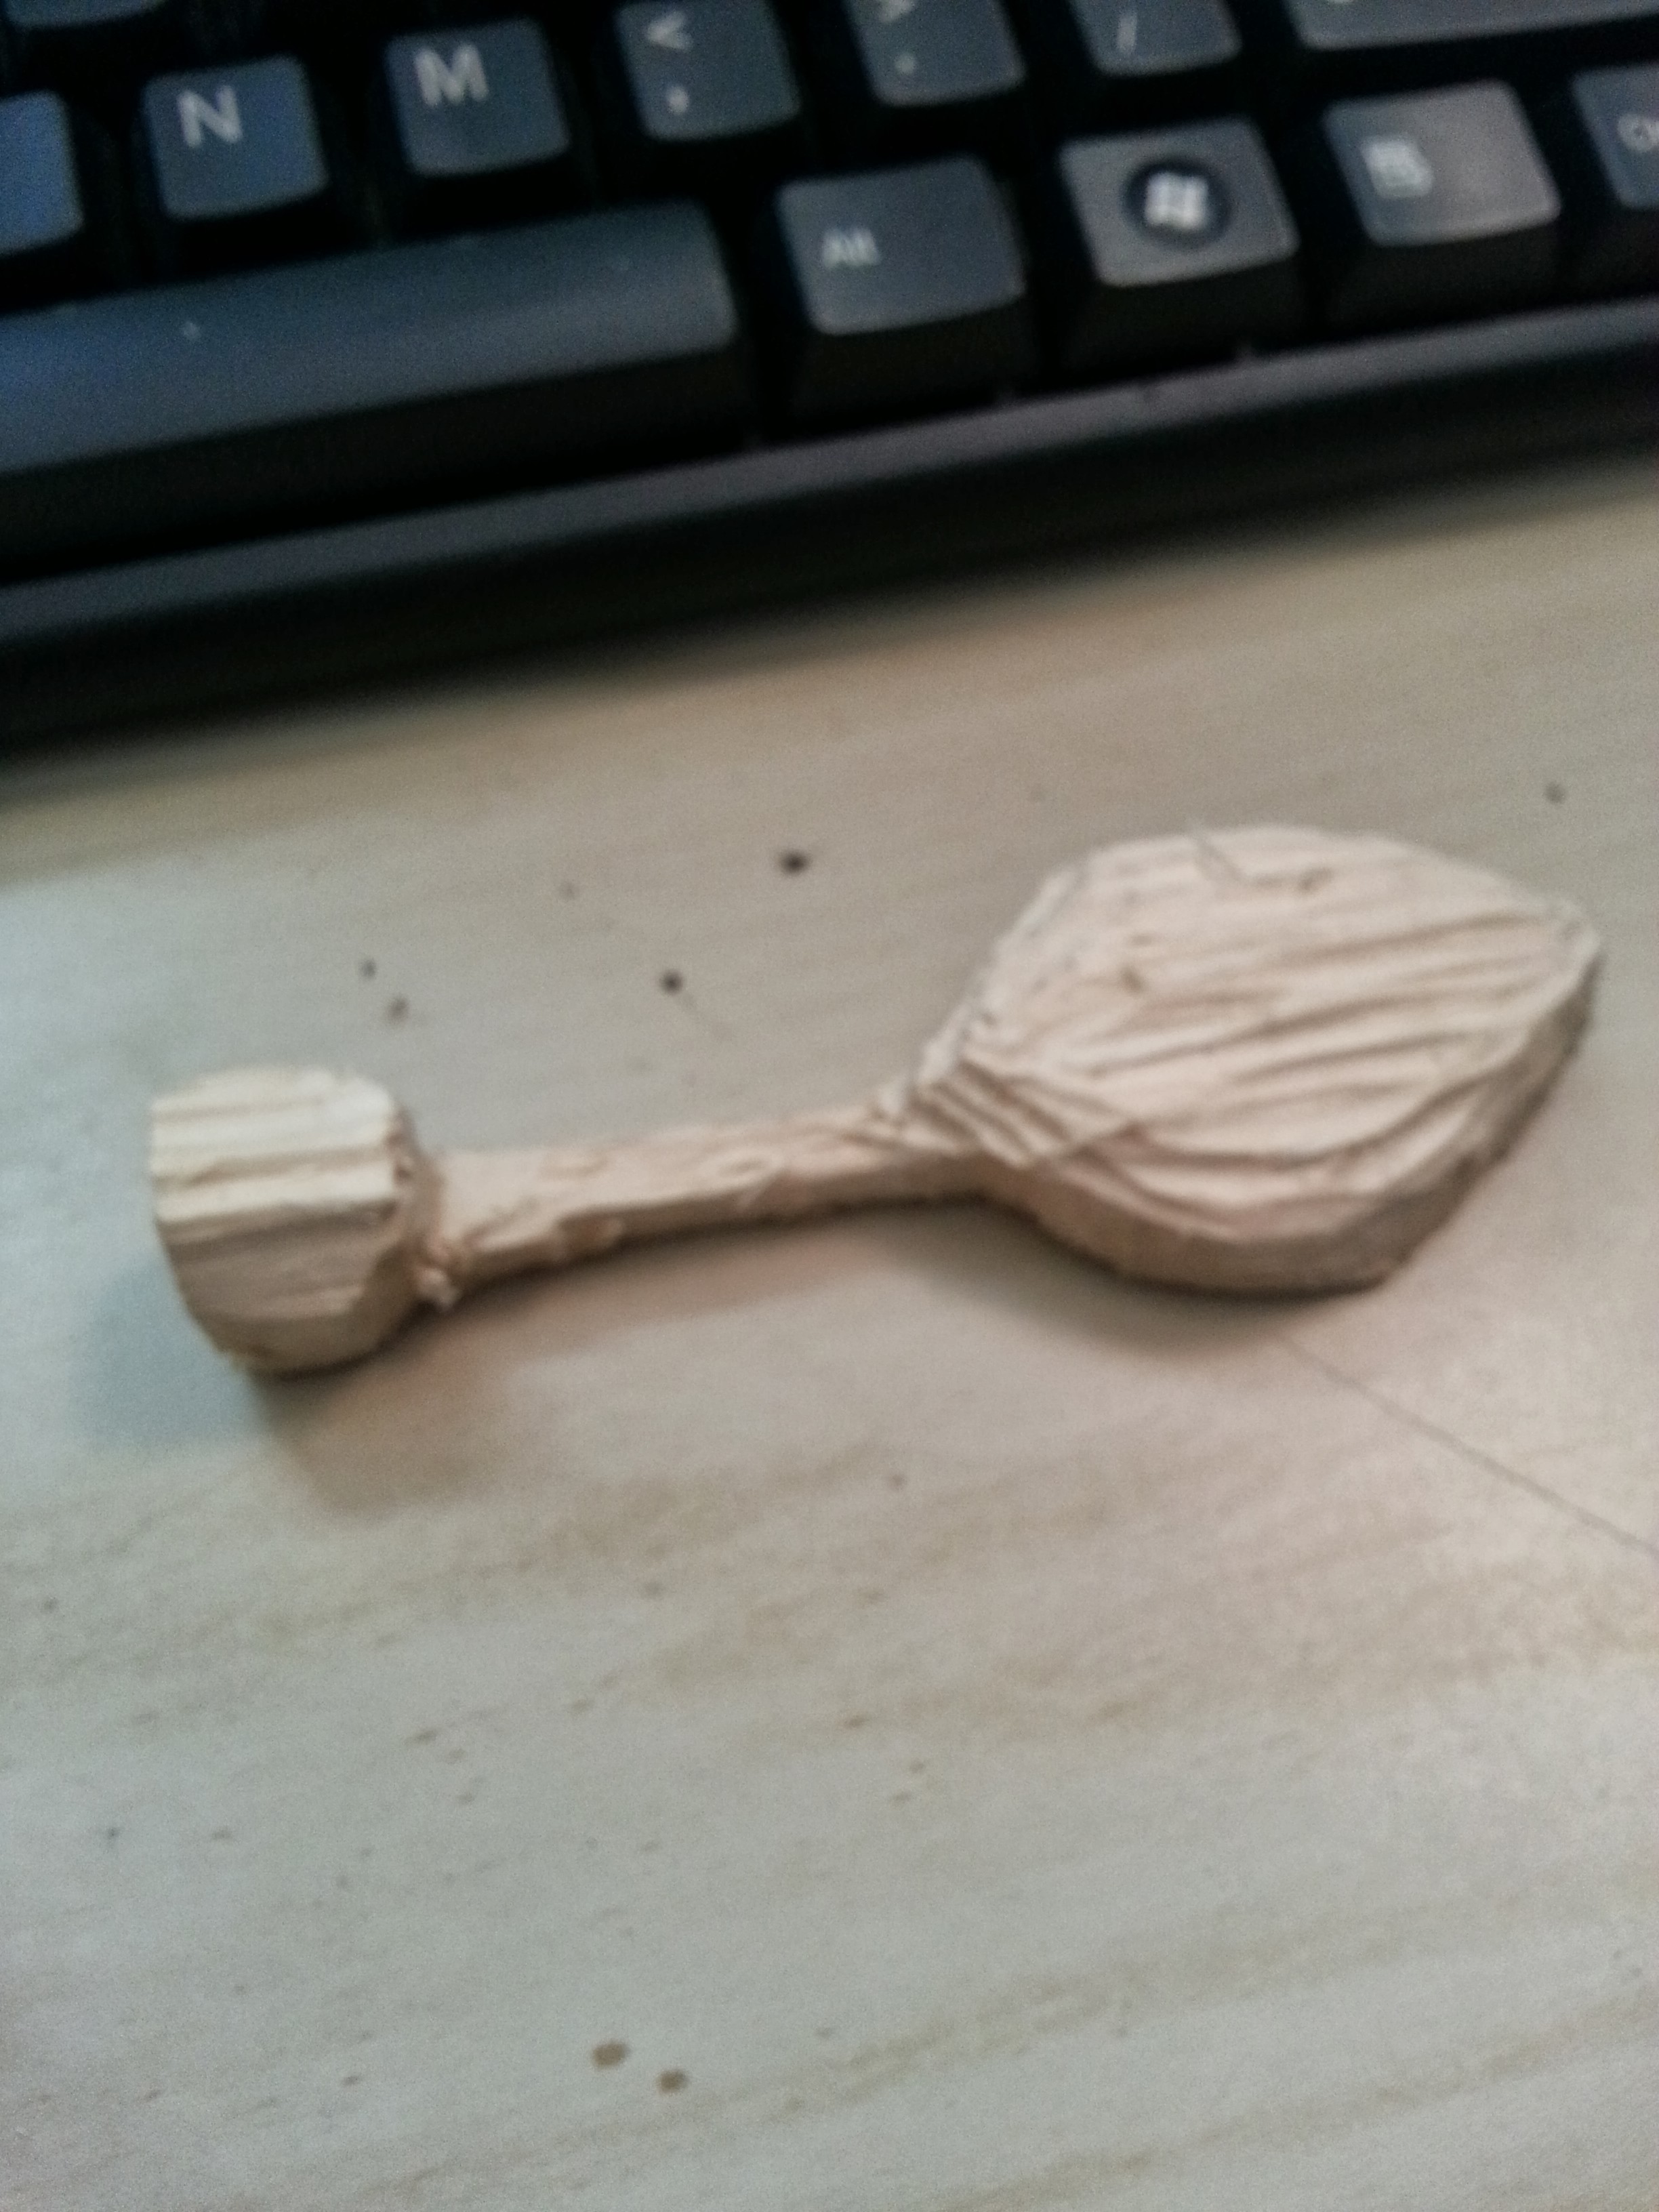
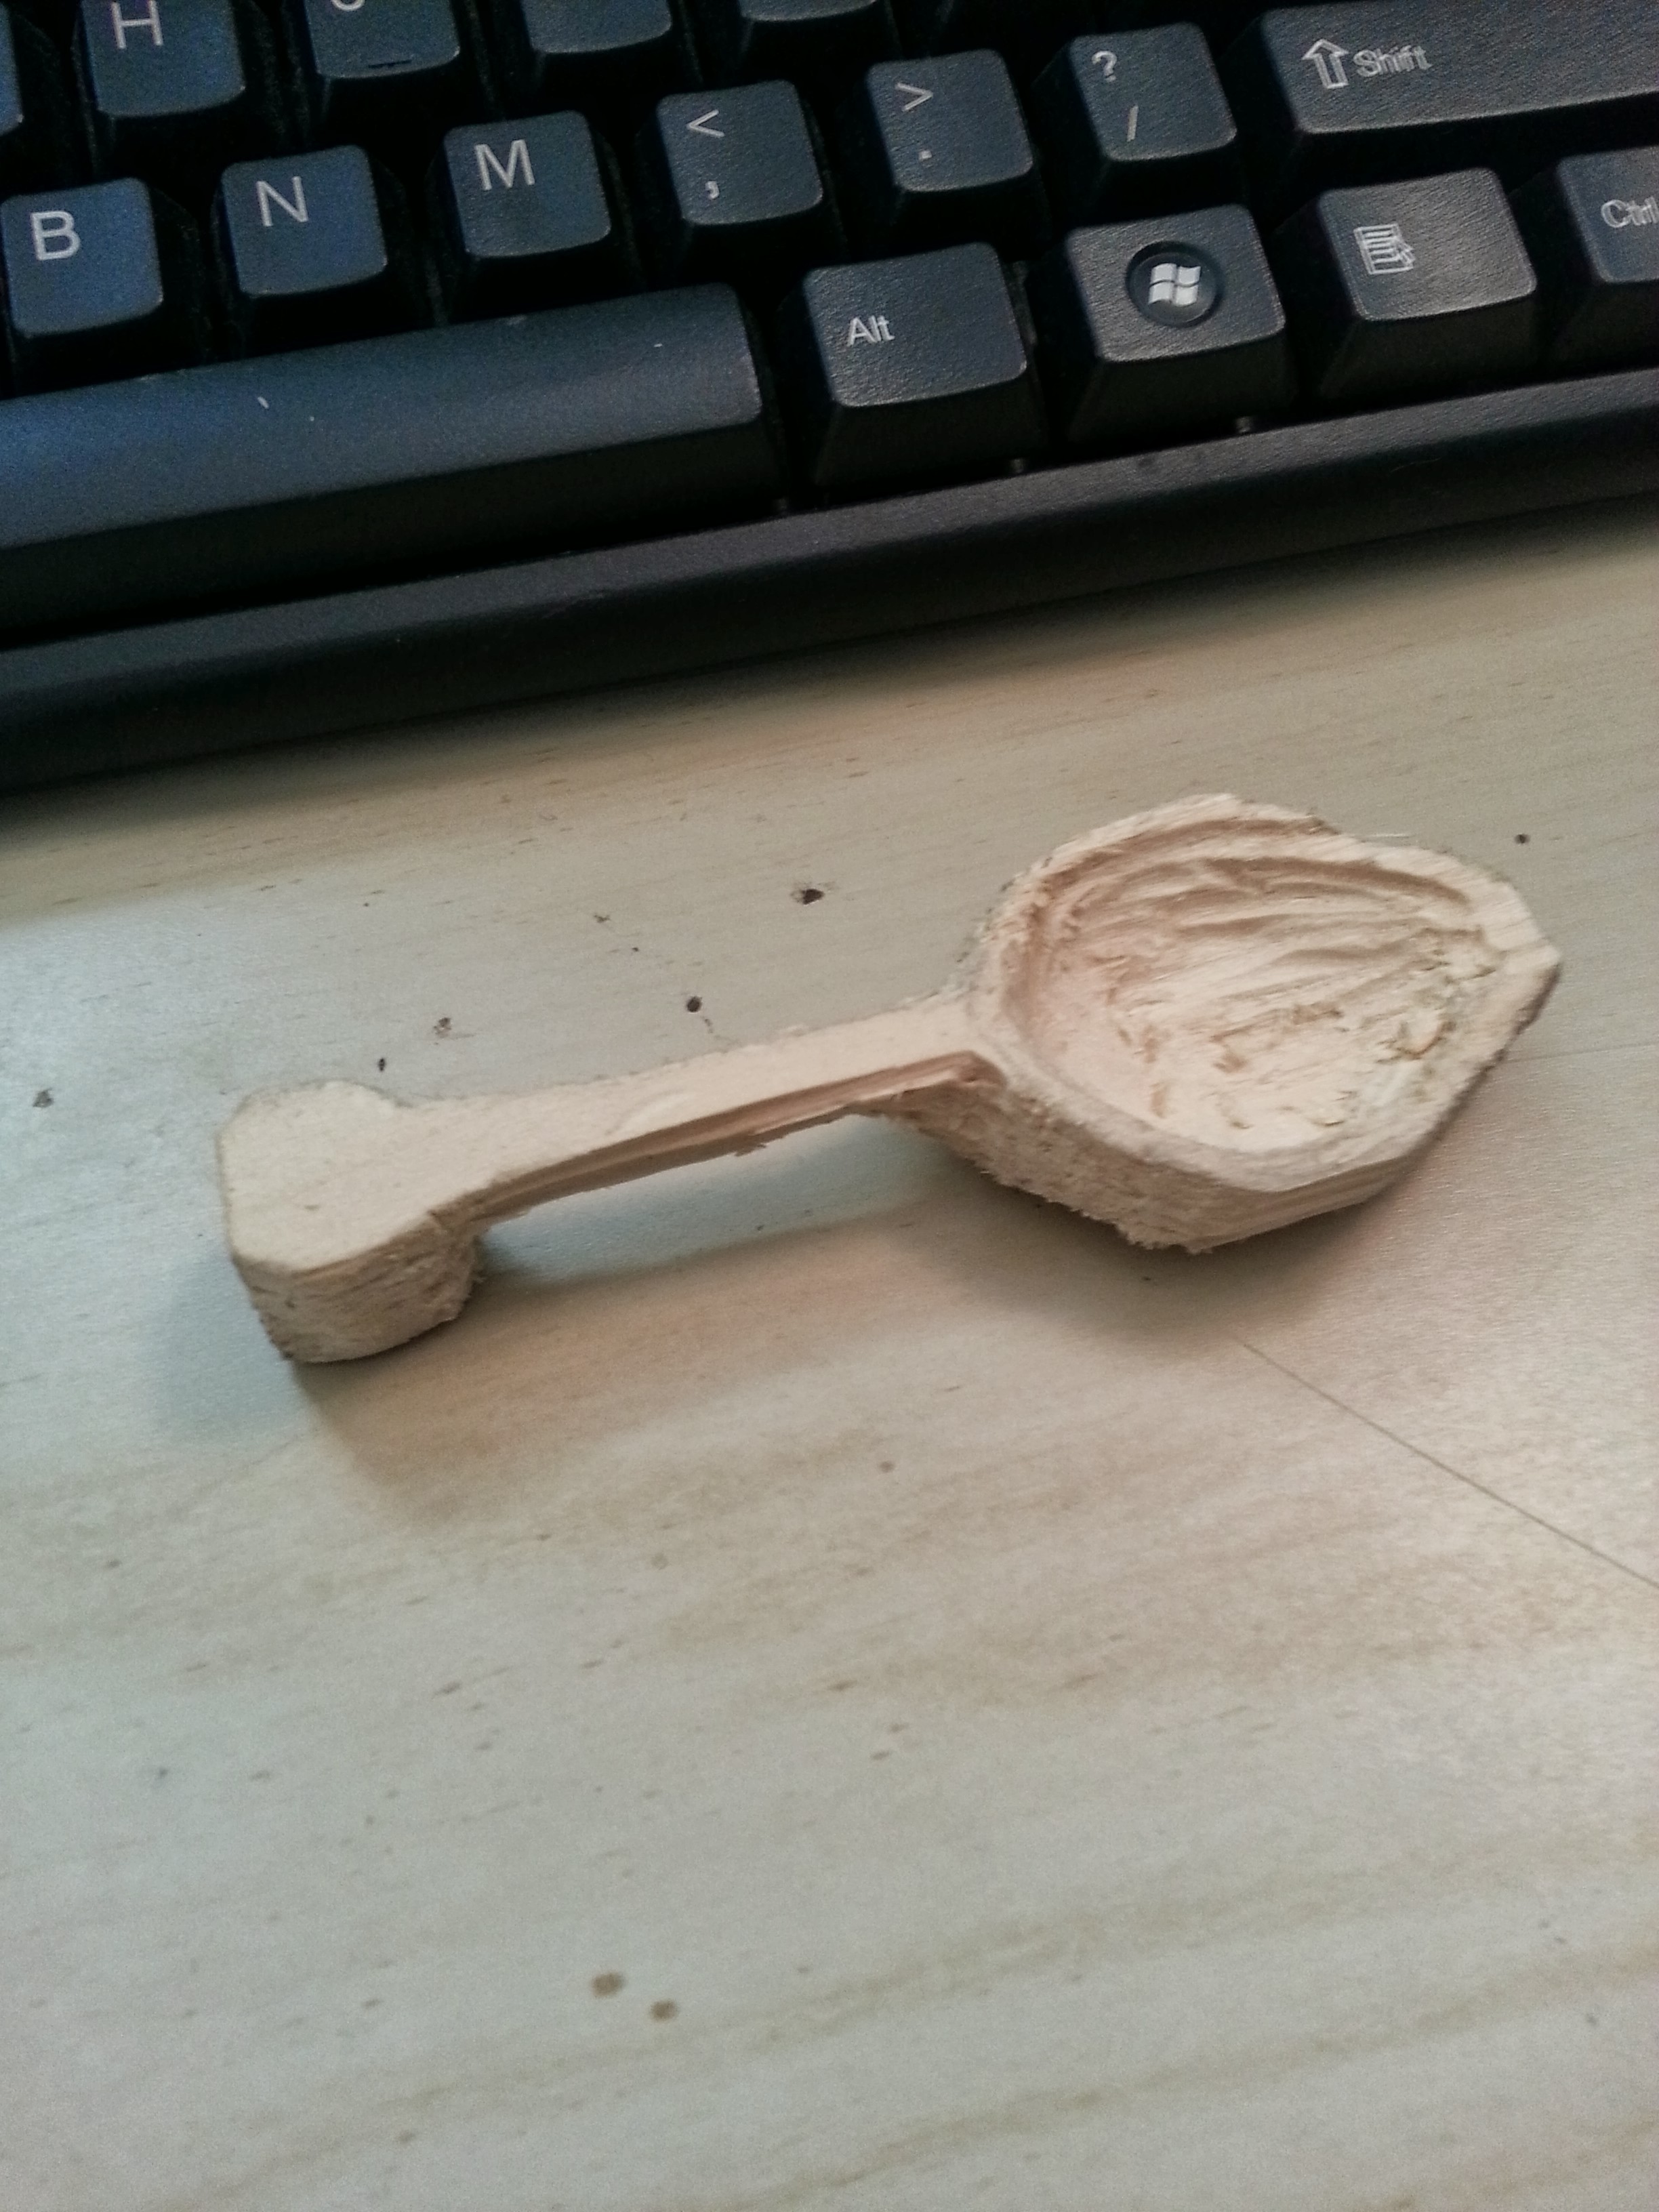
This I made from a maple board I bought at home depot. The wood is quite nice, hard but carvable, and very pretty when oiled. I cut the general shape out on the bandsaw and then carved it down to size using my knives, gouges and sweeps. I then made the surface smooth by scraping it with the cabinet scrapers, which were perfect for removing the tool marks without sanding the wood. They also leave the surface with a bit of a burnished feeling, which I quite like, particularly on this soft maple.

The neck is offset by a bit to make it easier to use, and to provide better control.

2015-02-26 20.42.292015-02-26 20.26.572015-02-26 20.34.25

wooden spoon – beginning to almost end


This has been a long process (mostly due to weather), and I’ve only gotten one spoon thus far, but I figured including all the pictures would be a way to show the process.

So I started out with a slightly warped Cherry turning block, which I cut in half, and then in half again horizontally, making 4 spoon sized blanks. On these I sketched the design:

Image

From there I started to remove the wood, using some cheap gouges I had bought on amazon. It was a very slow and painful process:


Image

So I started to look at my options, cut by band-saw, rough out using a hatchet, whittle or gouge. The rest of this page follows the gouged one. I’m going to probably start working on finishing the other three at some point in the near future as my new knives (flexcut) and gouges (Lee Valley) are significantly better.

Image

Taking the one on the far right above, I then used my knives to finish roughing it out:

Image

I then used the new gouges to make it pretty and thin. Today I sanded it down and used a tack cloth to remove the saw dust. I forgot how magical tack cloths are.


Image

It still has a few nicks that became apparent when I got the saw dust off, so it’ll have to be be sanded a bit more in those spots. Also I can’t figure out how to sand the inside of the bowl.

Image

But it is certainly spoon shaped and theoretically could be used to eat from right now! Though washing it would be a real pain with that rough wood in the bowl.


Image

Spoon progress

2013-11-17 17.01.13

Four attempts of  “cutting out” from left to right: Band saw, hatchet, knife and gouges. By far I have the most control with the gouges, and now that I have better gouges I can make a fair amount of progress in a short time, but it’s still a very slow process.

The knife lead to a more smooth process, though still very very slowly, though this was before I had managed to get the knife sharpened properly!

The hatchet was a pretty good option, reasonably fast, reasonably accurate, and it leaves the edges choppy, which makes it easier to carve it later into the final shape.

And by far the fastest is the bandsaw. That took about 3 minutes. But it wasn’t as accurate and and it will be harder to carve I suspect, though I haven’t tried yet.


Wooden spoon

2013-10-05 19.28.00 2013-10-05 19.27.56 2013-10-05 19.27.53
after much sanding and carving and then covering in beeswax and burnishing

Image

spoons

So last week in pewter class I tried to make a sculpy spoon, but it broke in a few places when it came out of the oven. So this week I started to whittle a spoon from a piece of basswood. It’s coming along, it really needs a lot of sanding currently, then perhaps some more carving. I also need a gouge of a slightly different shape, but I think I have one in my kit.

20131002_193540

I can’t decide if I want to use sandpaper or my dremel to sand it.. I like the control of the sand paper, but it is hard to get round shapes to come out right.

Once my spoon is done, we are going to cover it in Vaseline and put it in a little Lego box and pour bondo around it to make a mold for the pewter spoon.

Back of wooden Spoon Front of wooden spoon

Cookie Mold?

So we’ve been contemplating making savory short bread cookies, and then thought, hey it’d be cool to make them with a cookie press mold with a crequier on them as it’s Caitrin’s device (all the more reason I need to get my device registered)

I looked up the history of them and found this great website straight out of the early 2000s. And I thought, hey, I can make that! I happen to have a ton of wood carving tools and supplies from an earlier time when I thought I might take up wood carving but never did. So I got some books from the library, though really my main learning was done on Wednesday at pewter class, where I carved cedar for the first time, and used a dremel on wood for the first time. After that difficult experience, carving on bass wood today was a piece of cake!

Image

It cuts so smoothly and easily! In fact, I was having so much fun, I think I may have made it a bit too deep!

Image

I edged around it first with a flat tool, and then chiseled out the inside. I did the design using a small V tool, though I then went back and cut it with the straight one for better lines. And the leaves I used the small U tool to cut little circles. I then used the dremel to sand the surface, which I need a smaller tip for! But it worked pretty well for a first try. I only screwed up one of the leaf things (it merged into the one under it)

Now it’s soaking in olive oil to close up the pores in the wood so the cookie dough doesn’t stick too badly to the wood.

Image

Post oil:

2013-08-31 12.36.11

Pewter class, wherein I learn to carve wood.

So tonight I was introduced to using wood as a mold for pewter and got to try my hand at carving some cedar, which had a very prominent and pretty grain that added a lot of character to the piece I was making. 

The first suggestion was, make a feather, so I started sketching feathers but they all just looked wrong with the grain, so I decided to go with a leaf, my old standby… 

However the wood was significantly harder than expected and so carving was a much less detailed process than I am used to (which is to be expected with wood, I just didn’t expect quite this much lack of detail). I finally made some progress using a dremel to essentially burn out the wood, first with a round tip, but that gouged more than I wanted, then with a large burr like tip, which worked pretty well but I was having trouble controlling it. I went to the sanding tip, and that allowed for a lot more control, but made it very slow going. Finally I had a general shape of a leaf cut so I went to pour some pewter into it, and it looked really rough, mostly from air bubbles, so it was suggested I make a channel to pour the pewter in (like we’ve been doing with the soap stone) and that was when I finally figured out how to use the dremel with control! So with that newly gained knowledge I smoothed out the mold and tried again. 

Image


I then went to work trying to make the sprue larger, and accidentally caught the paper towel in the dremel, sending my mold flying across the room, and the dremel wrapped tightly in the towel. I was kind of amazed I had the good sense to hold it away from me, and then turn it off within a second of it happening instead of panicking at all. 

Now with a larger sprue, and with the mold clamped together in two places, we poured again

Image


It kinda looks like a whale to me! or maybe a fish.. I’m going to take some of this upcoming long weekend to try carving with my own dremel and wood working tools on some bass wood and see how that works instead. (Purely by coincidence, I had interlibraryloan send me 2 books on beginning wood carving that I picked up today, so I should be good for a little bit)Â