Remember back forever ago when I made myself a loom?
Built Feb 2014
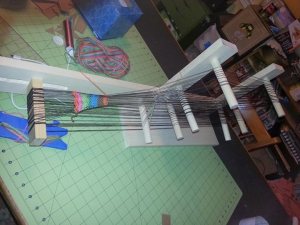
Well, nearly a year later I finally got around to weaving on it for real. I warped it up and started a trial run, but then I got roped into making trim for Edward’s Birka coat. I had Anna help me start it while I was in Quebec for a baronial investiture or maybe it was some kingdom championship, it all blurs together.. But I started working on the trim there, mostly in the hallway with all the retainers trying to help me do it perfectly, and attracting a bunch of excited locals who were thoroughly impressed, which was hilarious as I had just started, and it really wasn’t going well. But on the ride home from Quebec City, I got pretty good at it and had finished 6 feet or so in the car, some in the dark. I took it with me to work on during, er, yule? in springfield. The loom and I started getting into fights, but I finished it up pretty quickly and saw the potential of the inkle loom.

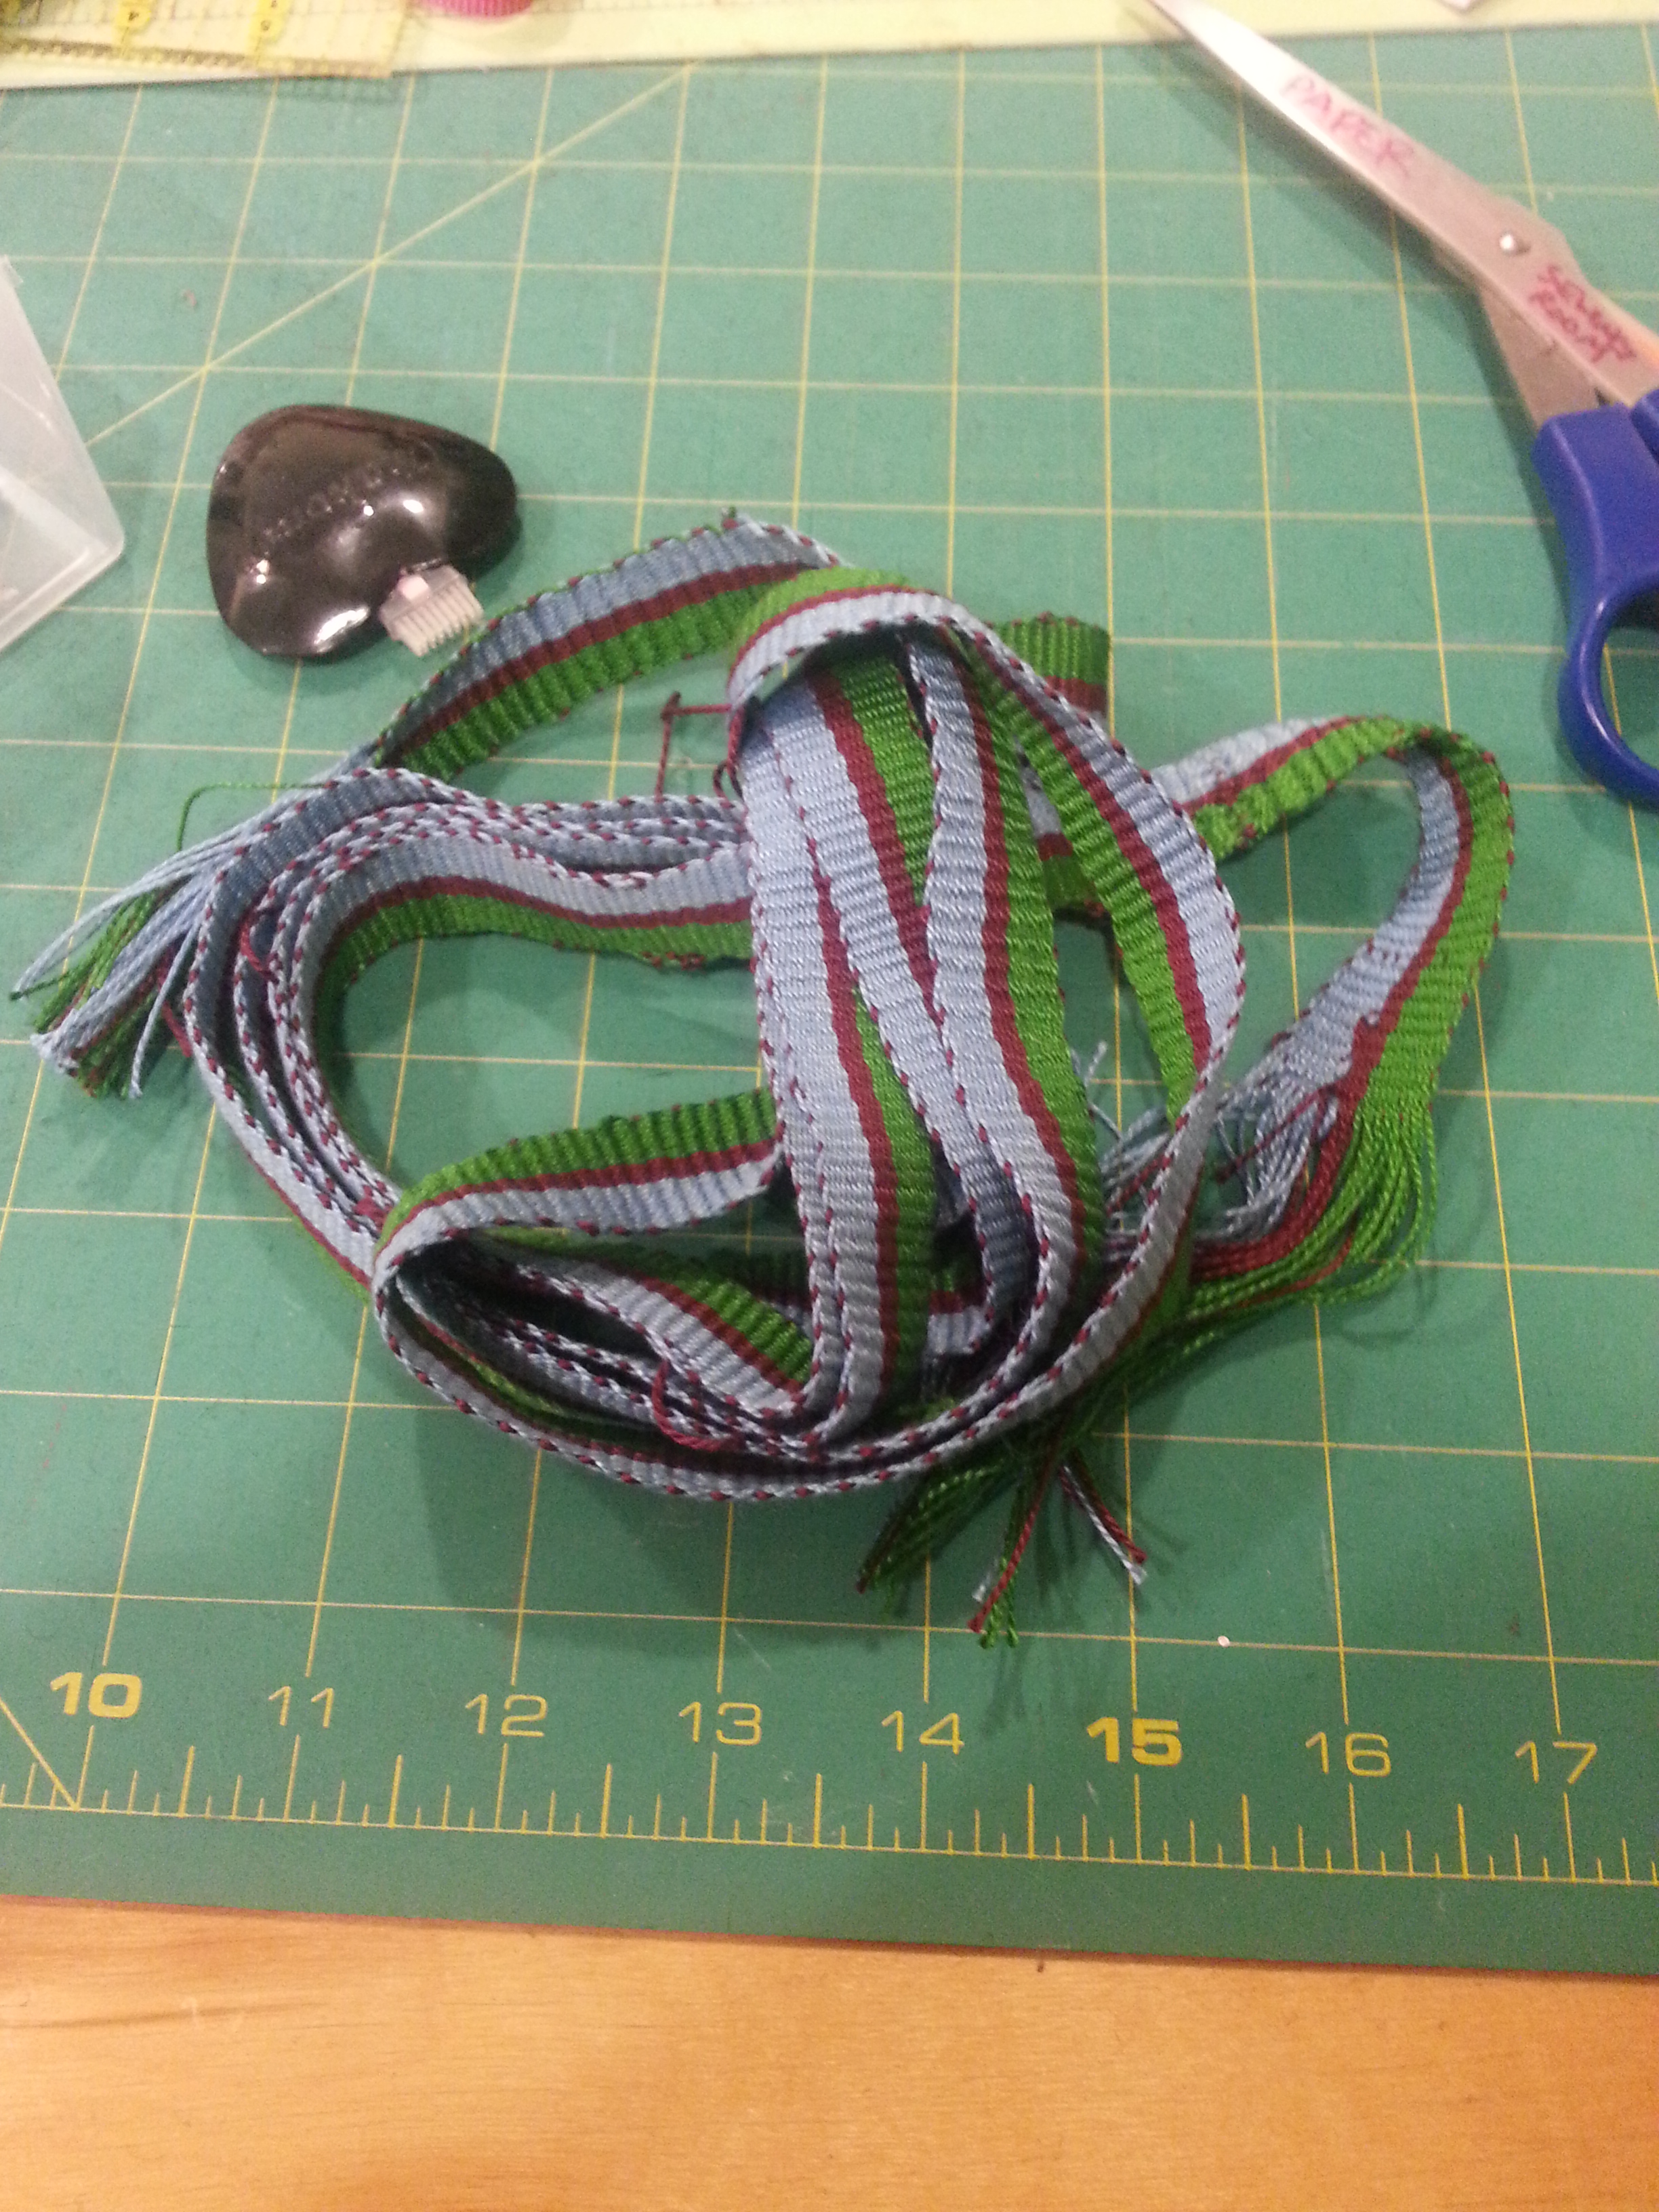
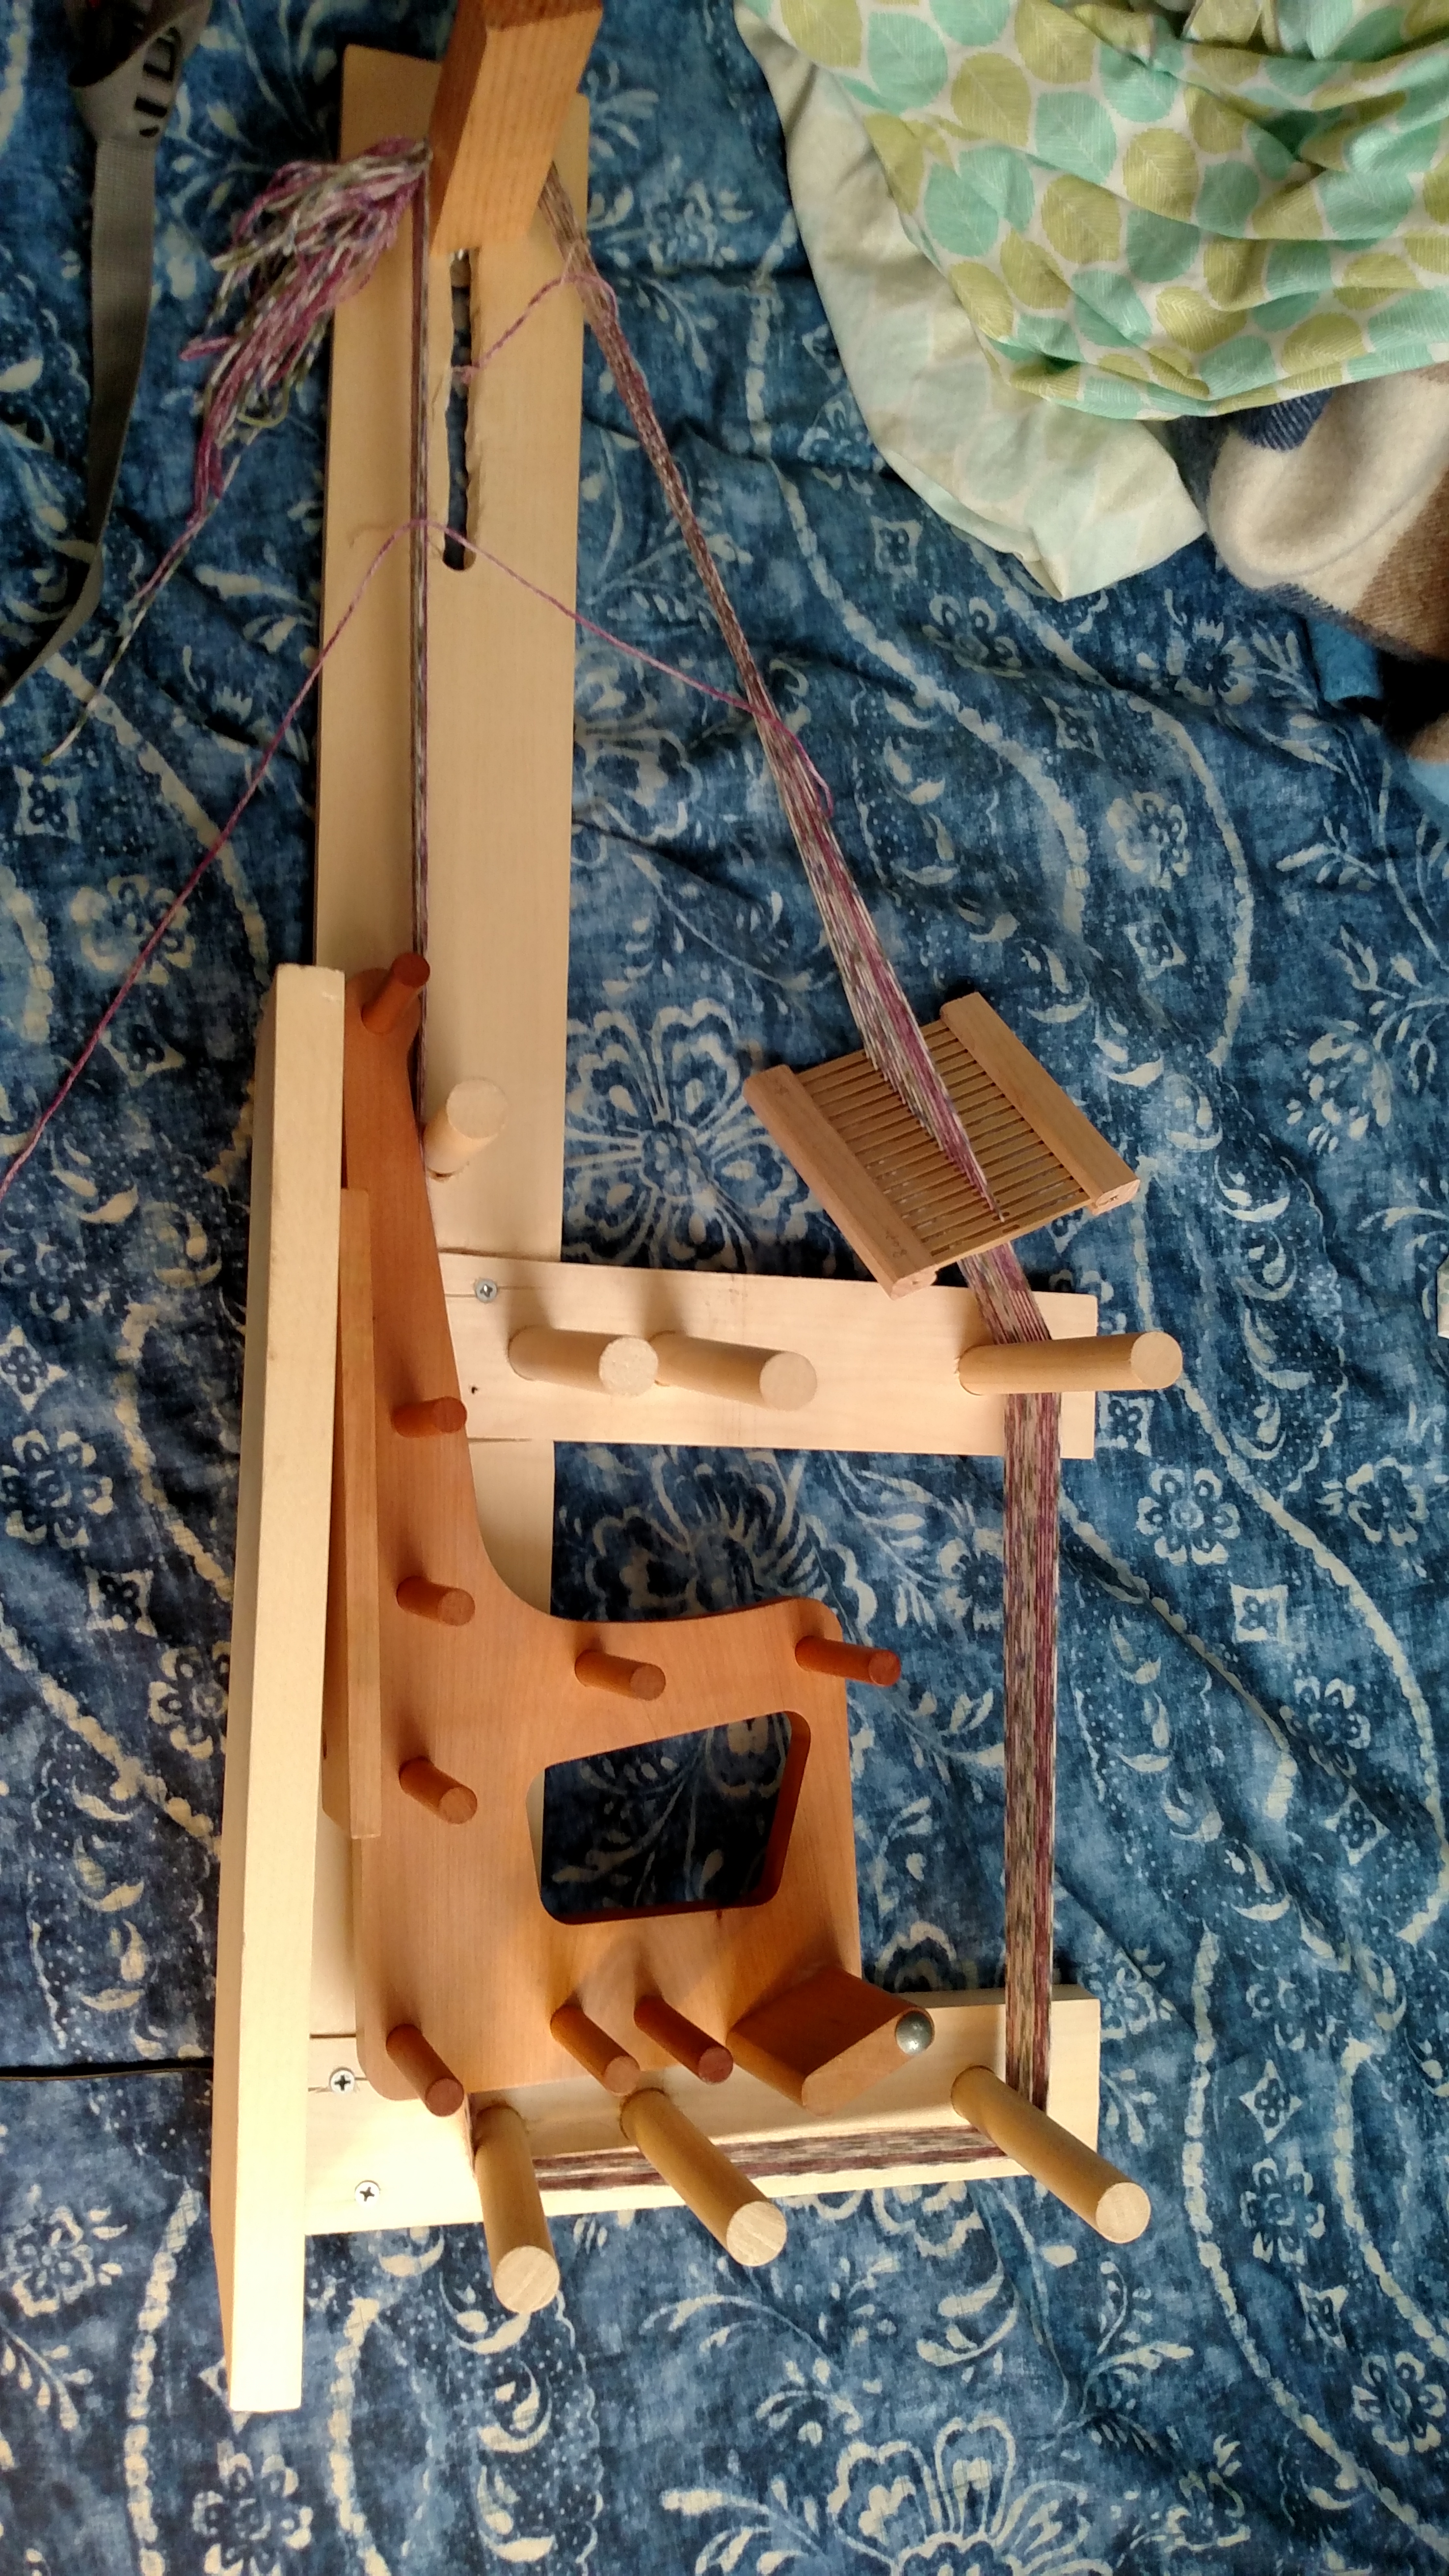
The blue and green with the red stripe in the middle was the trim I made in Quebec, this bit was the start of the warping, so it’s pretty amazingly terrible, but after this 8 inches or so it
  looks pretty good and ended up being the main trim on Edward’s coat. (I also helped make the coat, Thyra’s dress and both of their under tunics.)
I then tried to make a wool bit of trim using self striping yarn, which is coming along interestingly, but I really don’t get along well with my loom. It’s a bit big. It’s hard to use on a table, it’s nearly impossible to use in a chair. I mostly can only use it sitting on the floor. And it’s not scaled properly for me, my arms are quite short and it assumes I am much bigger.
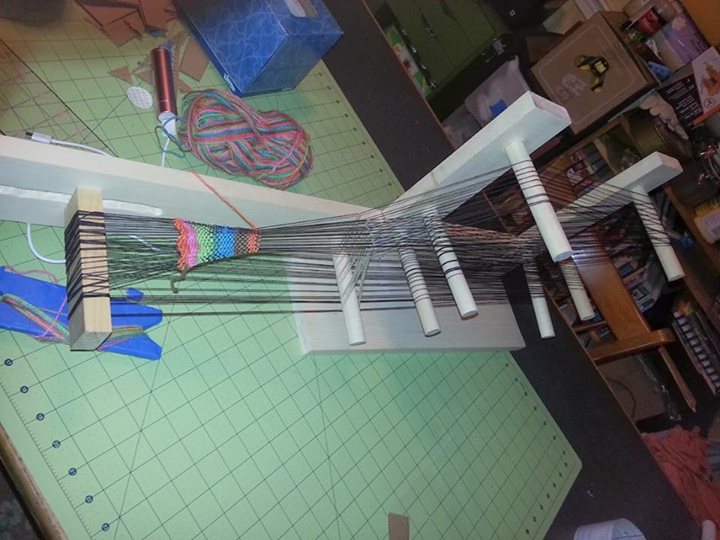
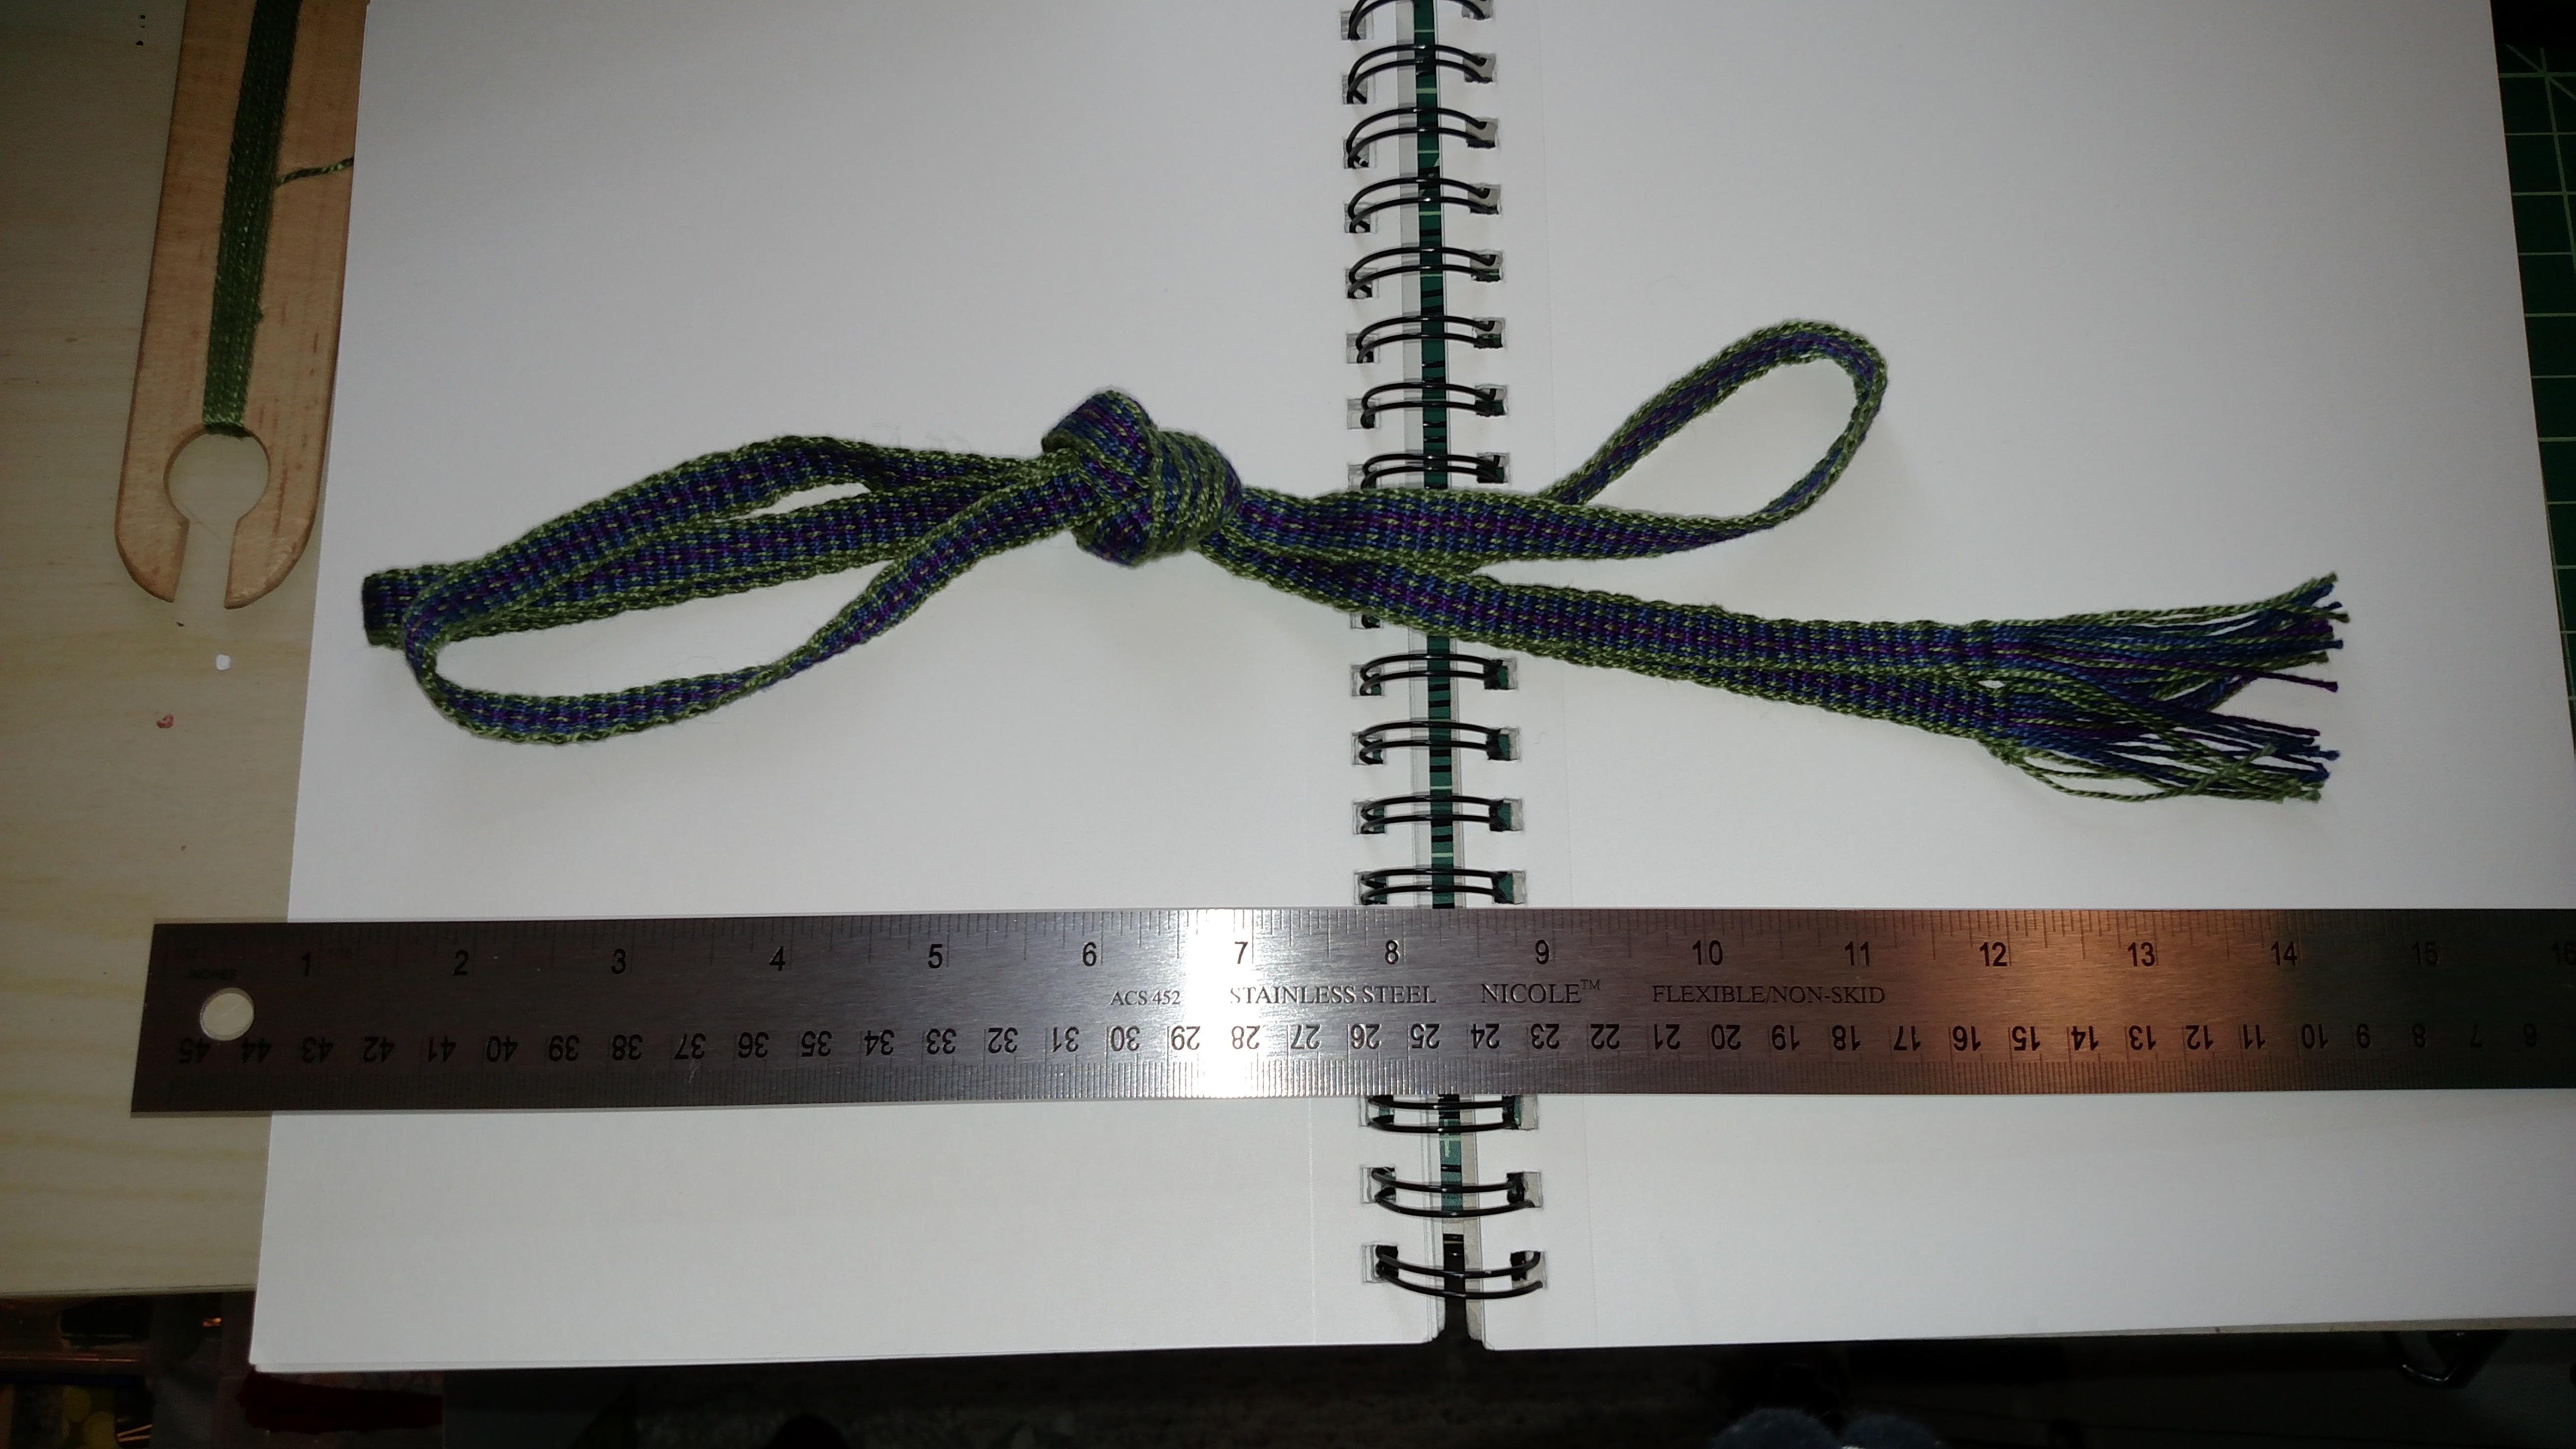
So I had been thinking of making a new loom, based on the plans for the first one but smaller. My initial plans were to make a loom that was just a little smaller and perhaps a little taller so it would make about the same amount of trim as my larger loom. But I hadn’t had a chance to try out one of the mini looms and they looked so tiny so I was a little hesitant to go that small. But at Bardic, Whitney’s friend Carly lent us one for a little bit, so Sunday I warped it up using a pattern from the ever helpful Inkle Pattern Dictionary using some White Wolf thread picked up at both Pennsic and Birka, and a new smaller shuttle I got at Birka from them as well. I warped it up around 6pm on Sunday, and finished the trim (64 inches) last night around 10pm. Talk about instant gratification!

That’s my new shuttle up in the left hand corner of the picture
So the tiny loom is pretty awesome. I can easily use it on my lap, on the table, in a chair, on a couch, travel around with it!  And I sort of like the tension flap that everyone hates in this loom design. But it’s not perfect. It still has the foot that is shorter than the loom, which makes it not stand well on a table and really seems like not a great design system. Also the pegs are quite loosely attached, which is mostly due to how it was manufactured. The holes don’t go all the way through! But I love the single piece of wood frame and the warping design.
I got some dowels and a piece of really nice plywood a few weeks ago to make a new loom based on my old one, but now after using this one, I think I’m going to mash both up together! The original big loom has a 30 inch total length, the mini is 15 inches. The big loom is 13 inches tall, the mini is 7 inches. But the difference in the length they can make is not much:102 inches vs 64 inches, or 3 feet. Which seems weak for a doubling the loom in size.

So I’m thinking, how about 18″ long, with the tension peg where the big one is, and a warping pattern similar to the little one. Maybe also a tension flap like the little on for minor adjustments? And only at most 9 inches tall. Made from 1 piece of plywood with a handle built in, and having a foot that extends the whole length of the loom. I have dowels in an intermediate size, so I’ll probably use those and see how it works. I’m probably going to end up with a variety of sized looms… let me know if you want one. The iterative process will result in a number of looms that aren’t perfect but will work quite well.
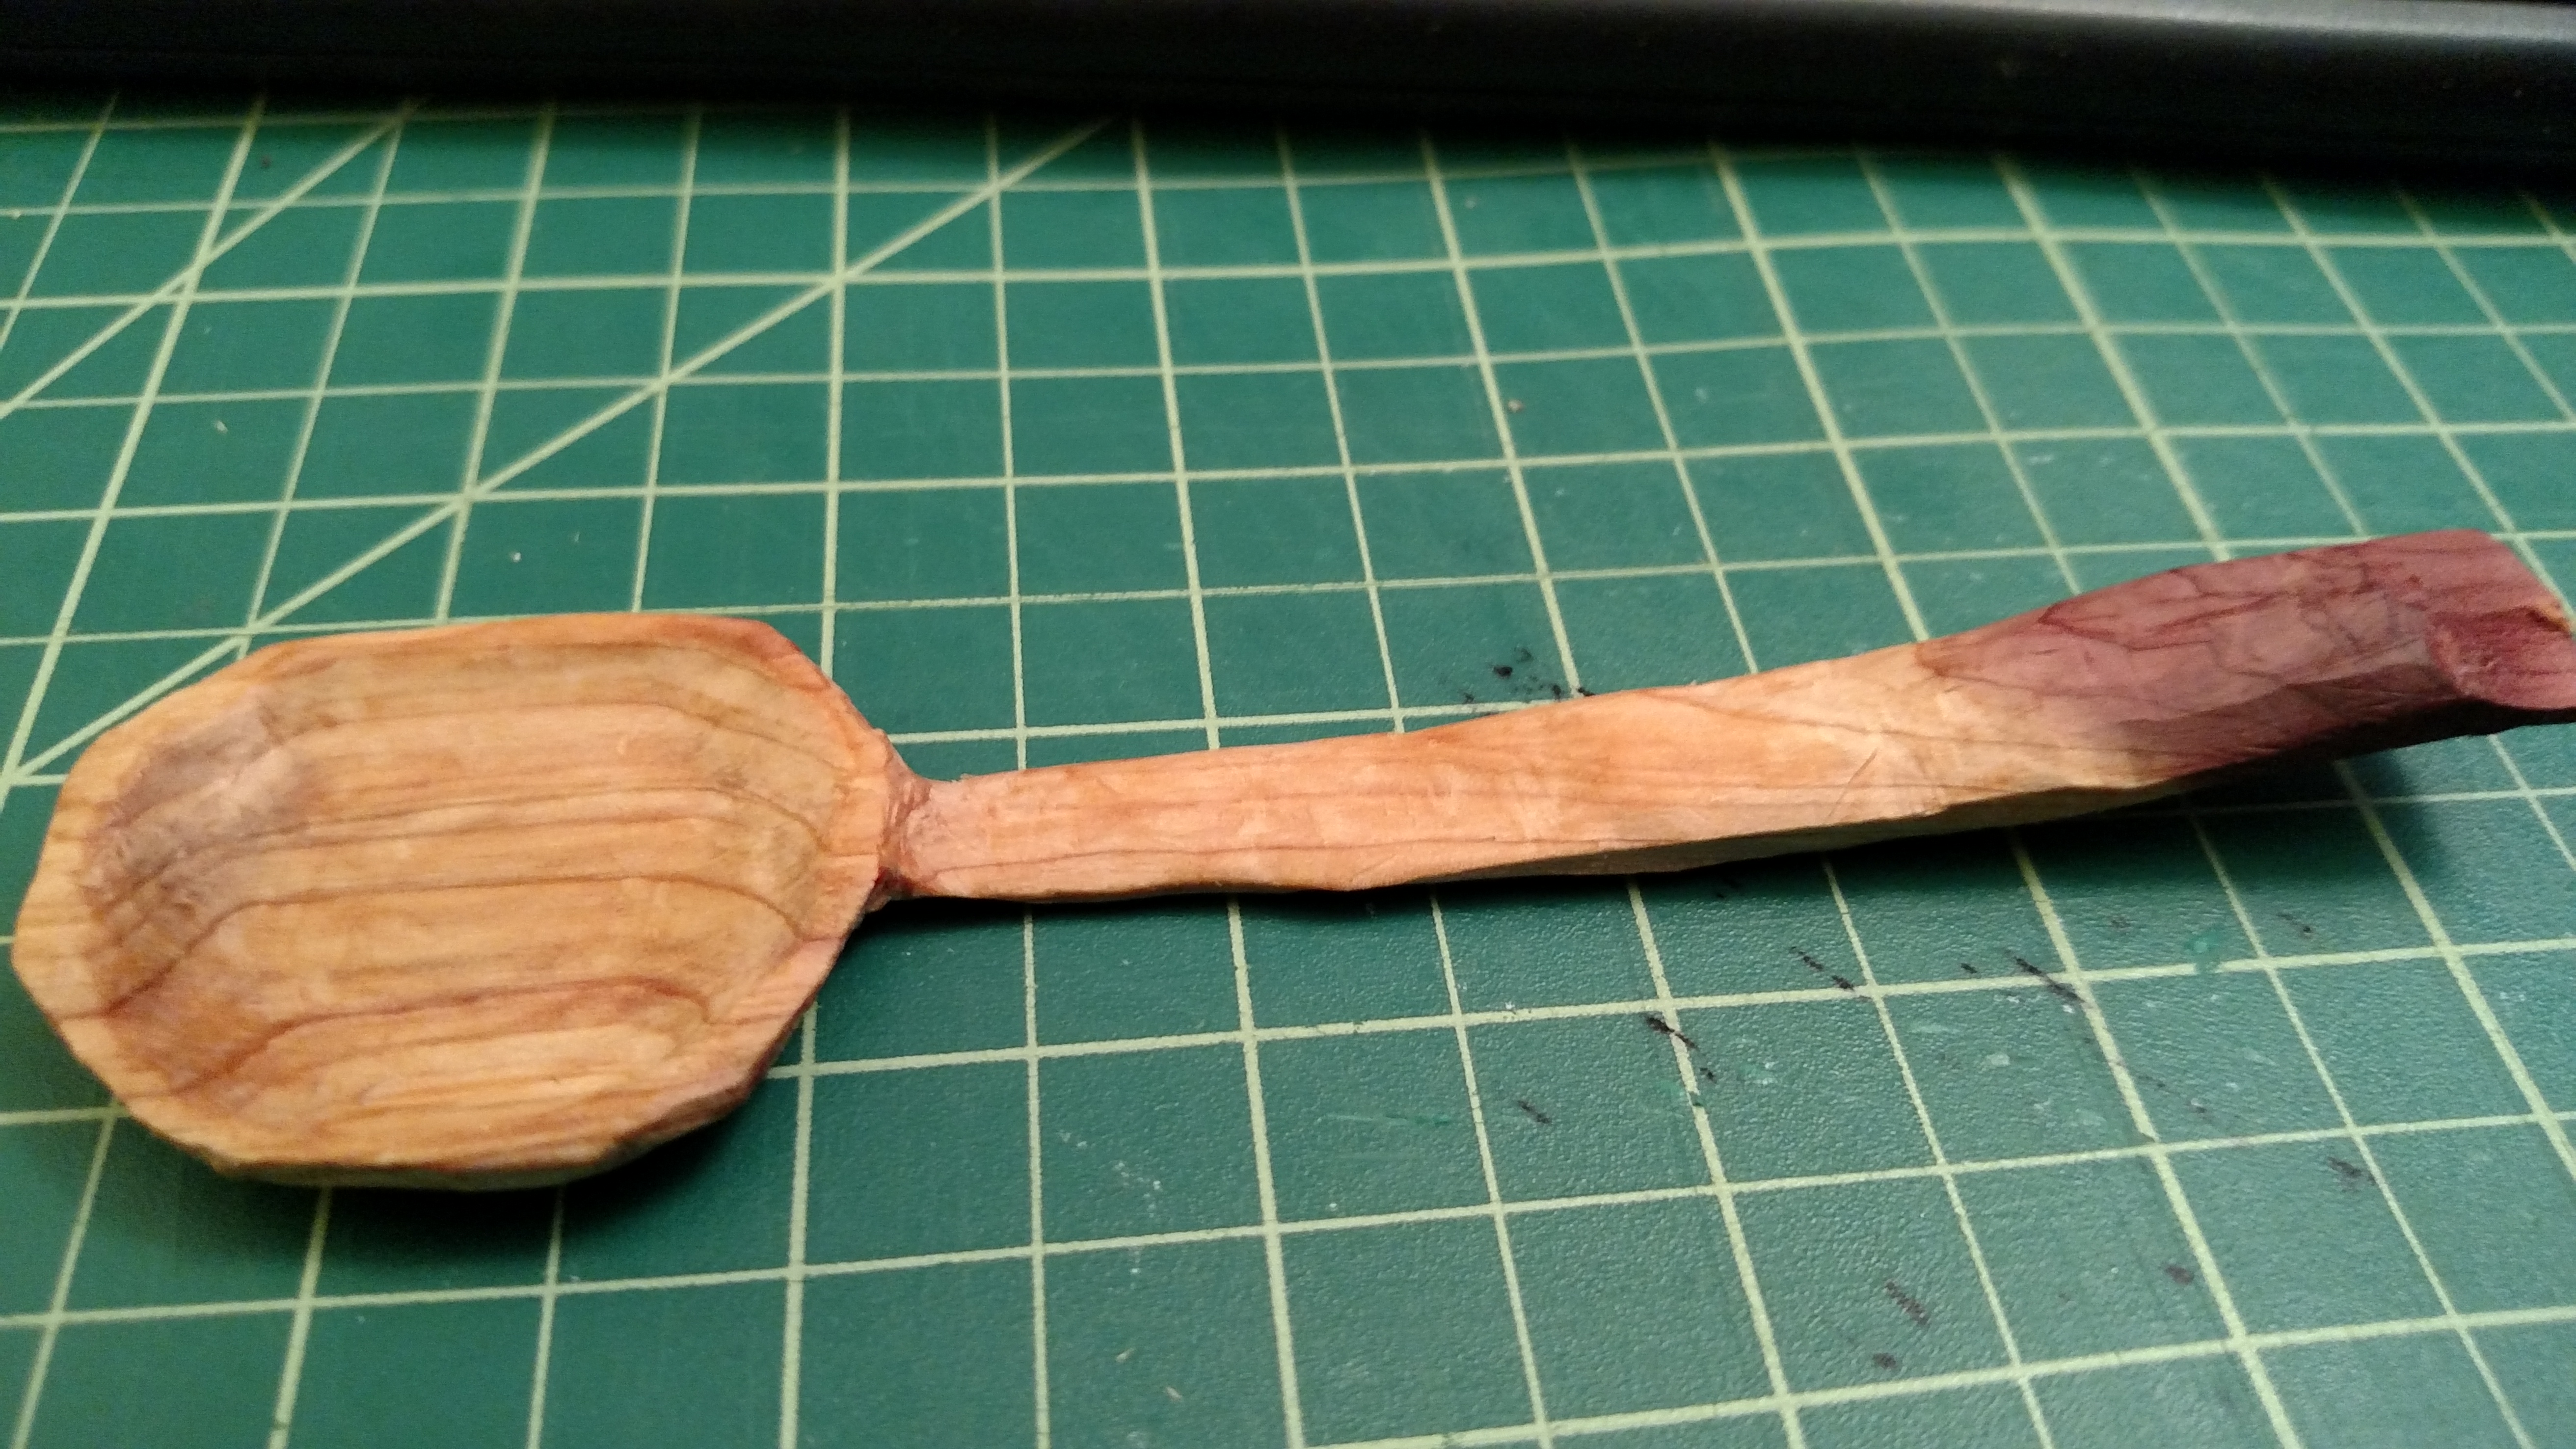
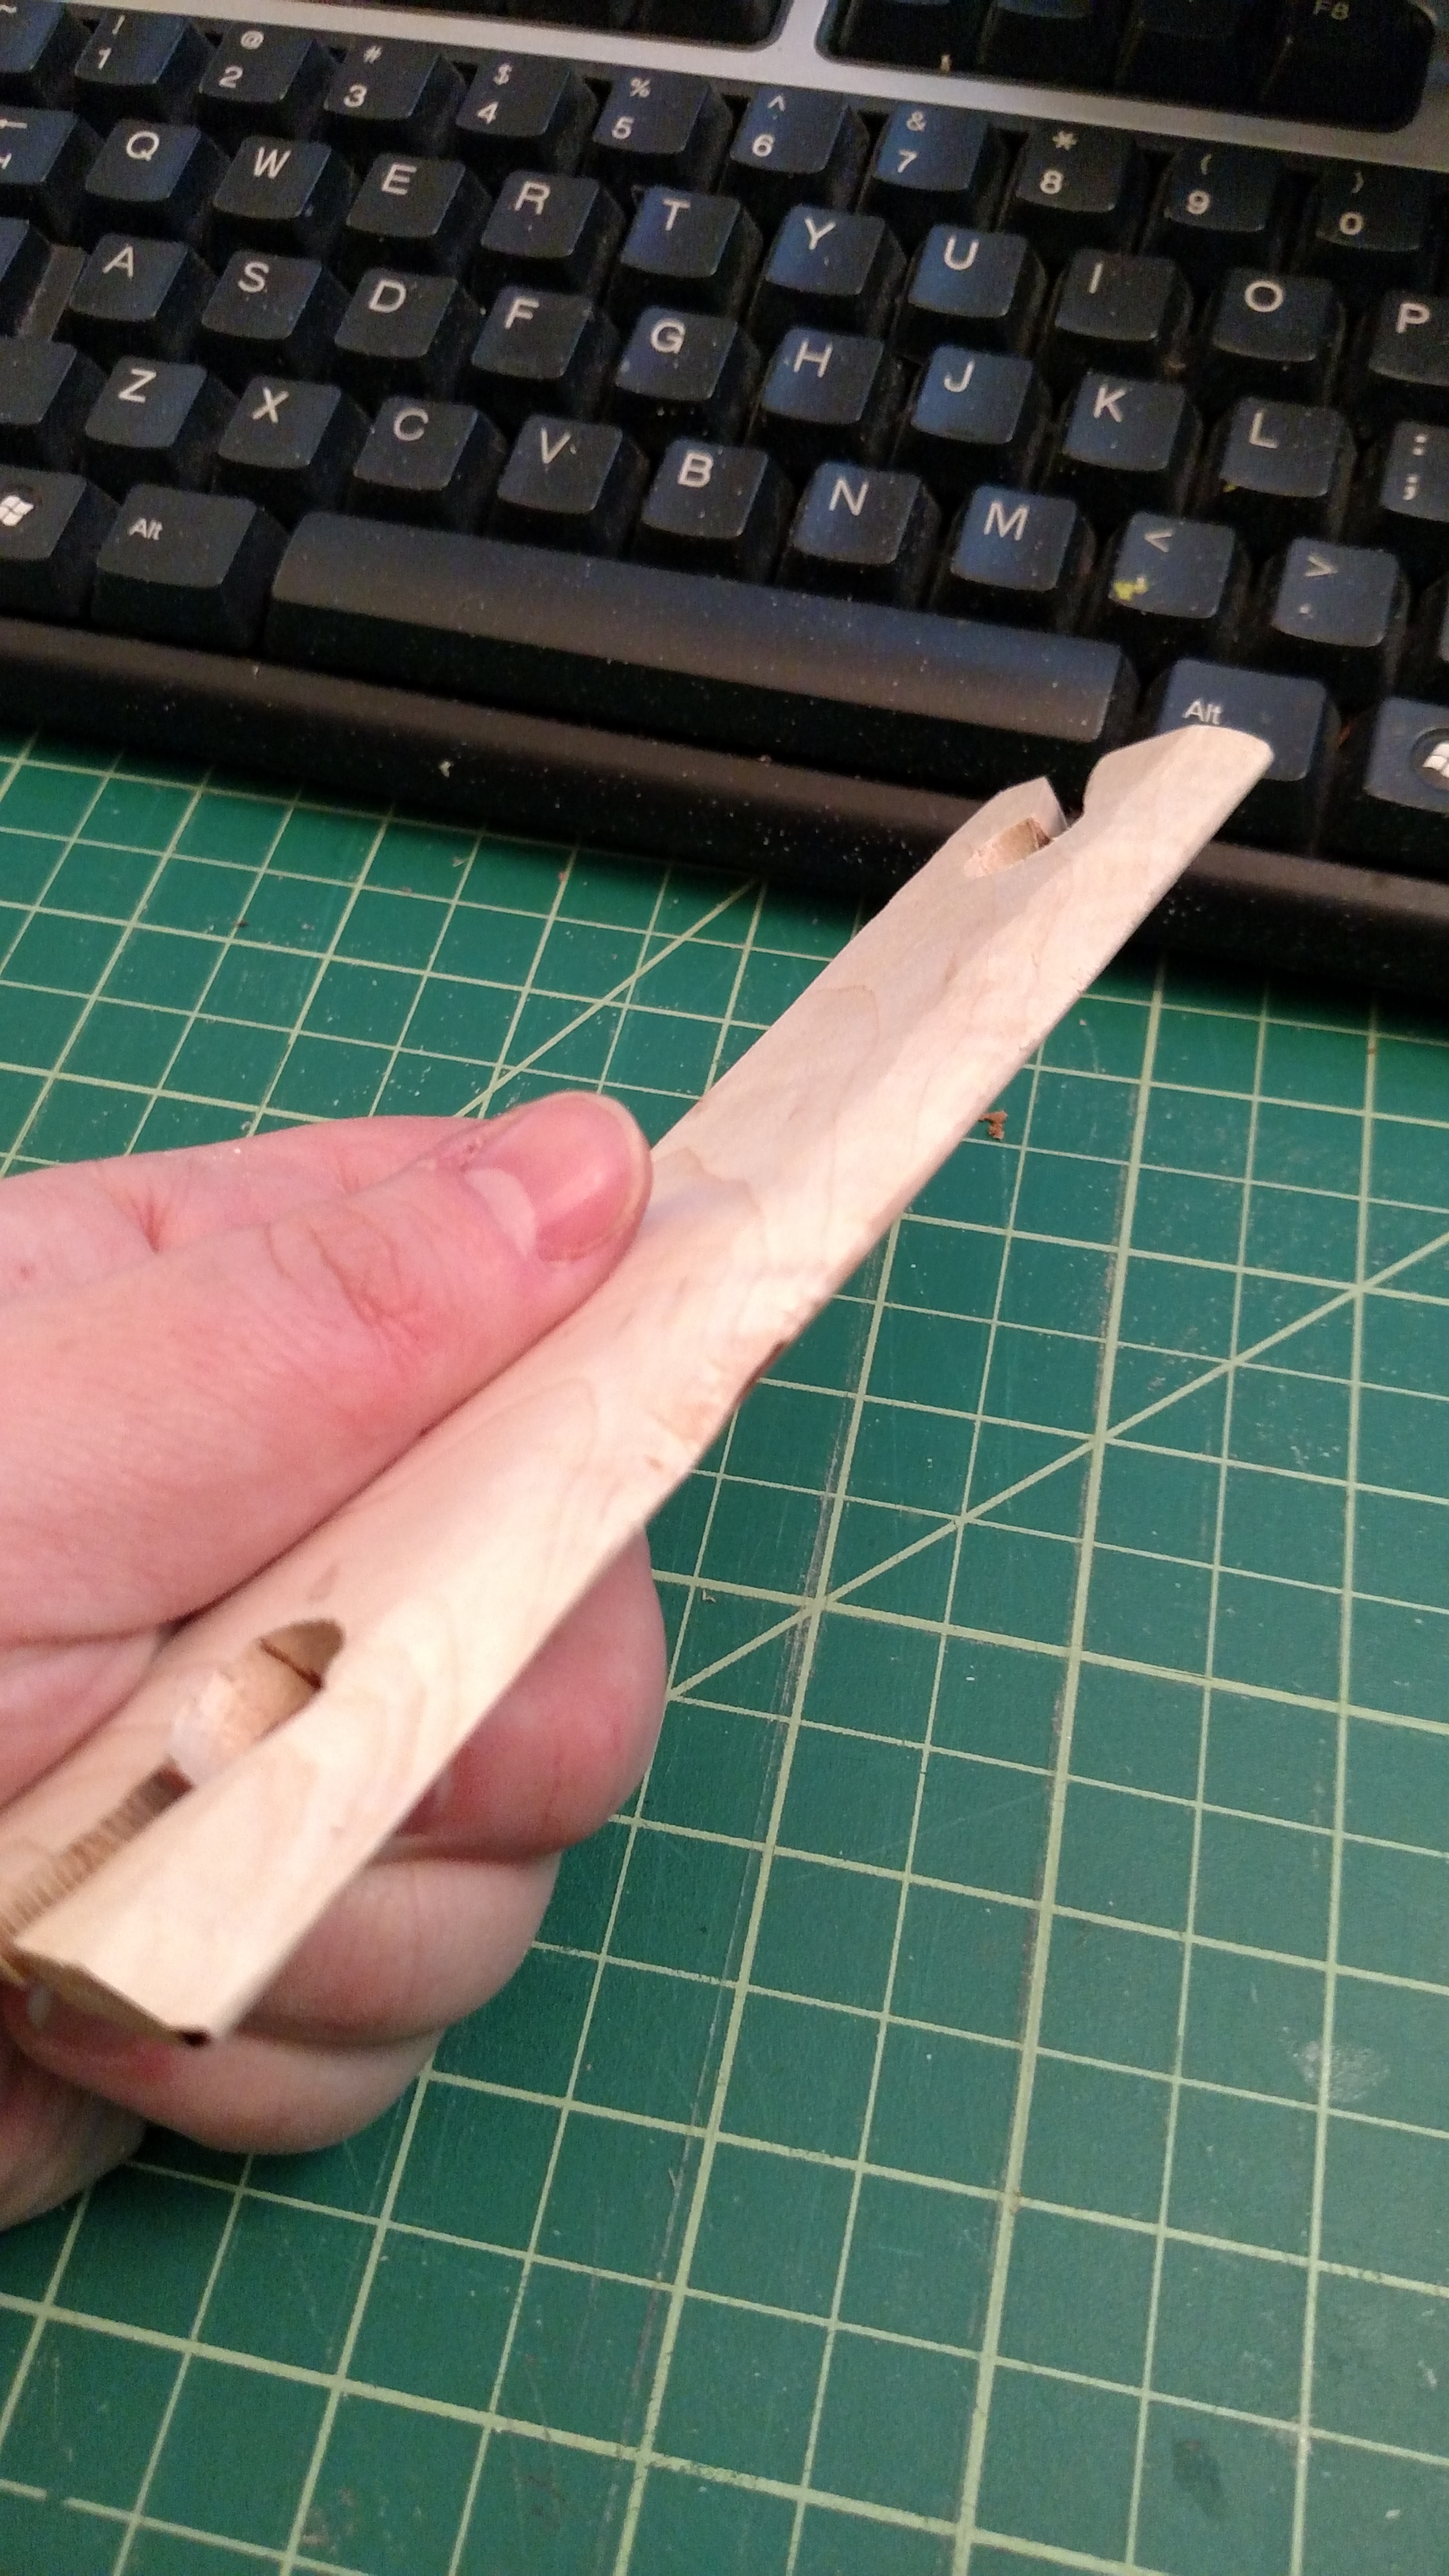 Aren’t computer keyboards supposed to be used as wood-shaving collectors? I added a beater edge to one of the shuttles I cut out on Sunday. Which came out rather well. It could probably use a bit of sanding, but it’s entirely functional currently!
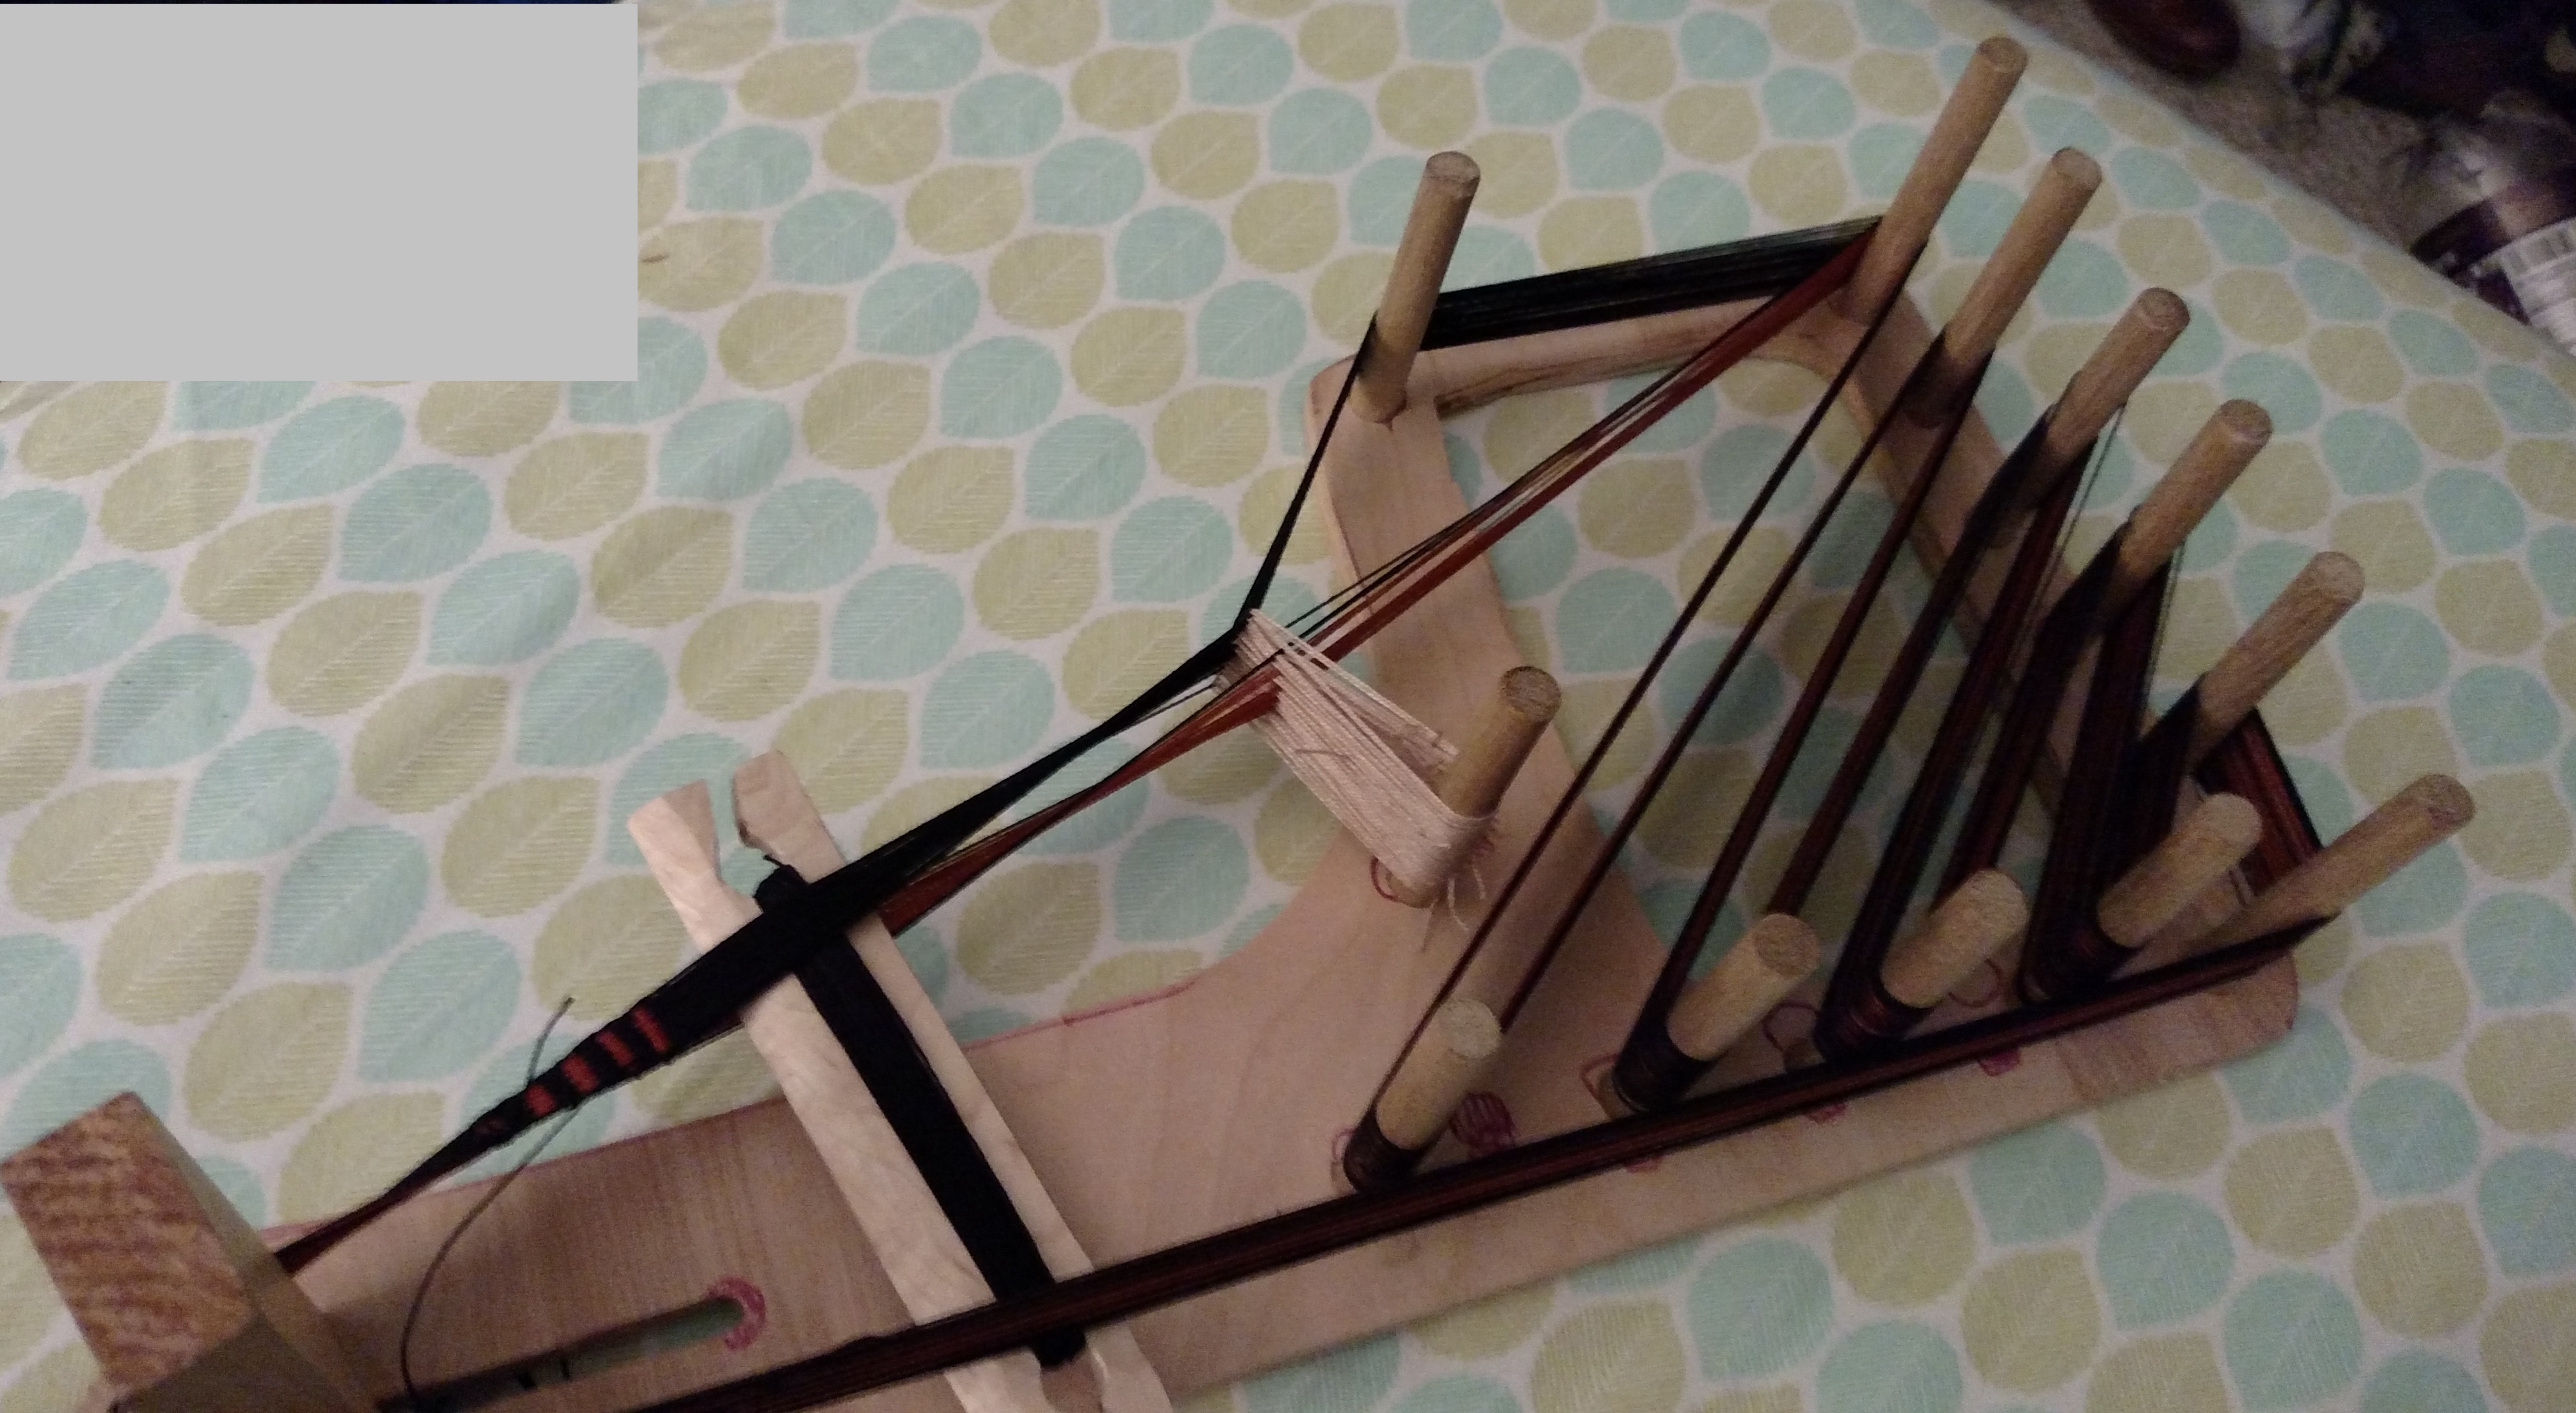
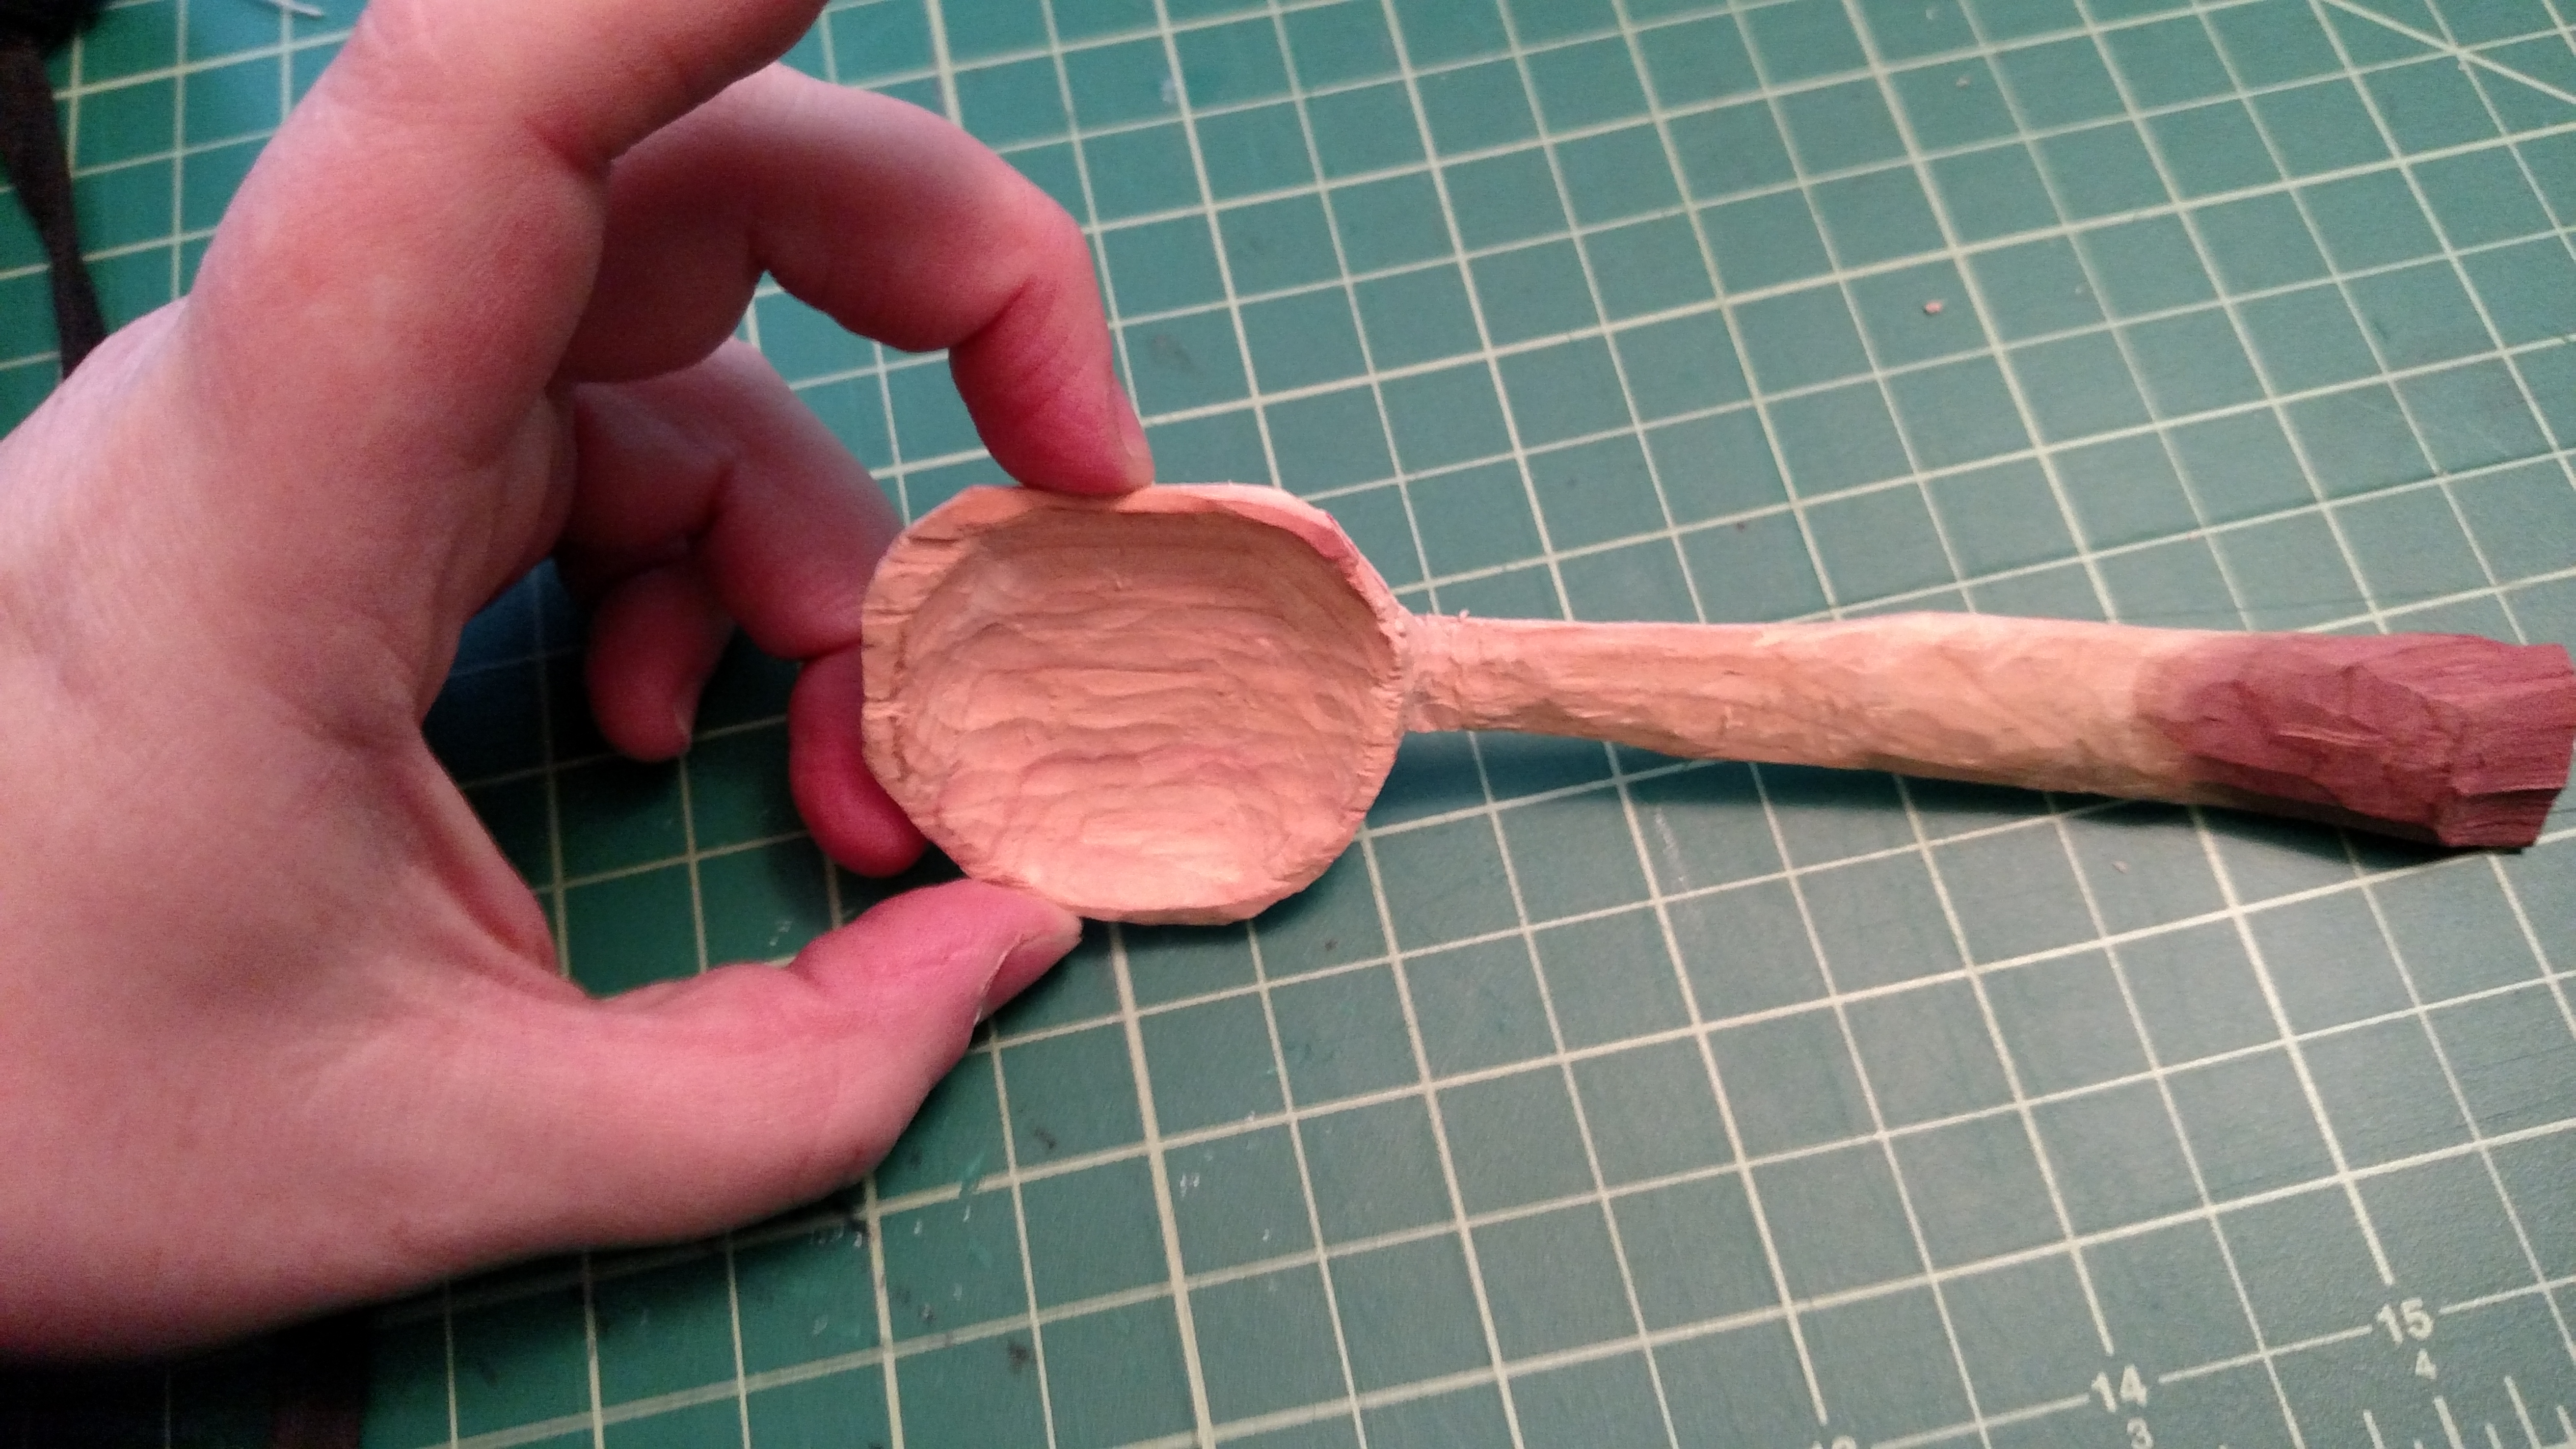
 Once I had all my holes drilled I cut my pegs and sanded off their sharp splintery bits on the ends. And then I remembered I had 4 shuttles to cut and drill also, so I went back and did that and then sanded them to be not spiky. Though at some point I need to put an edge on each of them as they currently aren’t terribly effective beaters since they are blunt. But I’m curious if my design for how the string goes on will work better for me since I have a hard time keeping the string from falling off. Also man Maple is pretty.


Recent comments