I made cider! (it’s still fresh though)

I started with 10 pounds of Cortland apples. Washed them, cored them, and macerated them in the ninja. Then they got put into my homemade cider press.. Turns out the bottom bucket needs to be cut down further as I can’t get it to fit in the screws when the follower is added. But it worked pretty well, so I’d say the concept worked. Tastes pretty good too, tart and acidic, but a bit sweet.

2013-10-19 18.58.232013-10-19 19.00.272013-10-19 19.03.052013-10-19 19.03.082013-10-19 19.03.122013-10-19 19.41.062013-10-19 19.30.182013-10-19 19.30.12 2013-10-19 20.08.332013-10-19 20.09.46 2013-10-19 20.13.51

I’m up to 3/4 of a gallon now. I feel like I might be able to get a full gallon, but it’s much harder now that it’s pretty much dried. It needs to be massaged at this point to get juice out. But the pomace is still giving off juice! I’m putting the juice in the refrigerator until tomorrow as I’m going to add yeast (!!) and probably a real air lock, but I need to go to the brewery store.

It’s like the cheese press and cheese fridge were made for each other!

Image

Cat free pantry accommodations

Tomorrow’s project (since I didn’t get to it today) Preserved lemons!

Image

The pressing issue – does it work?

Finally time to put the press through its paces.

First thing I’ll fix, make the holes on the weight plate bigger, as they get moved a lot.

But all and all it seems to work well:

This is the first press, so it’s still really thick, it’s on its final press right now and it’s actually inside the mold now.

I created a drain plate using a meat cutting board (yay for drainage channels!) and a towel to sop up the whey as it comes out. There’s also a plastic drying sheet between the mold and the cutting board which is supposed to help with the draining. It’s what it will dry on once it’s out of the mold as well. I put one of the extra weights behind to raise it up a little to help the whey drain in the direction of the towel. Manchego doesn’t drain terribly much after the first pressing because the curds are so small and packed in, I’ll probably need a more robust drainage system for other cheeses.

Image

Top view, 15, well actually 15.79 lbs but close enough. Image

We need a cat proofing plan though… I think the press will go in the pantry for the night.

2013-08-11 18.43.09

The last press is 30 pounds for 6 hours, but considering it started at 7pm and I plan to be in bed by 10pm, It’s going to get about 10 hours at 30 pounds and then tomorrow when I wake up, I’ll toss it in the brine.

Now for the fun part, do my new inventions work?

So I decided to try the cider press to see how the drain worked when I separated the curds from the whey. We like to save some of the whey to use in other things, like bread or pickles. (Which is strange as it makes foods that are normally lactose free, suddenly problematic, but tasty, that’s a hard trade off, it doesn’t seem to effect me quite as much as drinking straight milk though, even if it is 99% of the lactose in the milk)

Also check out the adorable clamps we found at target

First lesson learned, I need a slightly longer hose if I want to put the gallon jugs on the floor, my hose was about 6 inches too short, luckily I have a ton left over.

Image

Also it makes a really weird disconcerting noise when it gets to the end and there are air bubbles, but it worked well. I may also add in a knob to regulate the flow as once one jug was nearly full it was a bit of a trick to stop and get the next jug. (And really felt like making bath tub gin)

But look! Curds! And we didn’t lose any of them to the sink as in times past.

Image

It always amazes me how much whey is left after cheese making. There’s probably another 6 ounces in the bucket that I didn’t bother pouring into the jugs since we are only keeping one for making more stuff with this week. Milk = mostly water and lactose.

Image

Cider/Fruit masher

While envisioning the cheese press, it occurred to me that I could probably use the press for making cider and getting liquids out of other solids if I had a different mold system to put into the press.

So I looked around at tractor supply and found some food safe buckets and tubing:

Image

Image

I accidentally bought the wrong hardware to connect the tubing so I made a quick morning run today to Home depot and picked up a brass connector. (Check that your connectors fit the Inside dimensions and not the outside dimensions, sigh)

Then I determined how tall I wanted to make the whole thing. Ideally I’d like to use it with the cheese press I made yesterday, so I measured the outside height to be able to fit comfortably within the press, in this case 8 1/2 inches. I may find I need to cut this down a little in the future, but for now it seems to work. This was the largest it could be.  Drilled a hole and used the jig saw to cut off the top of the bucket:

Image

(there’s a hole in this bucket dear Liza dear Liza)

Using the outside as the guide I then cut the second bucket to fit just inside the first. I may need to add some sort of handle to this follower as it’s really hard to get out of the bucket when nothing is in it. Another potential problem is that the buckets don’t go all the way to the bottom of each other so there will always be a 2 inch gap at the bottom, which shouldn’t be a huge problem with cider, but if I am using it for whey collection it might be problematic.

I then drilled a 1/2 inch hole on the bottom of the outside bucket and using plummer’s tape inserted the tube fitting. I then pushed the tube onto the fitting and cut it to about three feet, which should allow it to be used on the counter and then drain into a milk jug or something else for collection.

Image

The idea being that you’d take apples, peel, core and put into food processor, then put them into a muslin/cheese cloth bag and put them in the bottom of the outer bucket. Put the follower bucket on top with its lid on, and put the whole thing into the cheese press, which should extract most of the juice out of the apple mash. (or anything else you put into it!)

Cheese press

We’ve been using an improvised cheese press for the last year and Caitrin decided that she would be excited about cheese making if I made a real press. So I started contemplating what I wanted:

Requirements

1, Must be able to use the cheese mold we already have, and future ones we might get

2. Must be able to be sterilized

3. Must be able to handle weight increments as small as 5 pounds and as big as 50

4. Must not be able to be knocked over by my cat in the middle of the night

5. Must create even pressure so the cheese isn’t lopsided again

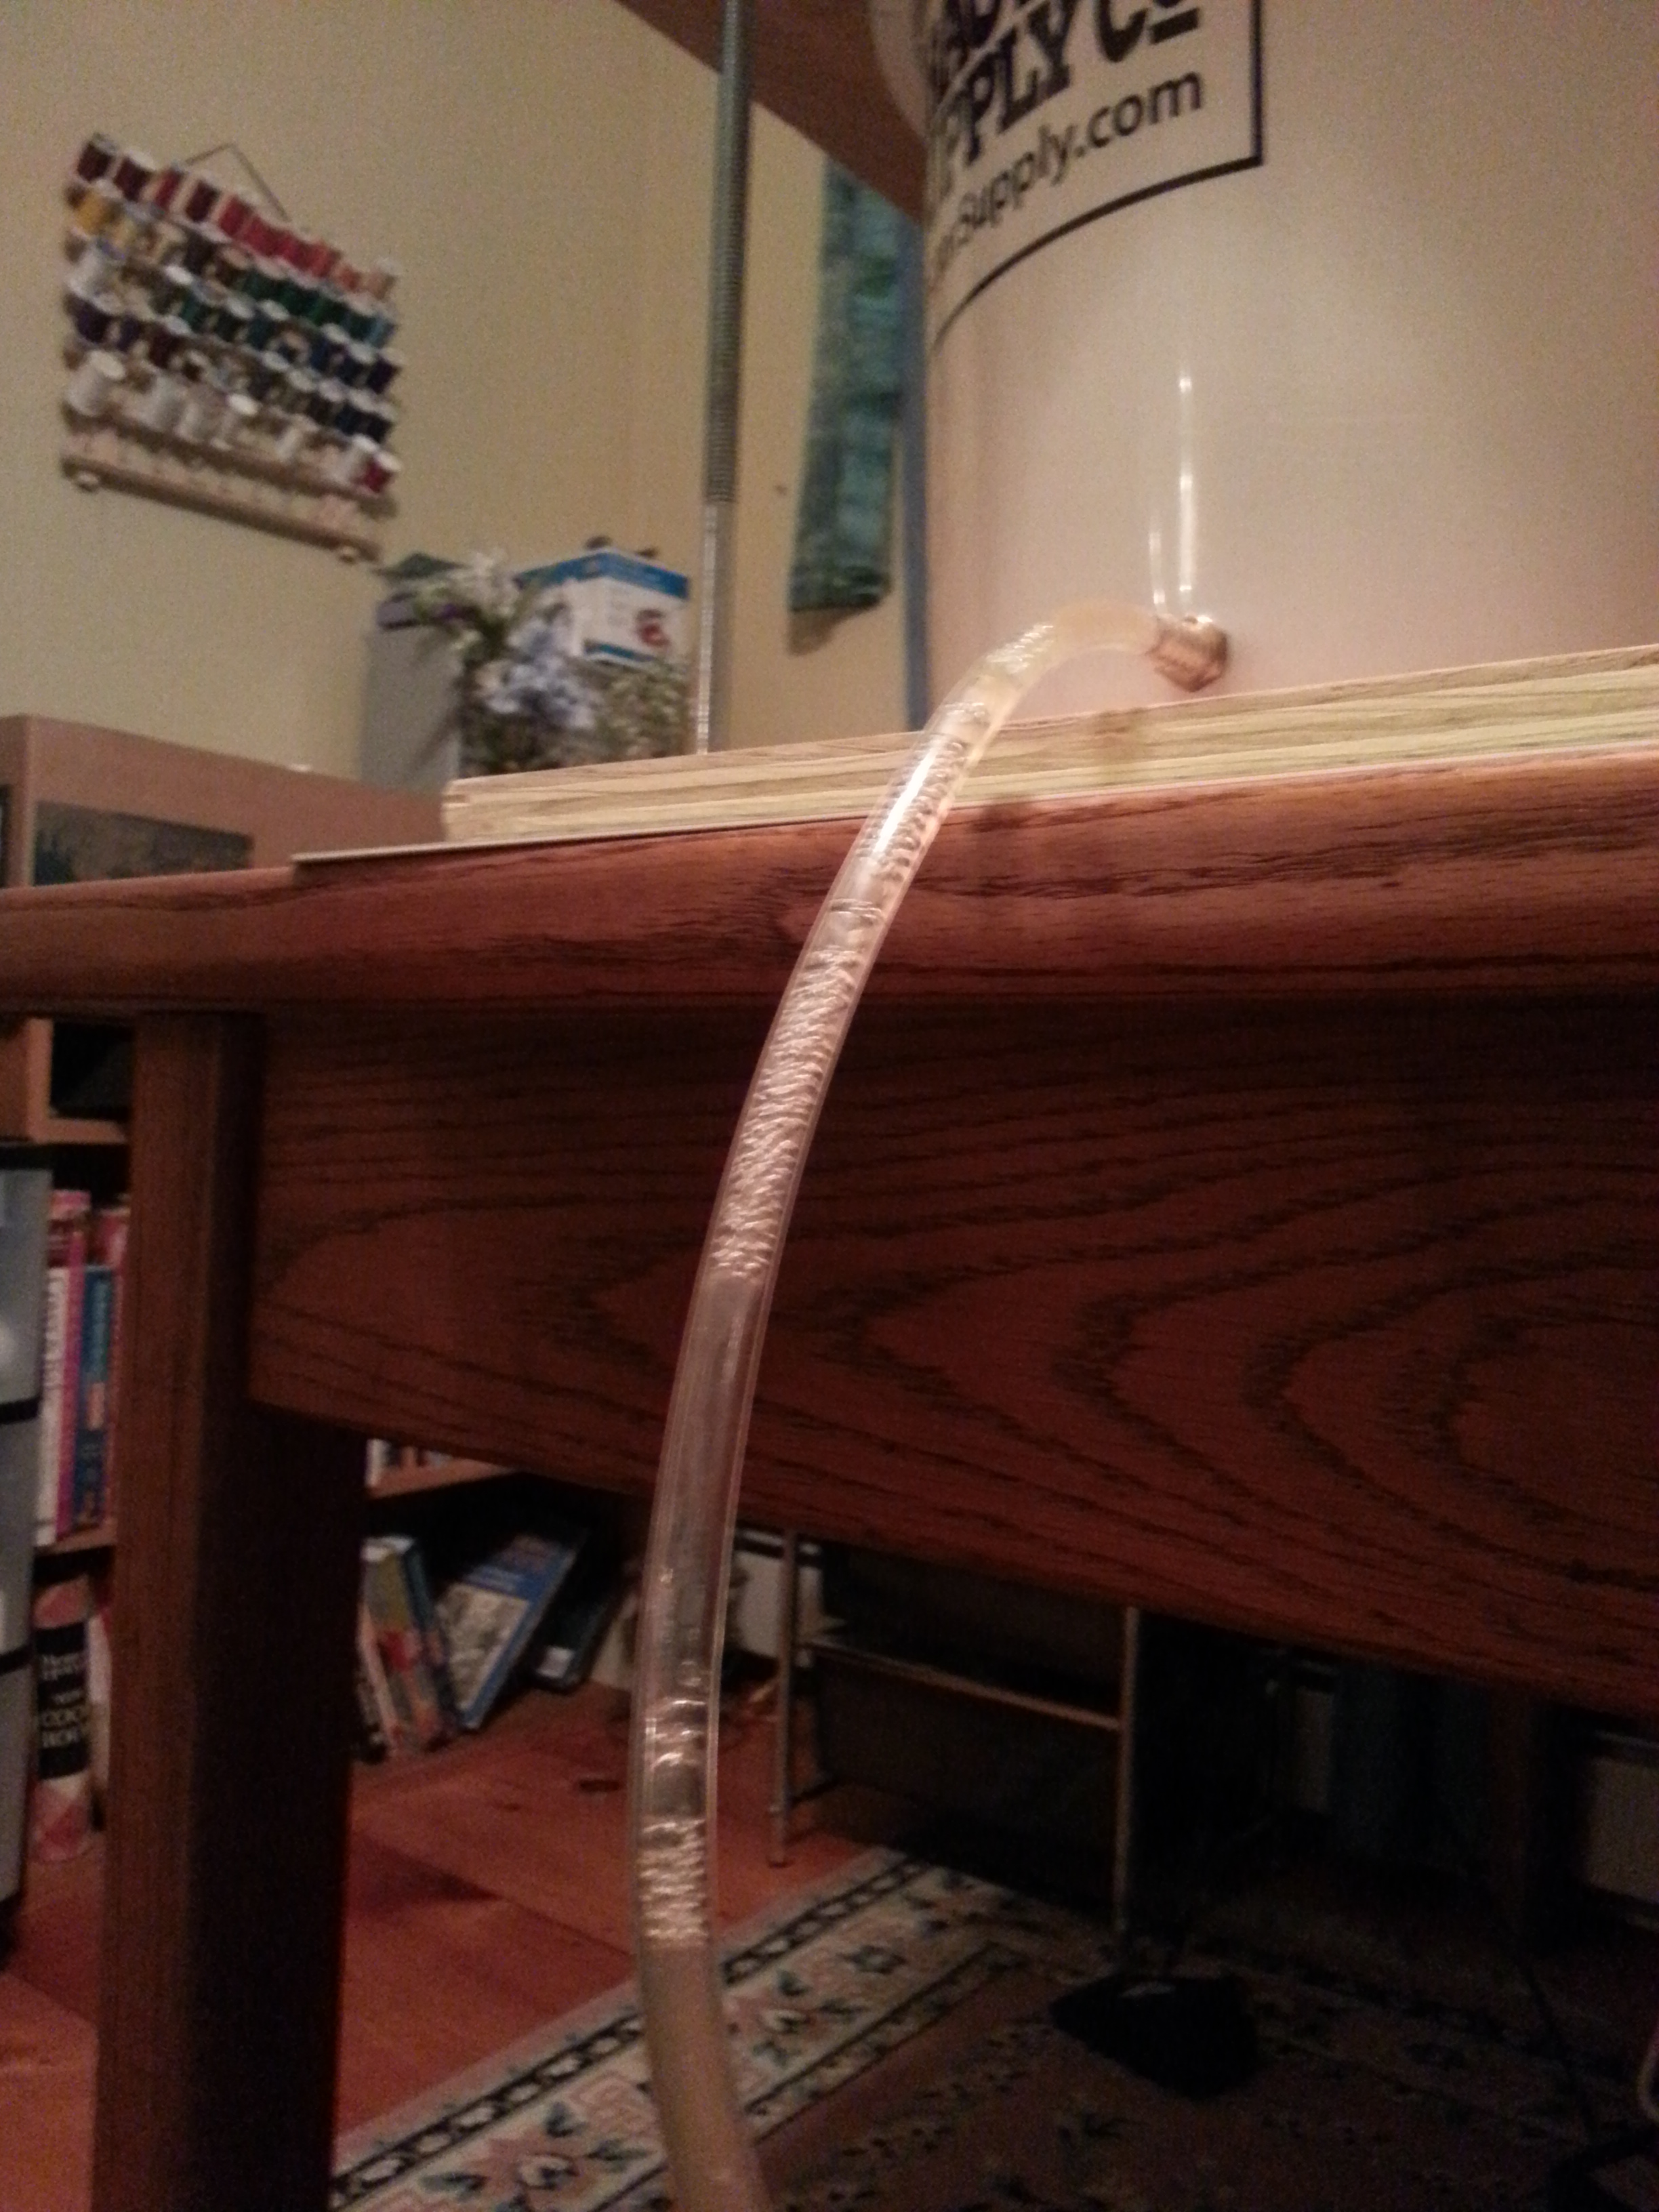
Our old one was so terrible I never took a picture of it, but picture in your mind a canning pot with a plate on the bottom and then the cheese mold on top of the plate, with some towels wrapped around so it didn’t slip (Which happened anyway) and then the crock pot balanced on top of the mold, filled with hand weights and held in place with large elastic bands. It functioned, but was kinda a disaster every time.

Which brings us to the new one.

I found some premium plywood in the garage that was left over from Tim’s cat tree project and cut out 2, 15″ x 15″ squares. Then I measured to the middle and made a circle showing where molds could fit – up to 1 foot in diameter (important for my cider press plans) and decided where the holes for the carriage bolts should go, two inches in on each corner:

Image

Then I drilled the holes for the 10 inch long (3/8″) carriage bolts and tried those out:

Image

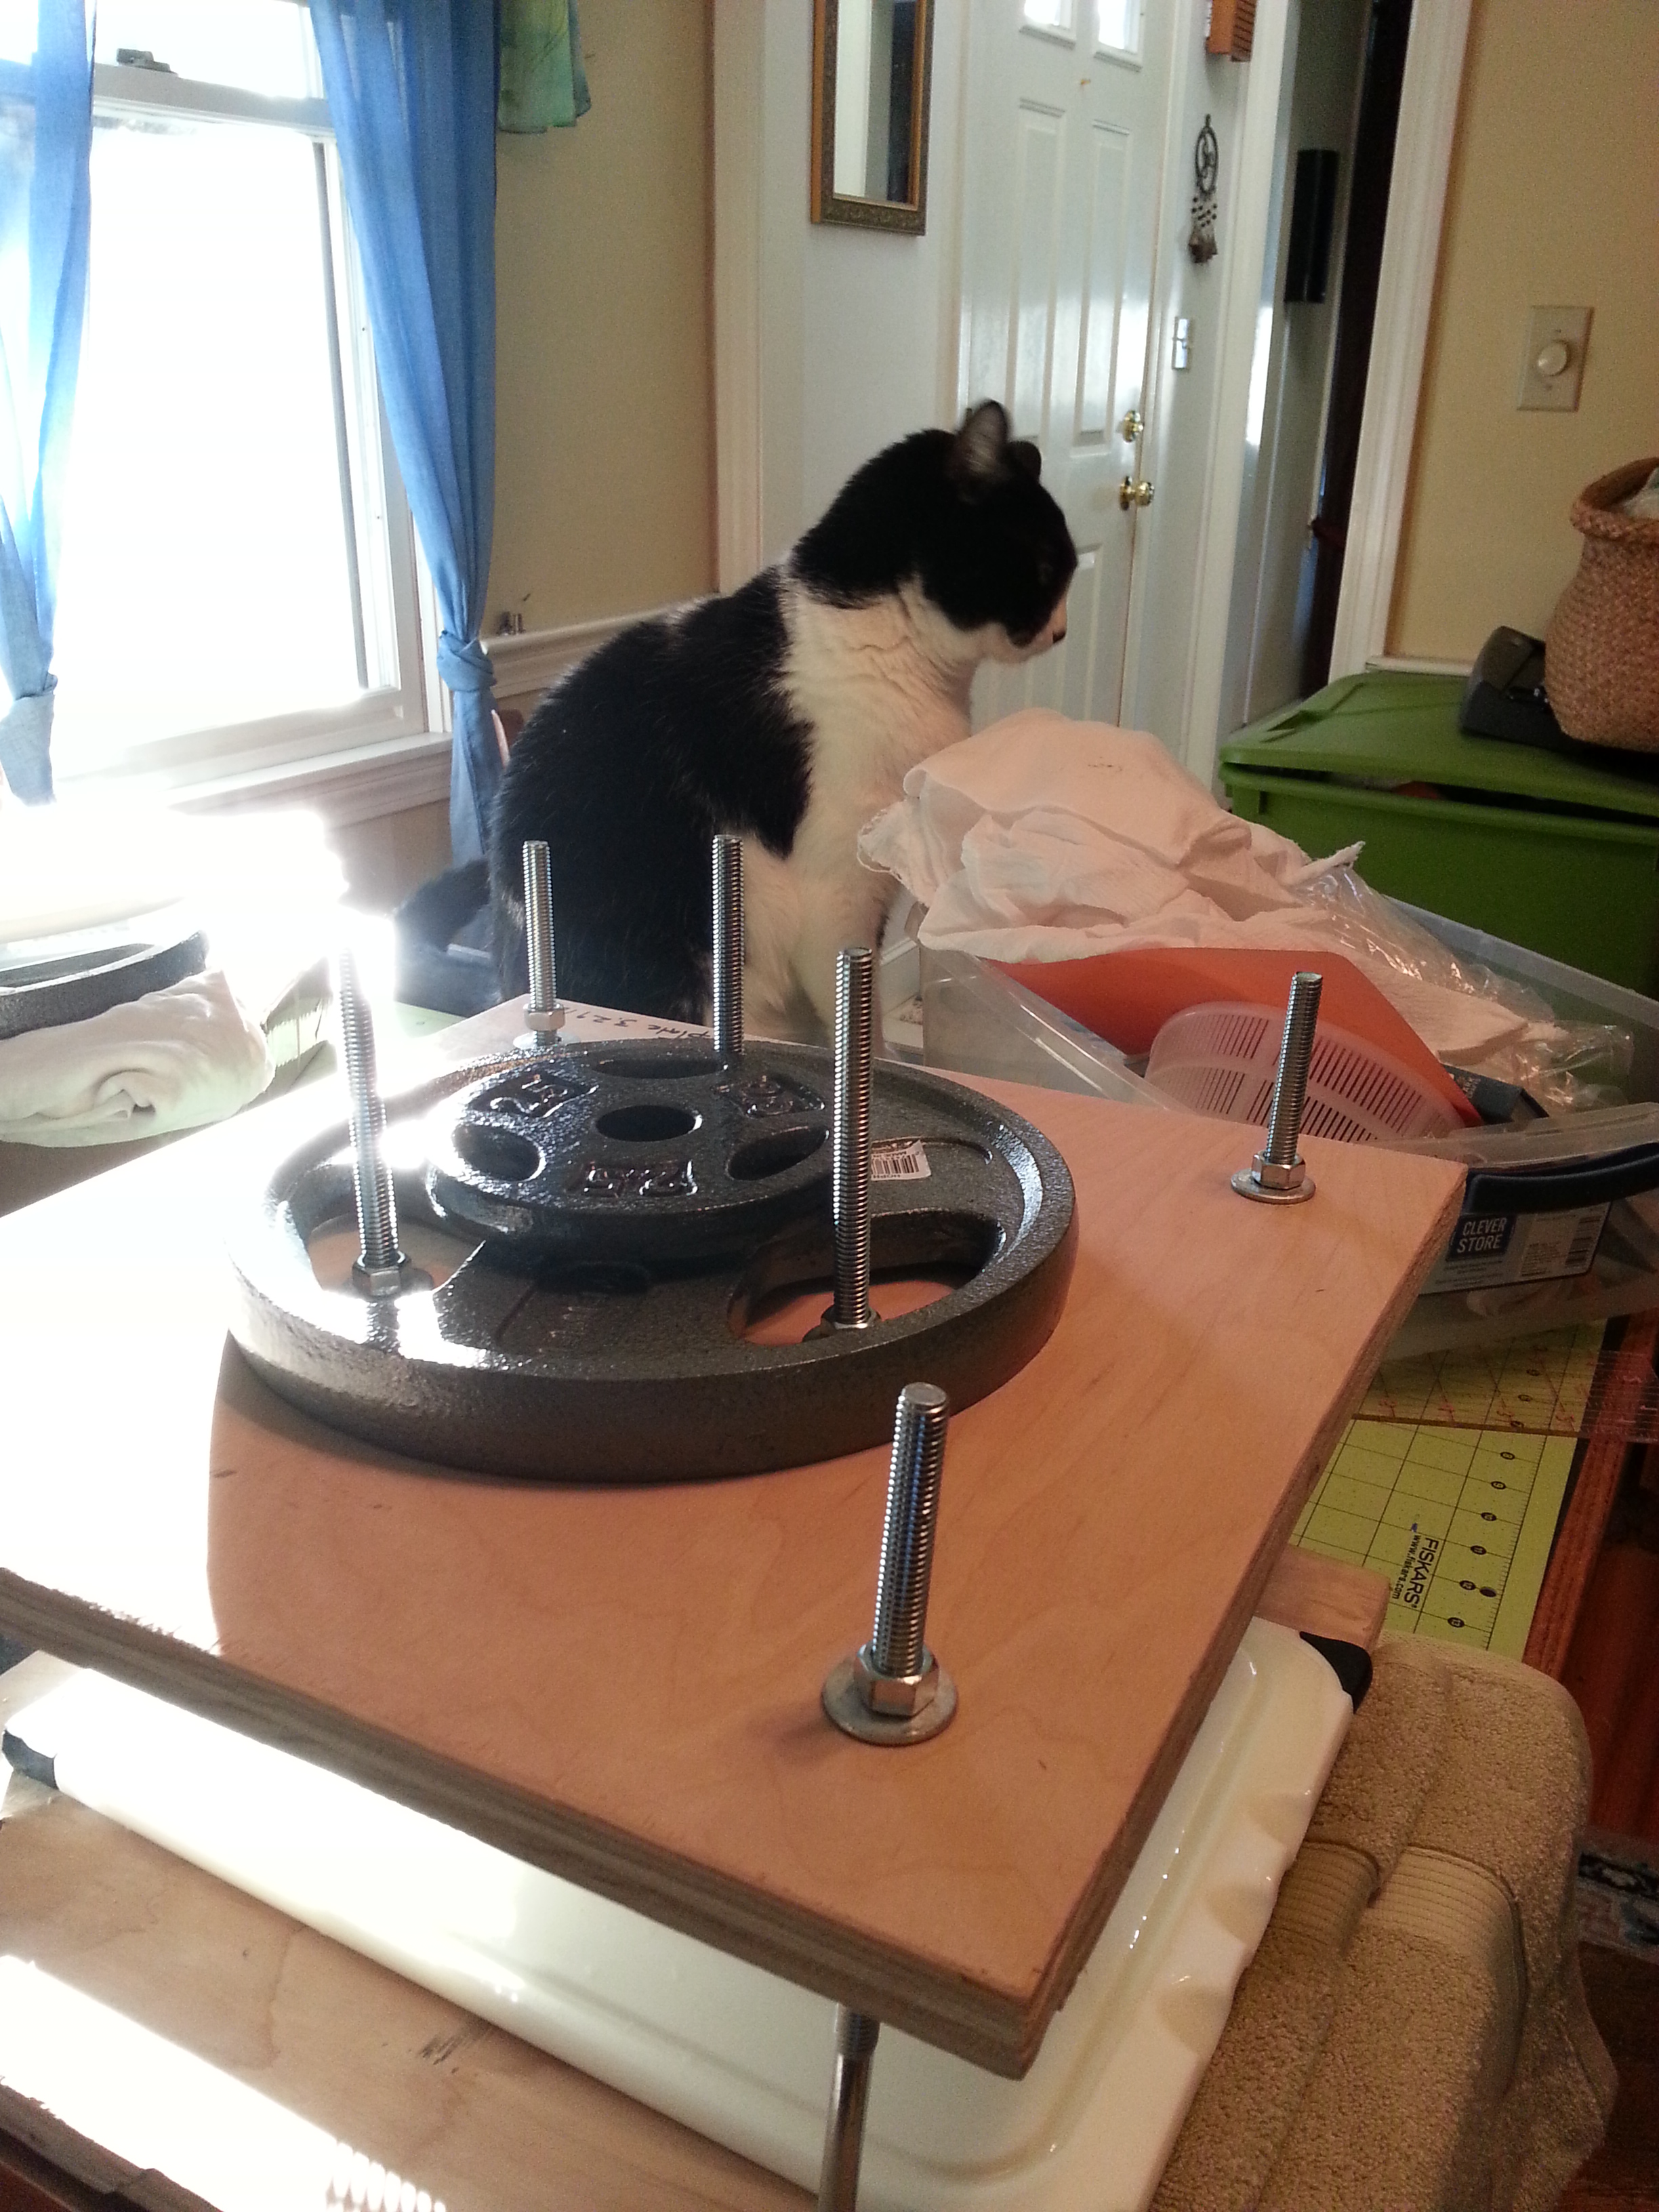
That seemed to work well, so I drilled the holes on the other board, essentially creating a large flower press. On the top board I drilled three holes for the smaller 6 inch bolts that I am using to keep the Olympic style weights in place. (the Olympic style ones have three large holes, which makes them easier to use, but one could just drill one hole in the center and put one bar in for regular style weights)

Image

tightened everything down so the bolts would be flush with the wood as much as possible, and then tried it out:Image

You’ll notice in that picture I’ve noted the weight of the board on the top so I can take that into consideration when I am pressing cheese. I’ll need to buy another weight, this time only 2.5 pounds(the smallest size they make) to make it get closer to the low end of the 5 pounds of pressure.

Haven’t tried it with cheese yet, but it definitely puts pressure and holds things well under pressure. I am using a food safe plastic lid between the cheese mold and then top plate, and will use a cutting board under the press to catch the whey.