For my East Kingdom exchange project I decided to make a viking wooden spoon based on extant pieces found through archeology.
To start I had to decide what kind of wood I’d like to use.
Readily available to me:
Pine, White Pine, Cedar, Maple, Fir, Cherry, Oak, Poplar, Basswood, Apple and Rosewood.
Pine – Pine has a big grain which makes it difficult to carve. Also it has a piney smell, which isn’t ideal for utensils. Also it’s a pretty soft wood, which makes it easy to carve but not very durable. The large grain also makes it pretty prone to breaking.
White Pine – smaller grain, but all the same problems of pine for the sake of utensils. Would be good for non eating projects though.
Cedar – A dream to carve. It’s soft but resilient. The grain is big, but big enough that it sort of doesn’t matter as much. But it’s still a soft wood, which for the sake of this project is problematic mostly in its aroma. It smells lovely. However that’s not what you want out of a spoon you can eat with. It would make a pretty good decorative spoon.
Maple – One of the more expensive but easily found hardwoods. It is of medium hardness for carving. The grain is wide (and wavy!) which isn’t so great for spoons, but makes it really pretty for things like cutting boards, plates and boxes. If you found just the right piece of maple, it would probably make a pretty good spoon, but I didn’t find one.
Fir – Another “soft wood”, though in my experience it was very hard to carve. The grain is very evident and hard to work with. Also it smells piney.
Cherry – One of the other easily available, somewhat expensive hardwood. It varies from medium hardness to extra hard. I apparently have extra hard cherry. It’s a real pain to carve. But I’m tempted to try some other cherry as a lot of people keep recommending it to me. The grain works pretty well for carving, provided its been dried properly. It also has some toxicity, but provided you aren’t chewing on it all day, it’s a pretty minor issue. You wouldn’t want to make a water barrel out of cherry.
Oak – The hardest and most durable hardwood that is readily available for me to try, I’m not a huge fan of how it looks though, and it has a pretty distinct grain pattern that doesn’t play nicely with spoons. It’s better for plates, boxes and other solid objects.
Poplar – One of the cheapest hardwoods readily available. It is relatively easy to carve. The grain isn’t terribly obvious and doesn’t get in the way of carving it. It does tend to turn green if it hasn’t been aged properly or happens to have some of the heart wood in it. This is one reason a lot of people don’t use poplar.
Basswood – Technically this is a hard wood, but it’s really soft. It’s the easiest wood to carve. The grain is very straight, it doesn’t care if you cut it in the wrong direction. It does what ever you want it to do. Bad side – it’s not very durable. My first spoon was basswood and it snapped early on. It’s also not a terribly pretty wood. It’s very light colored and has very little “depth” of color.
Apple – I’ve heard great things about apple. I haven’t had a chance to try it because mine hasn’t has the time dry properly. I’ll probably try it next time.
Rosewood – Very pretty. Also Toxic. Not for spoons. Everyone keeps giving it to me though. I need to get a mask to work with it.
Woods I want to try, that are locally available, but would need to be aged – Ash, Birch, Aspen, Willow and Beech (or I need to find a real lumber yard.)
On the other hand I’m a little scared to try hickory, elm and walnut. For further reading about different wood types: http://www.wood-database.com/
Looking at the woods that have survived the trials of history, mostly we have evidence of hard hardwoods like Oak, Hickory, Elm, Ash and Walnut. But there’s no reason to think that the medium hardwoods would not have been used since they are easier to carve, they just don’t hold up through hundreds of years. Vikings also used a lot of horn for spoons, which I considered but given the safety requirements of carving horn, I decided to start with wood.
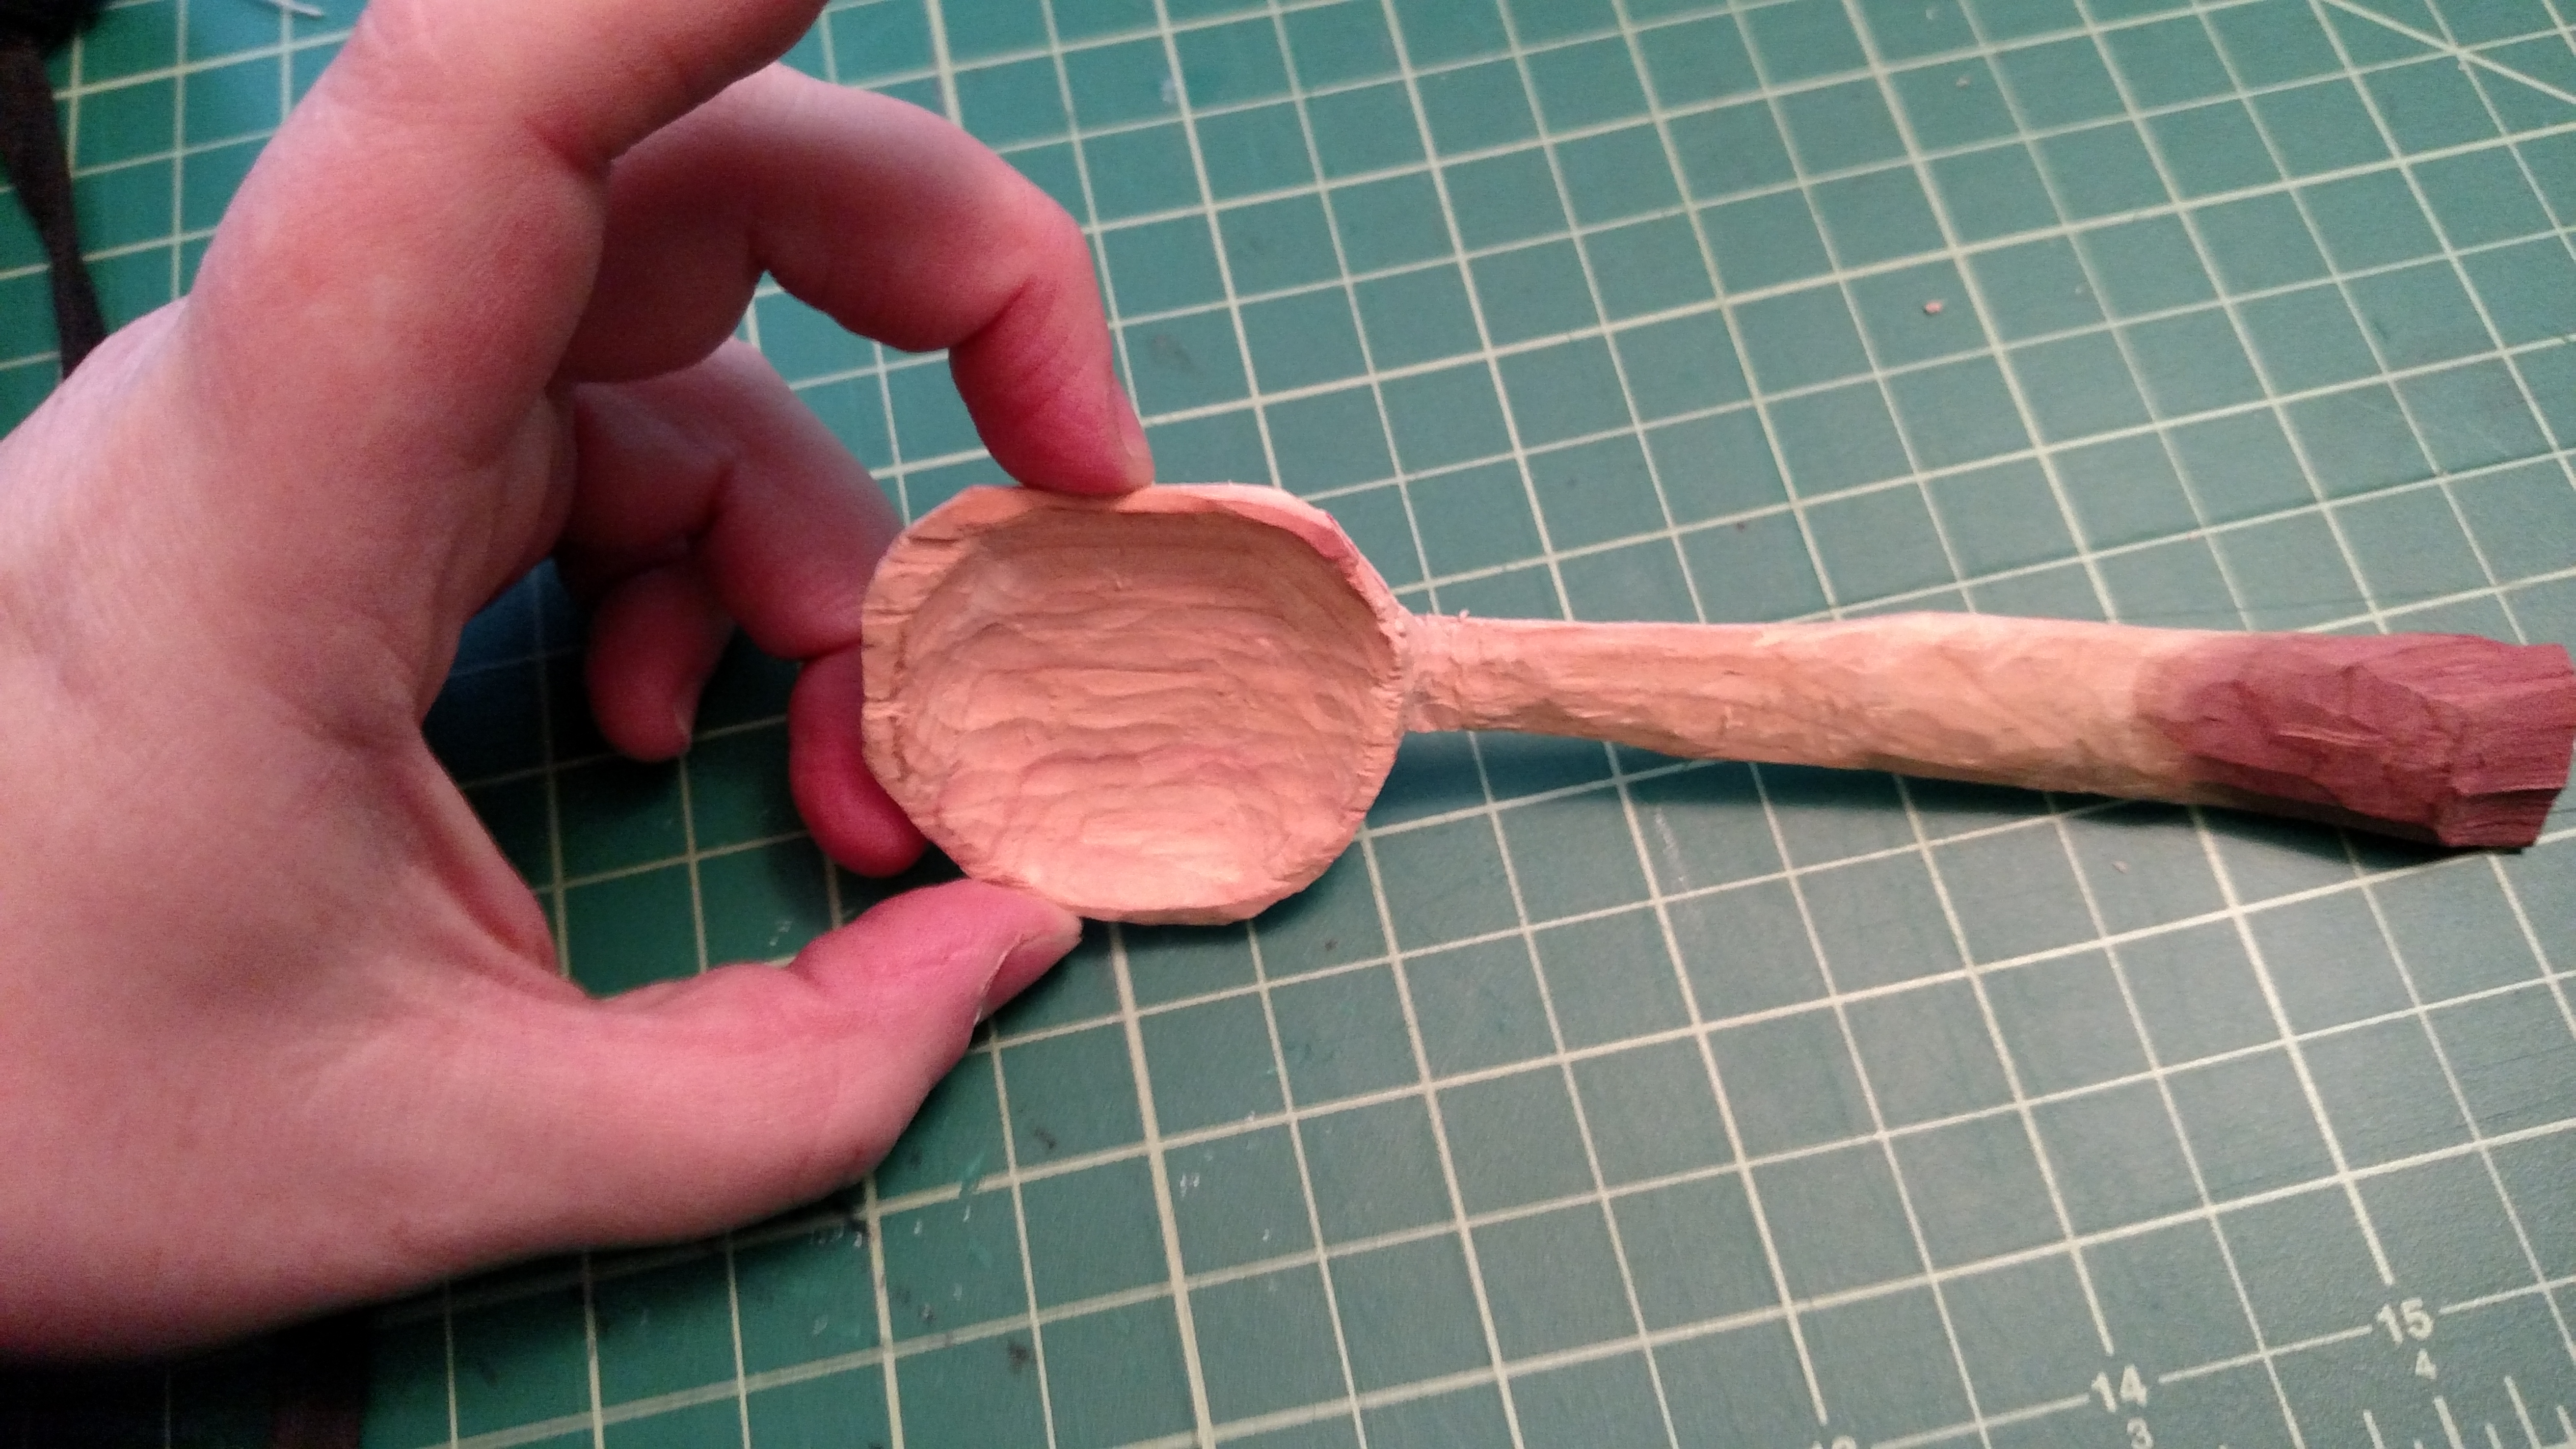
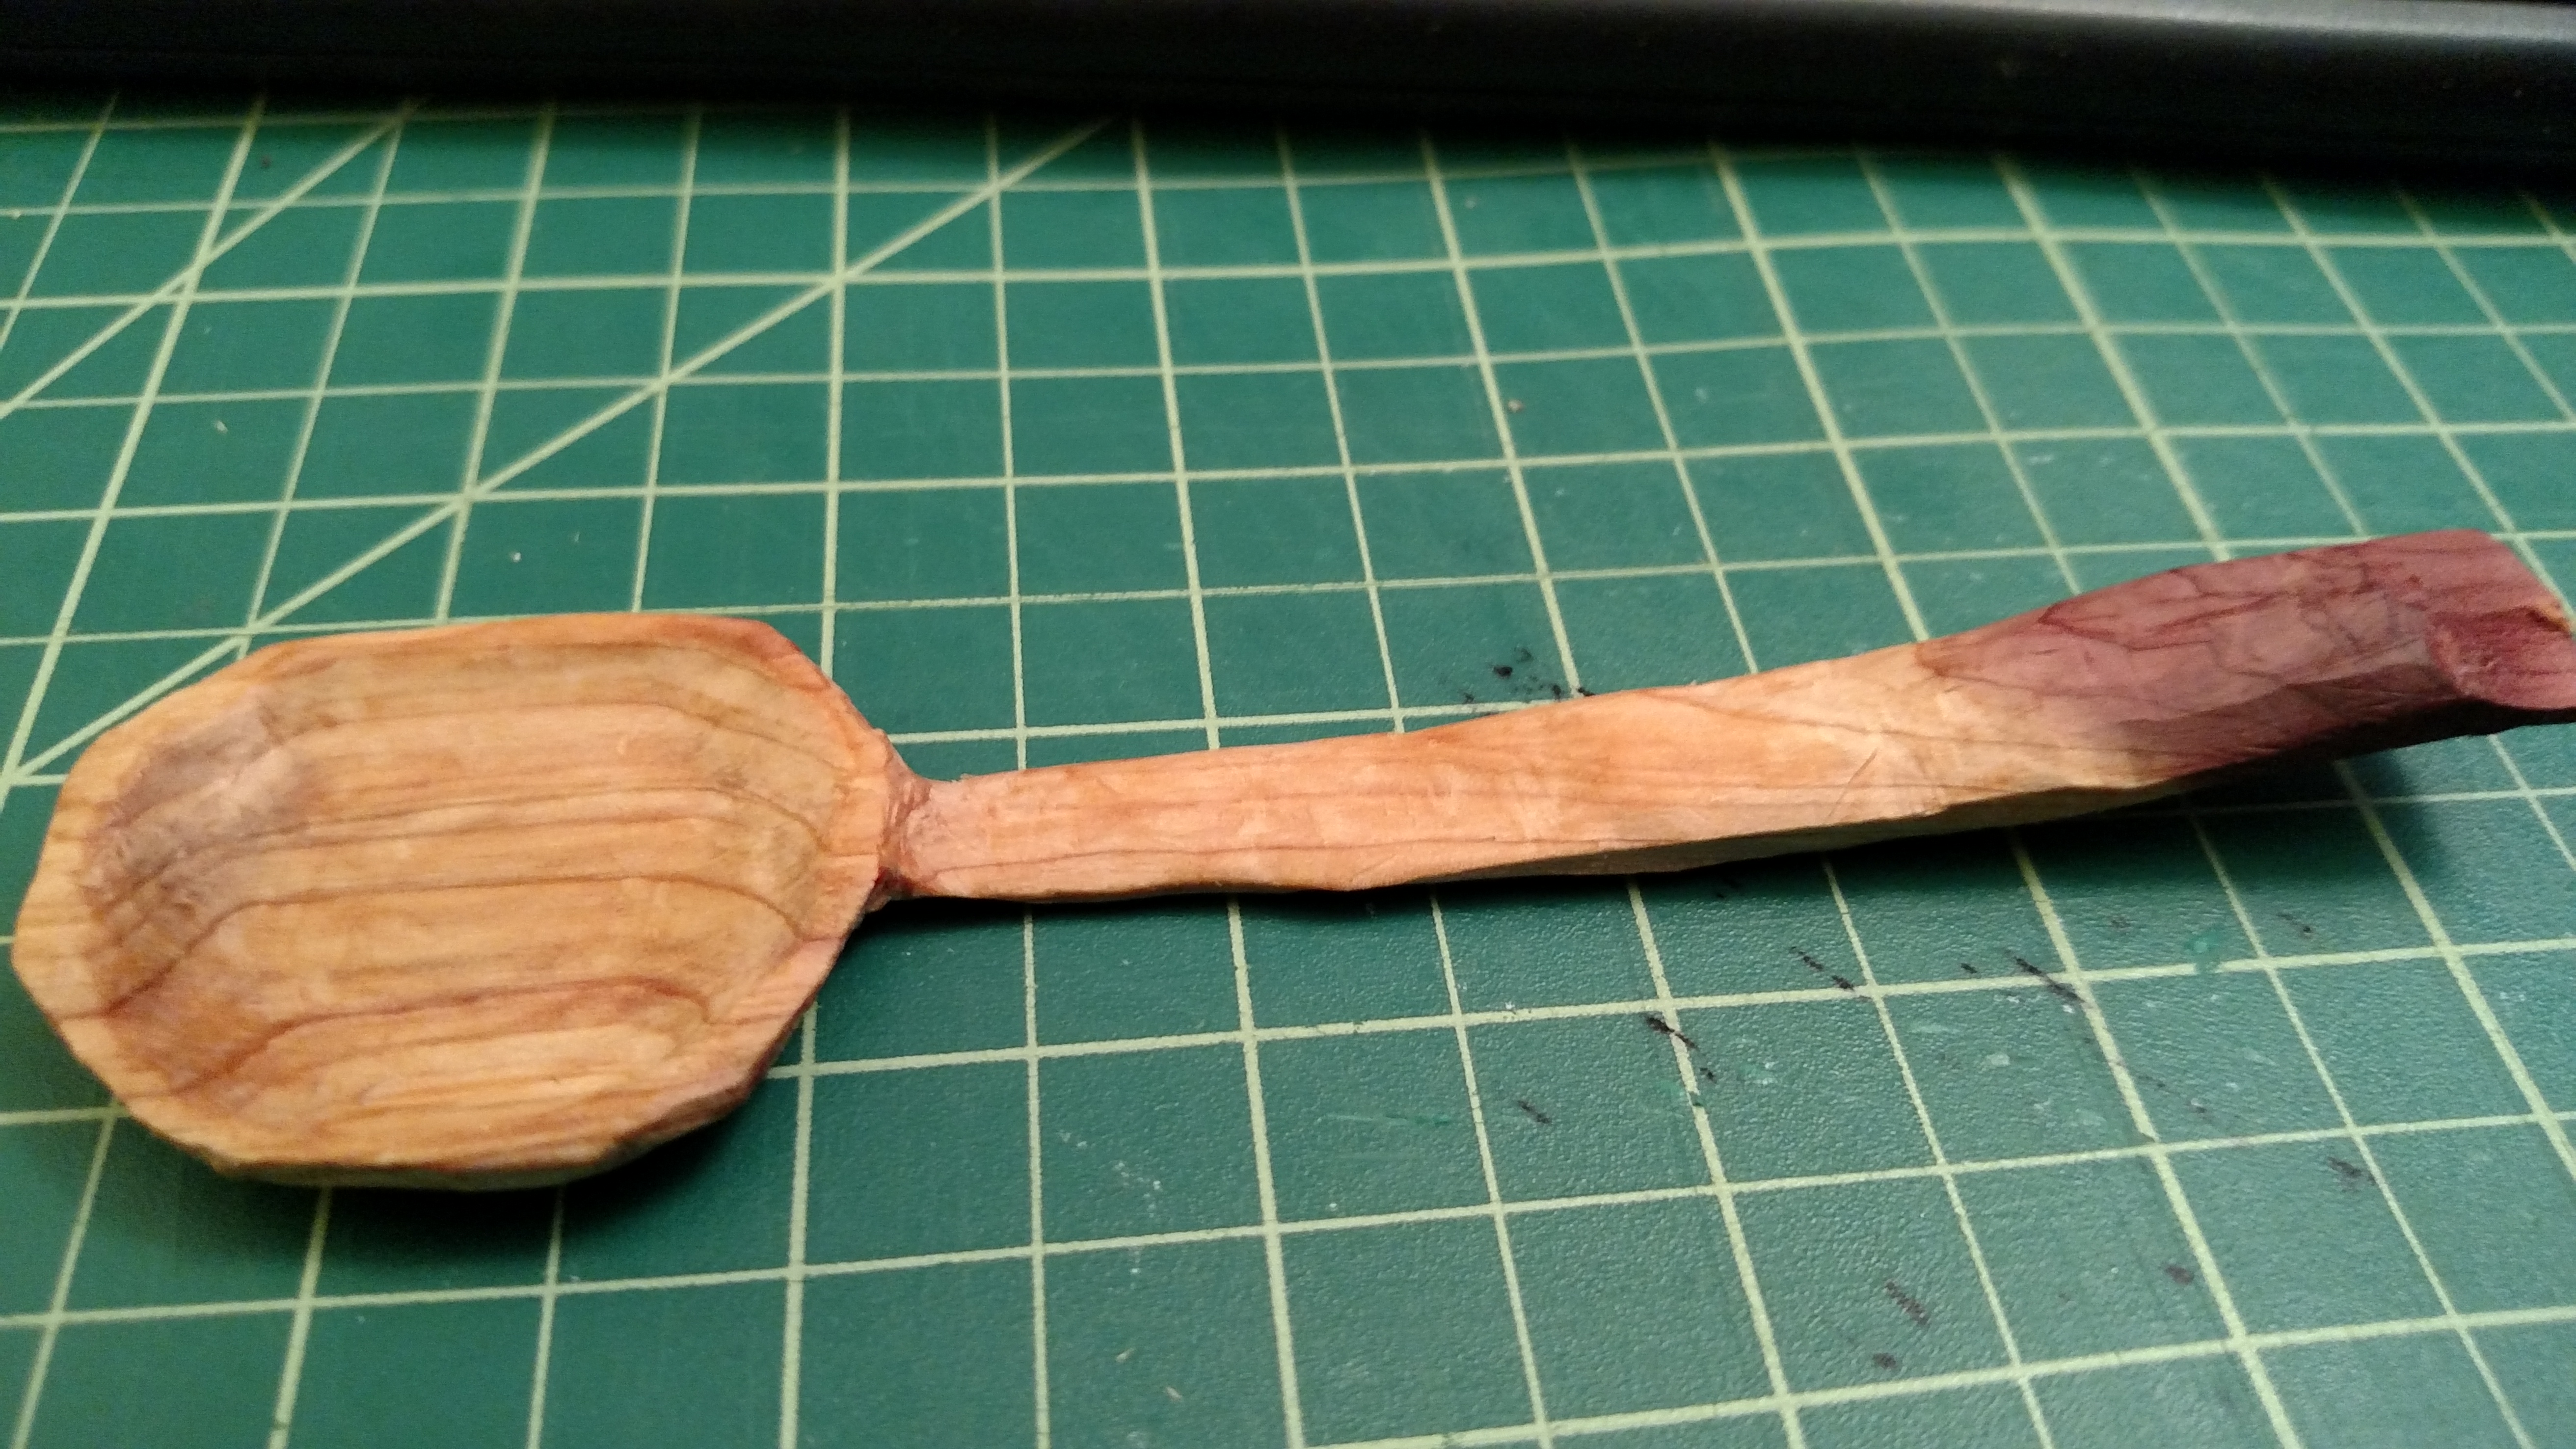
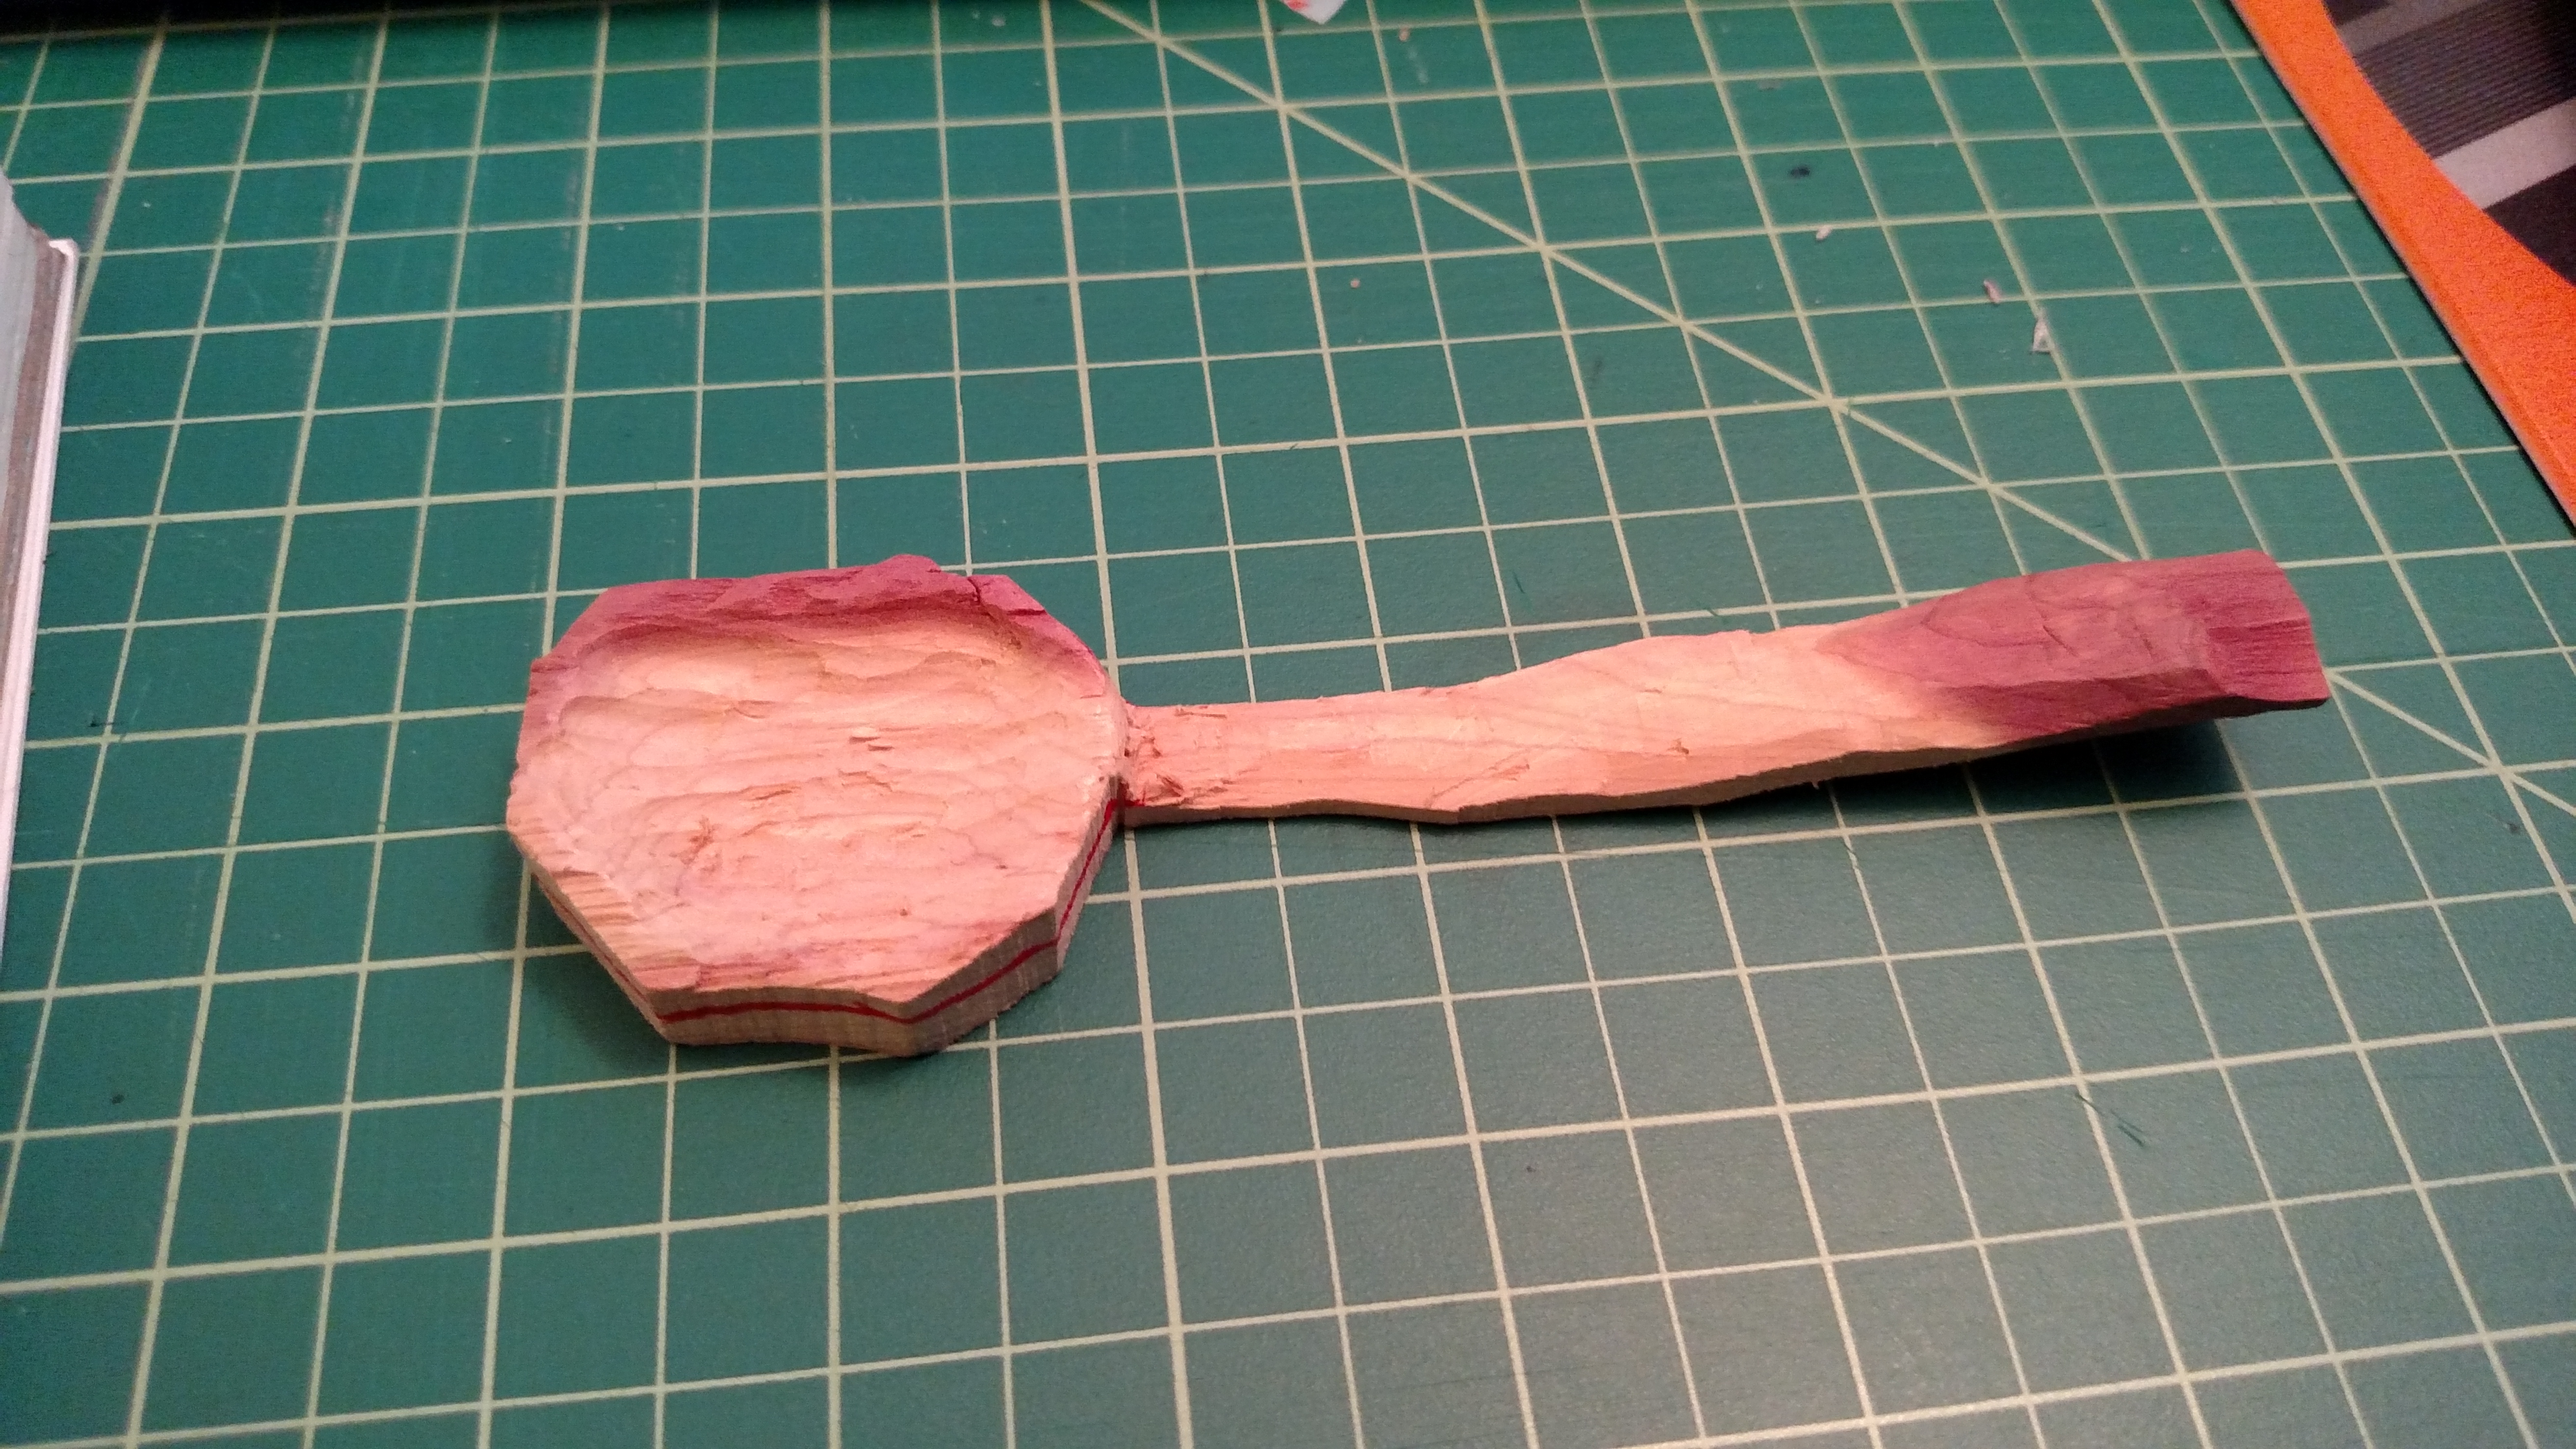
For my proof of concept piece I started with cedar. This was actually an accident, as it had been labeled as some other wood but once I cut into it I realized it was cedar. MMm the smell of cedar. So I decided I might as well use it to see how the general shaping would go since I had started it. And wow, cedar is quite nice to work with, though it’s a bit soft and I had some trouble with pieces falling off that I hadn’t intended to remove.

proof of concept
As you can see it has a lovely color and interesting grain patterns. The scent is not noticeable now that it’s been sitting around for a week or two, and it probably could be used for food if it were sealed.
The top curve of the bowl snapped off as I was working the bowl, it’s not a total loss, as it still has a curved side, but it isn’t nicely round shaped. I did not get around to shaping the outside of the spoon bowl.
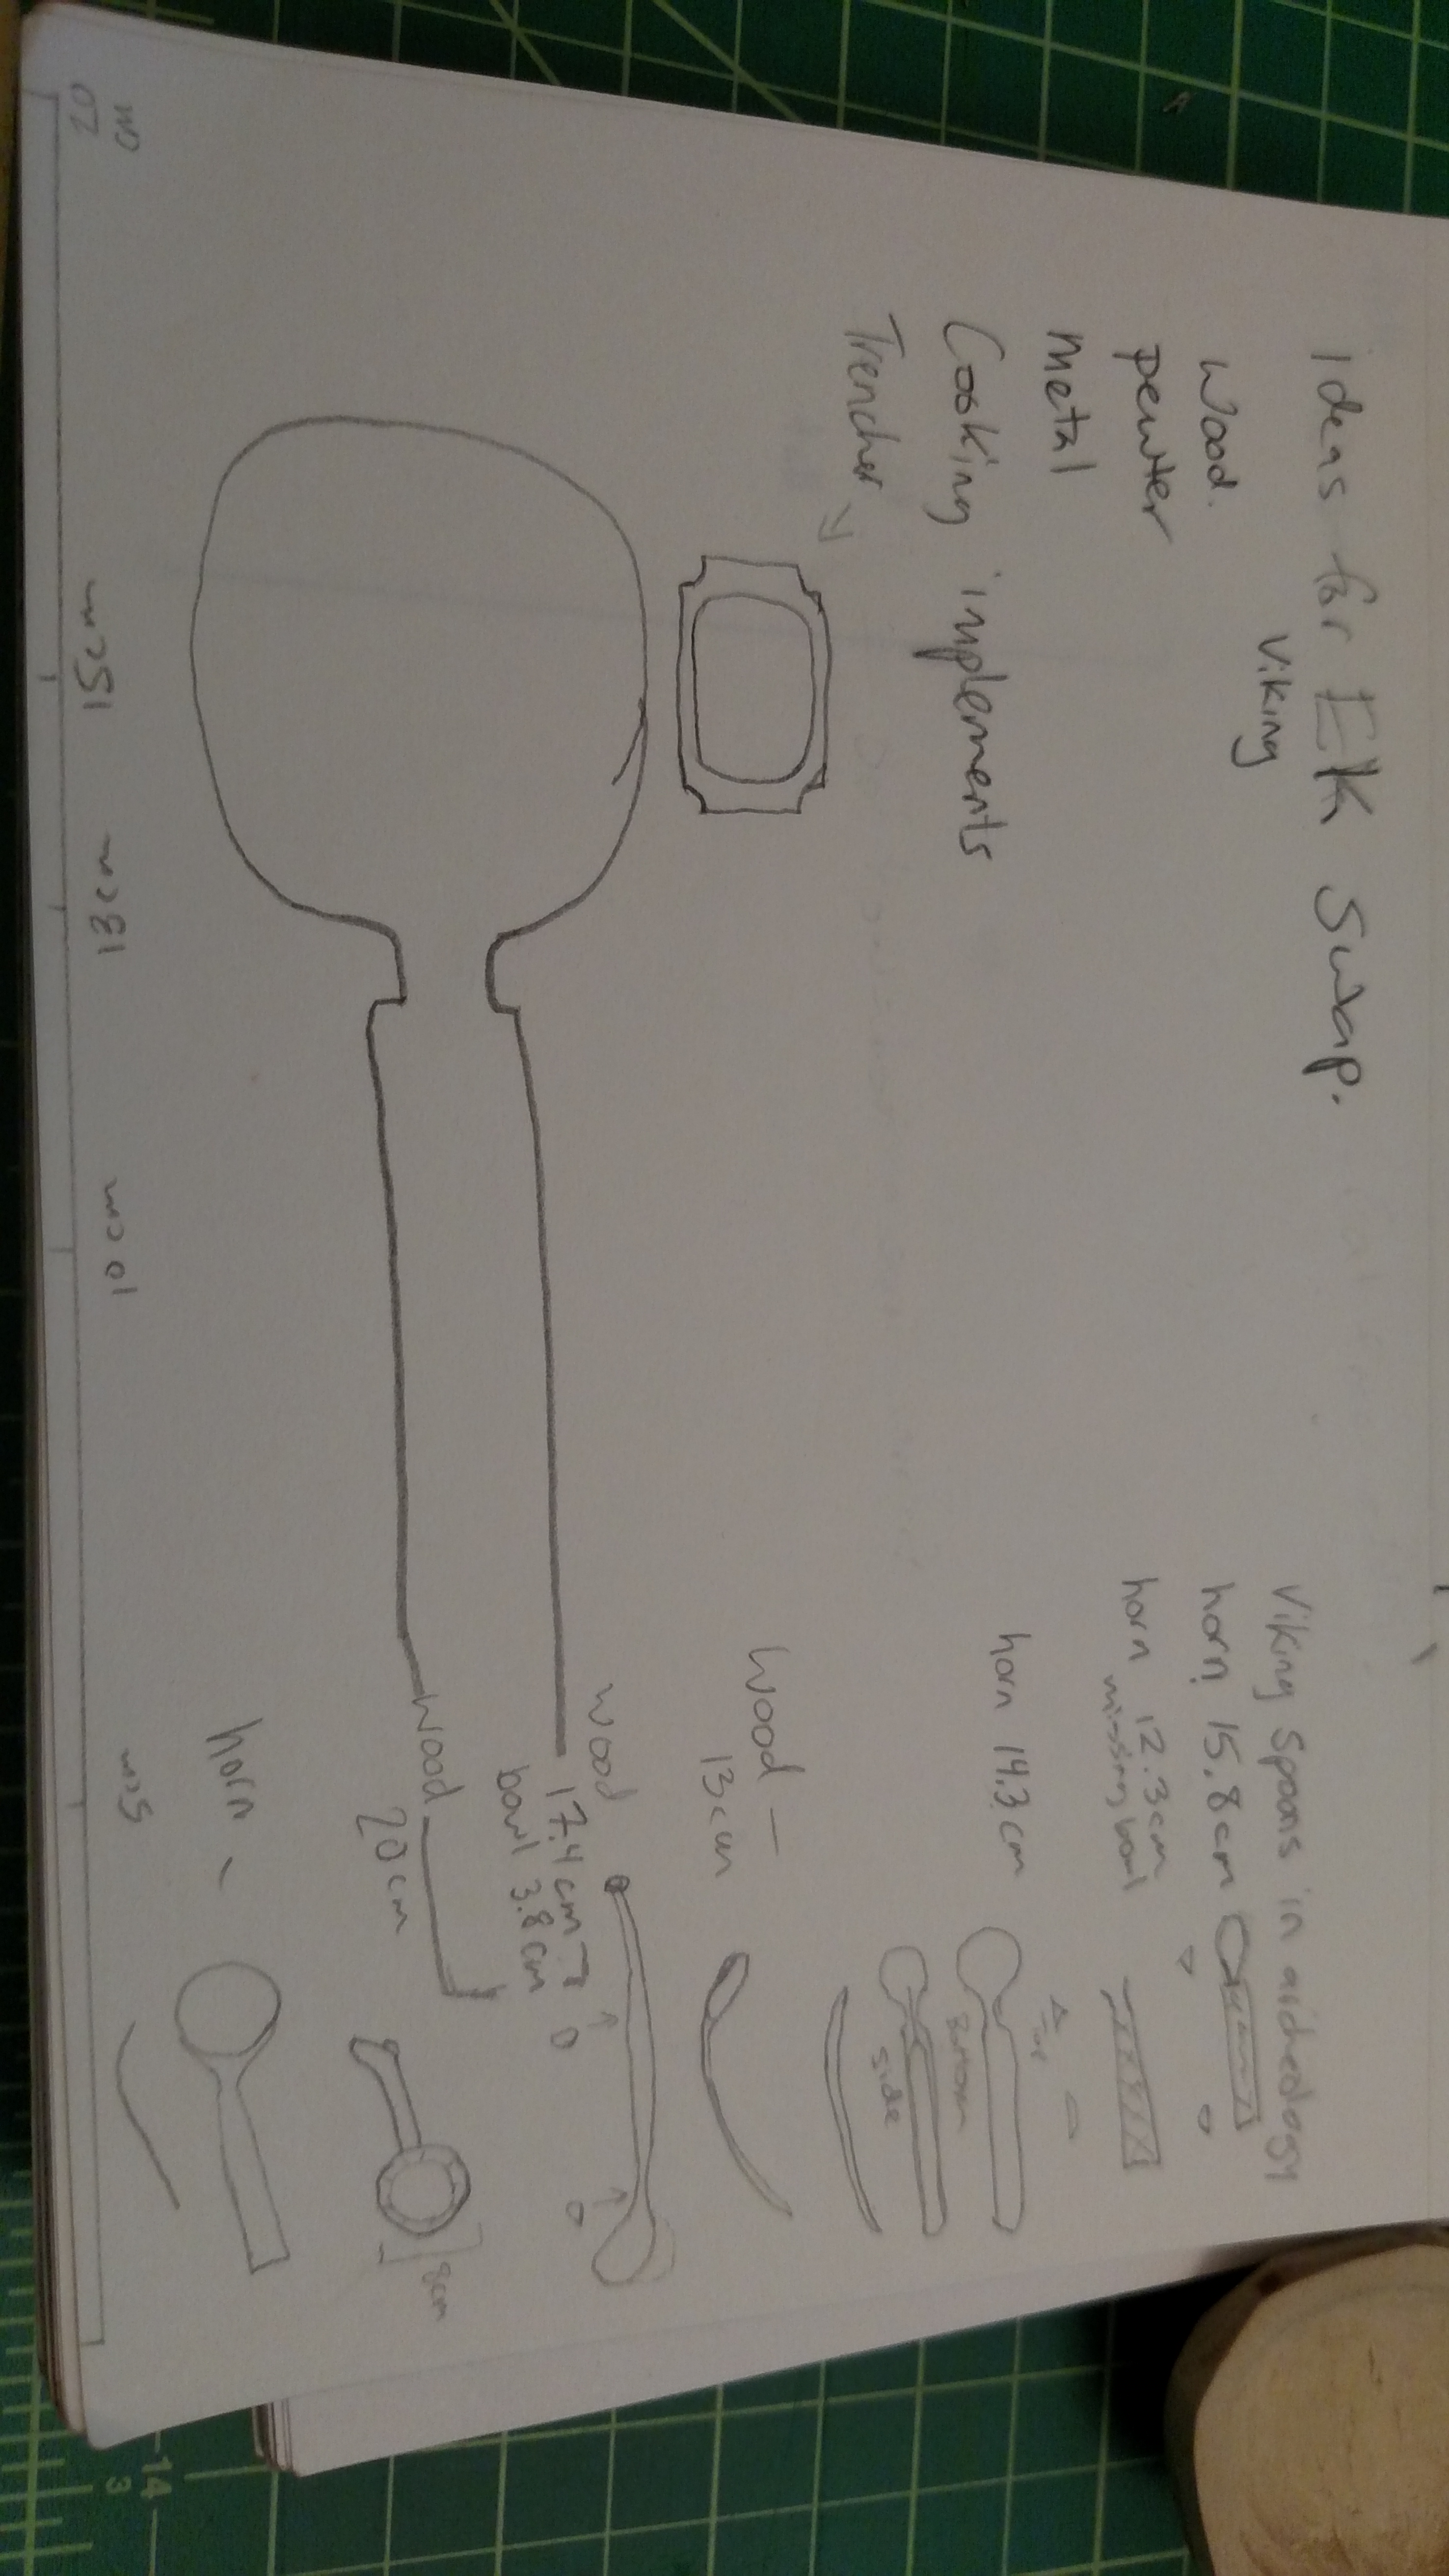
Extant examples
Using the website http://mis.historiska.se/ to find examples of viking spoons (And learning a bit of Swedish in the process, Sked = spoon!) I found a variety of examples of spoons, mostly made out of horn. I limited myself to spoons that were approximately the shape for eating rather than cooking. Most of the surviving spoons are damaged in one way or another, so to get a full sense of the spoon shape, you need to look at a variety of spoons. I also focused on spoons from the Uppland collection, for the sake of sanity.
Horn spoon handle
Horn spoon, seemingly for decorative use
Wooden spoon, probably for stirring / Strangely curved wooden spoon from the same find
Frustratingly great diagram of various viking spoons without attribution (google image search just keeps bringing me back to pinterest)
Curly birch spoon from Uppland
Flat ended bone spoon with decoration
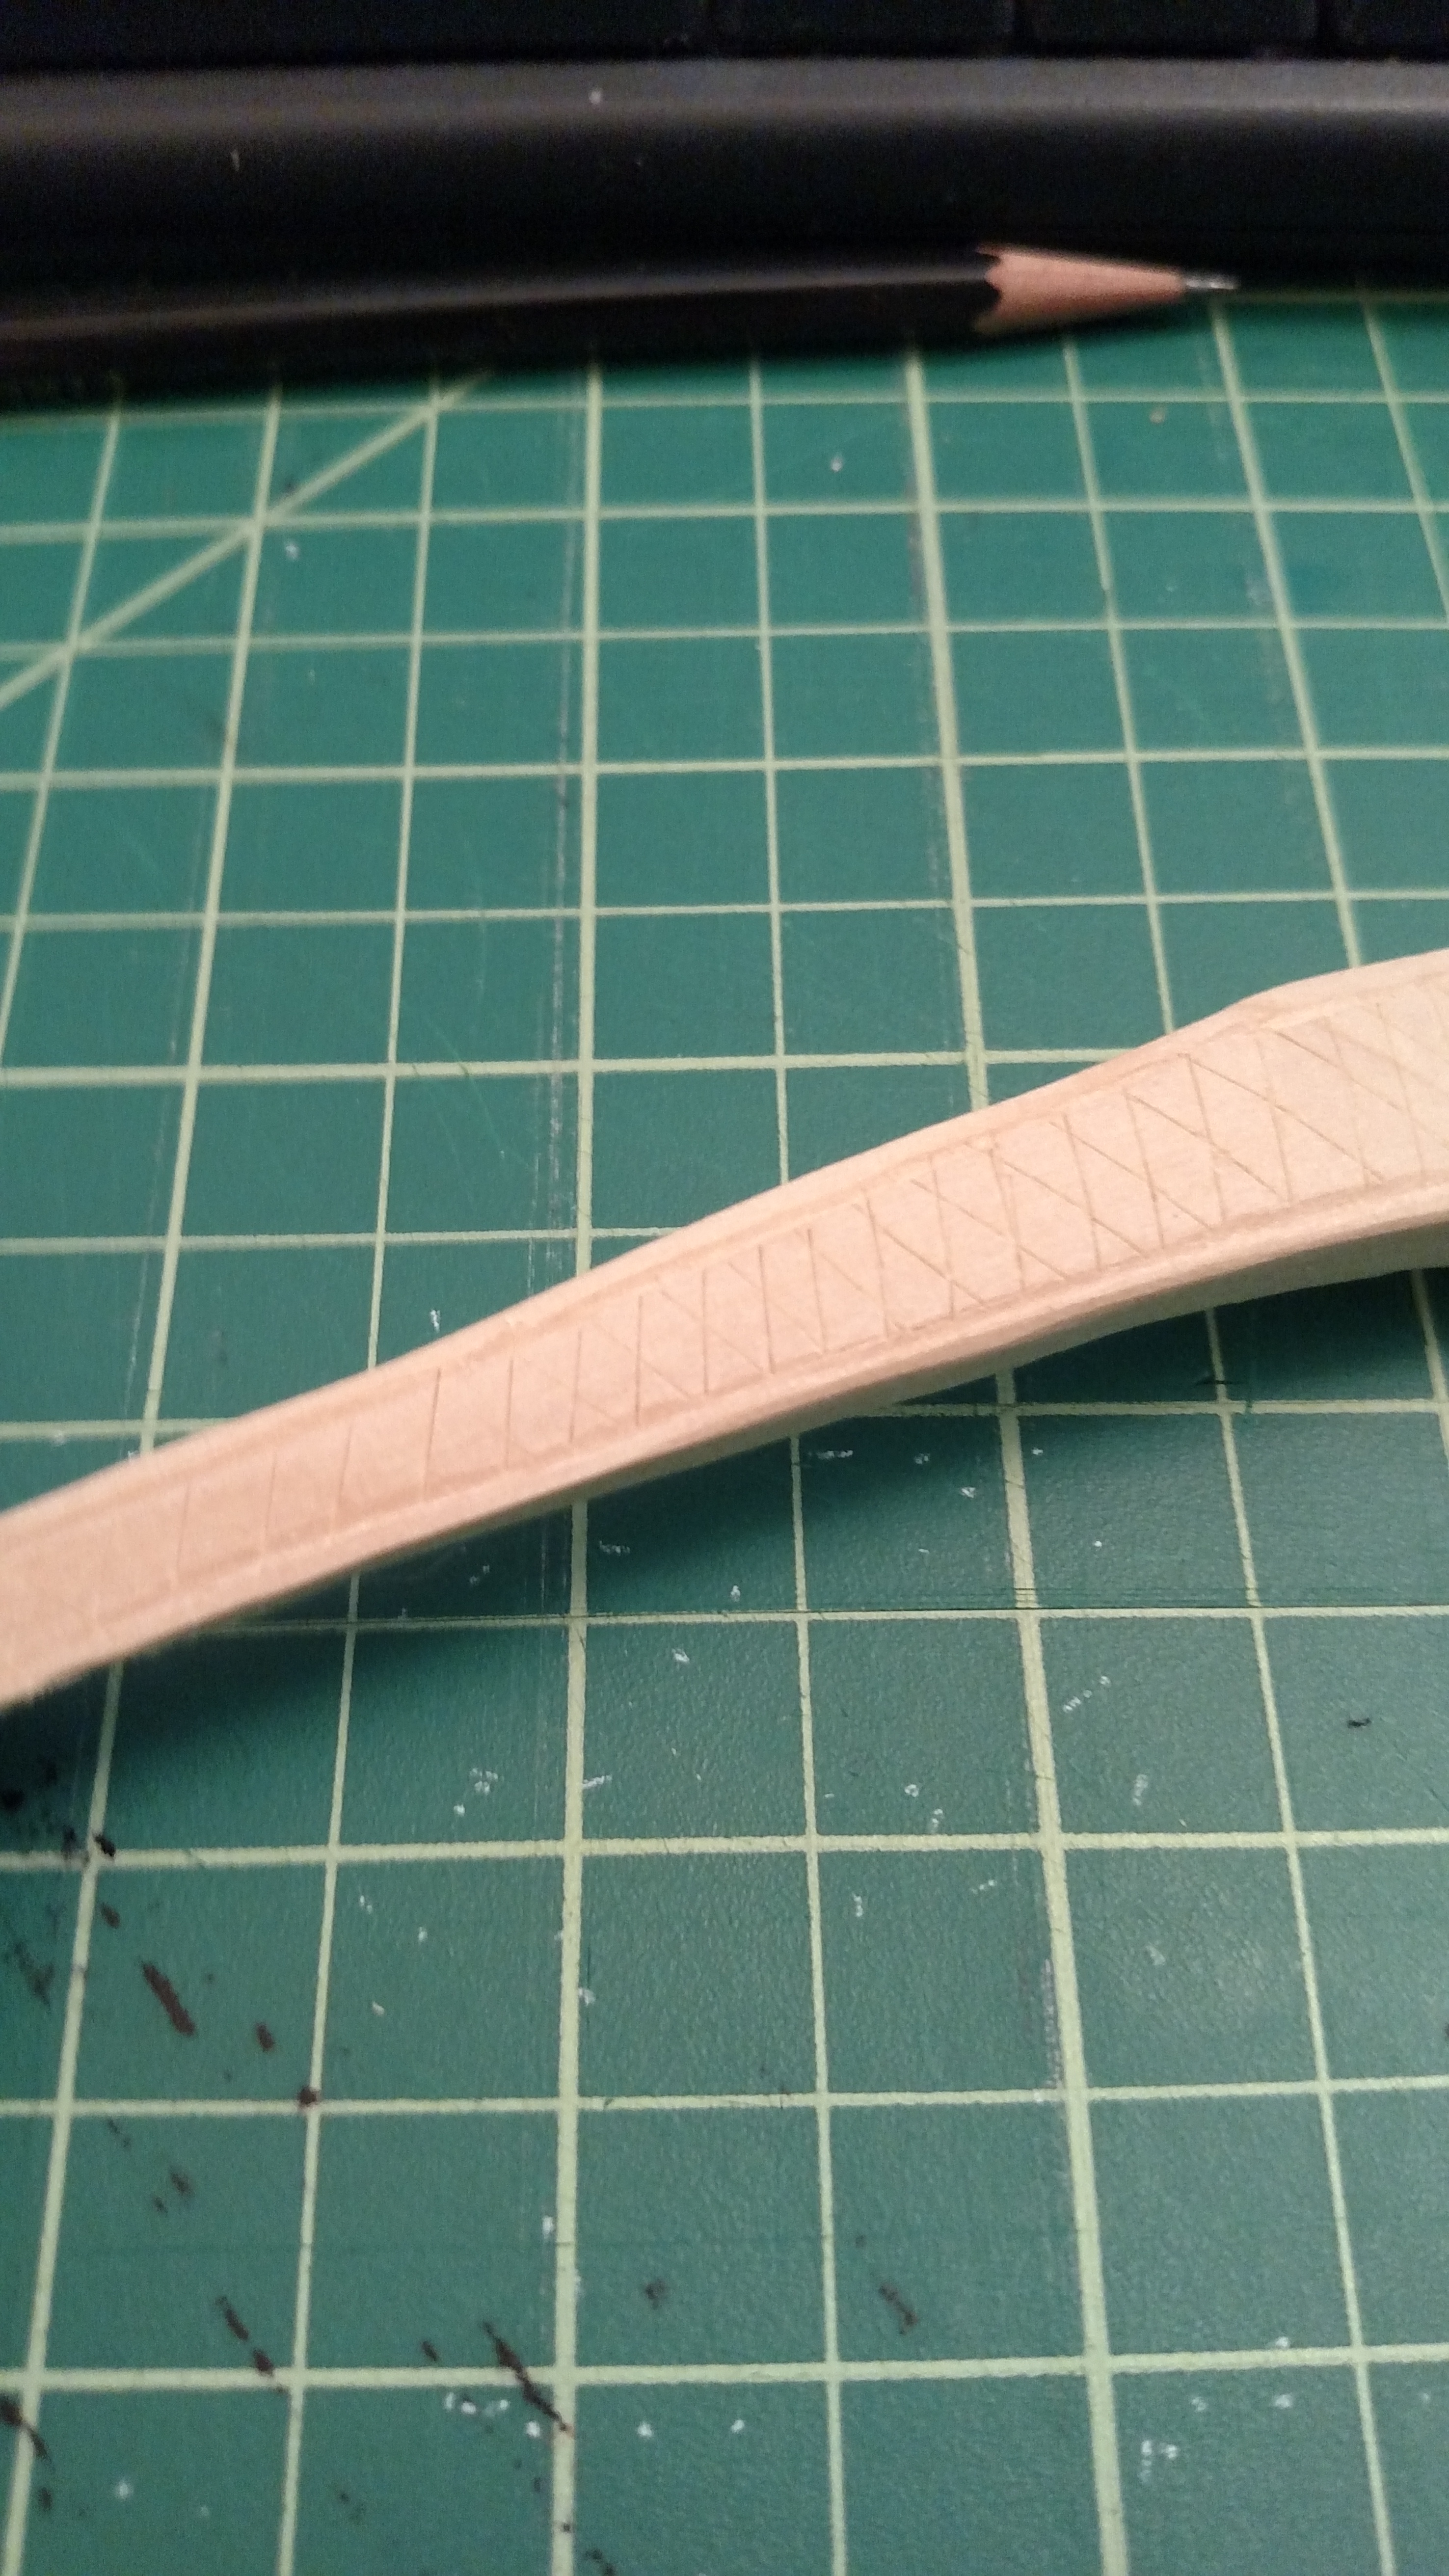
I decided to go with the general shape/size of the bone/horn spoons and the wood spoon’s overall shape, including trying to figure out the bend in the handle.

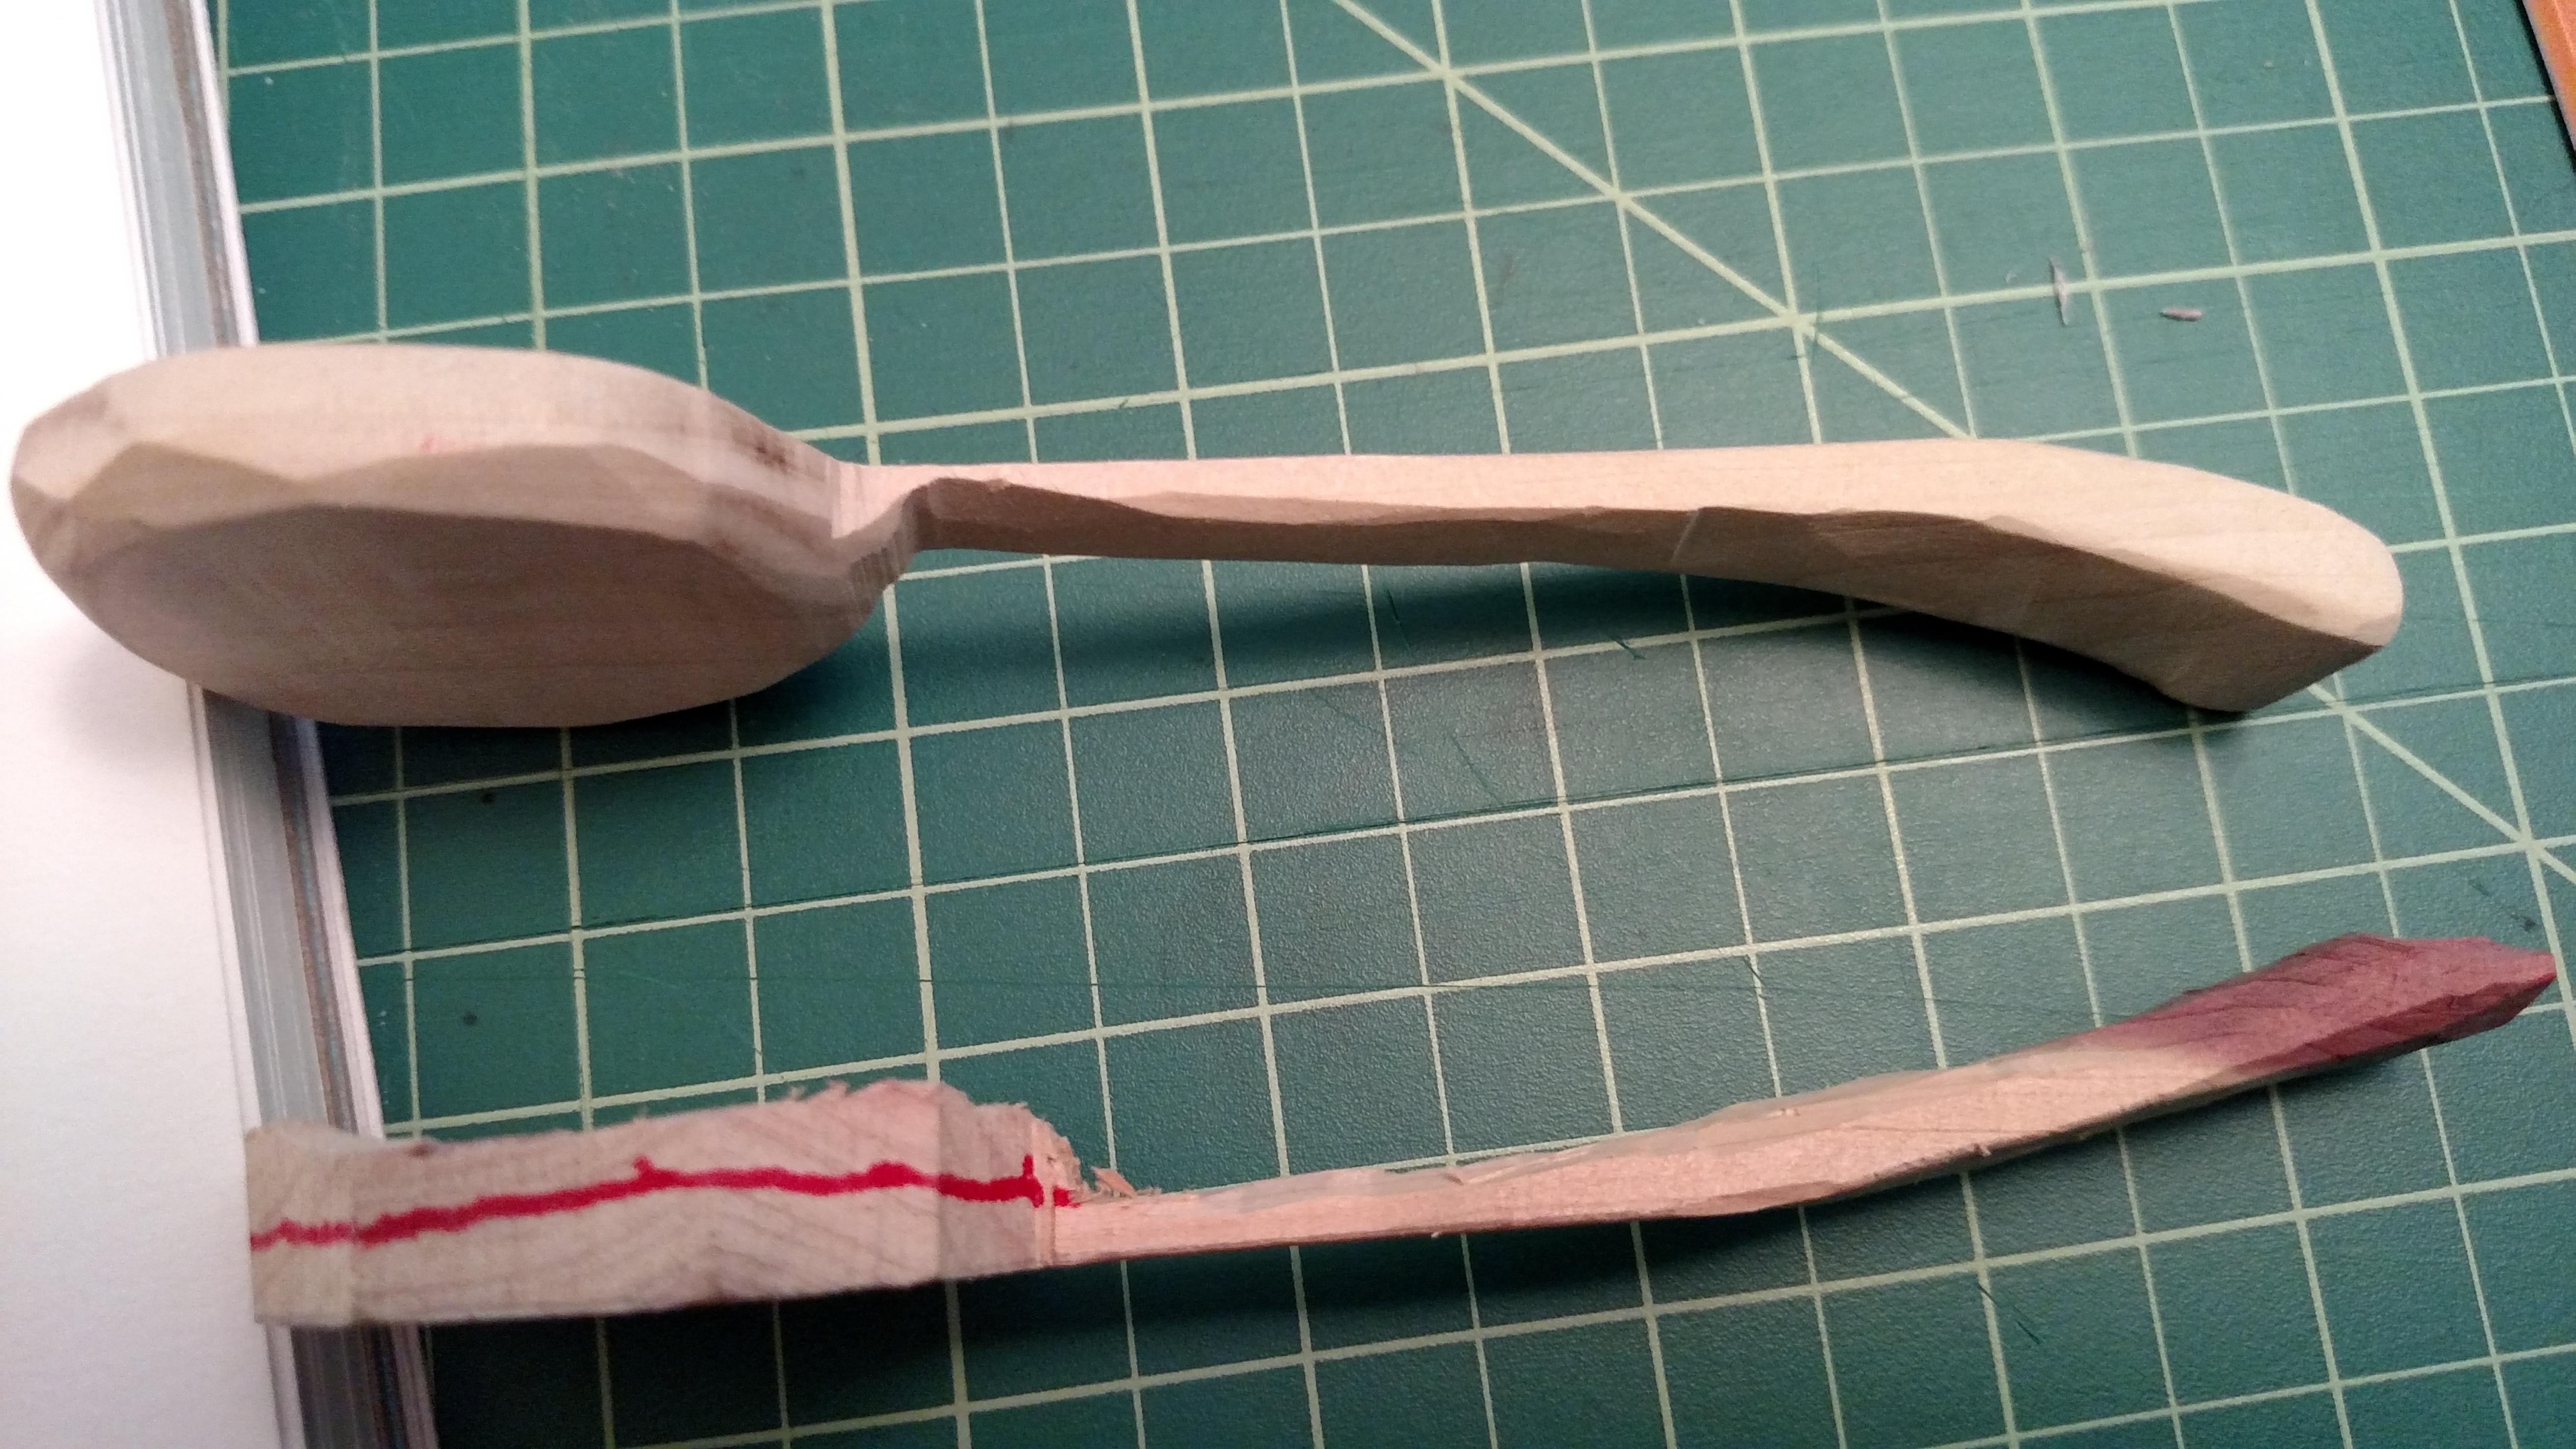
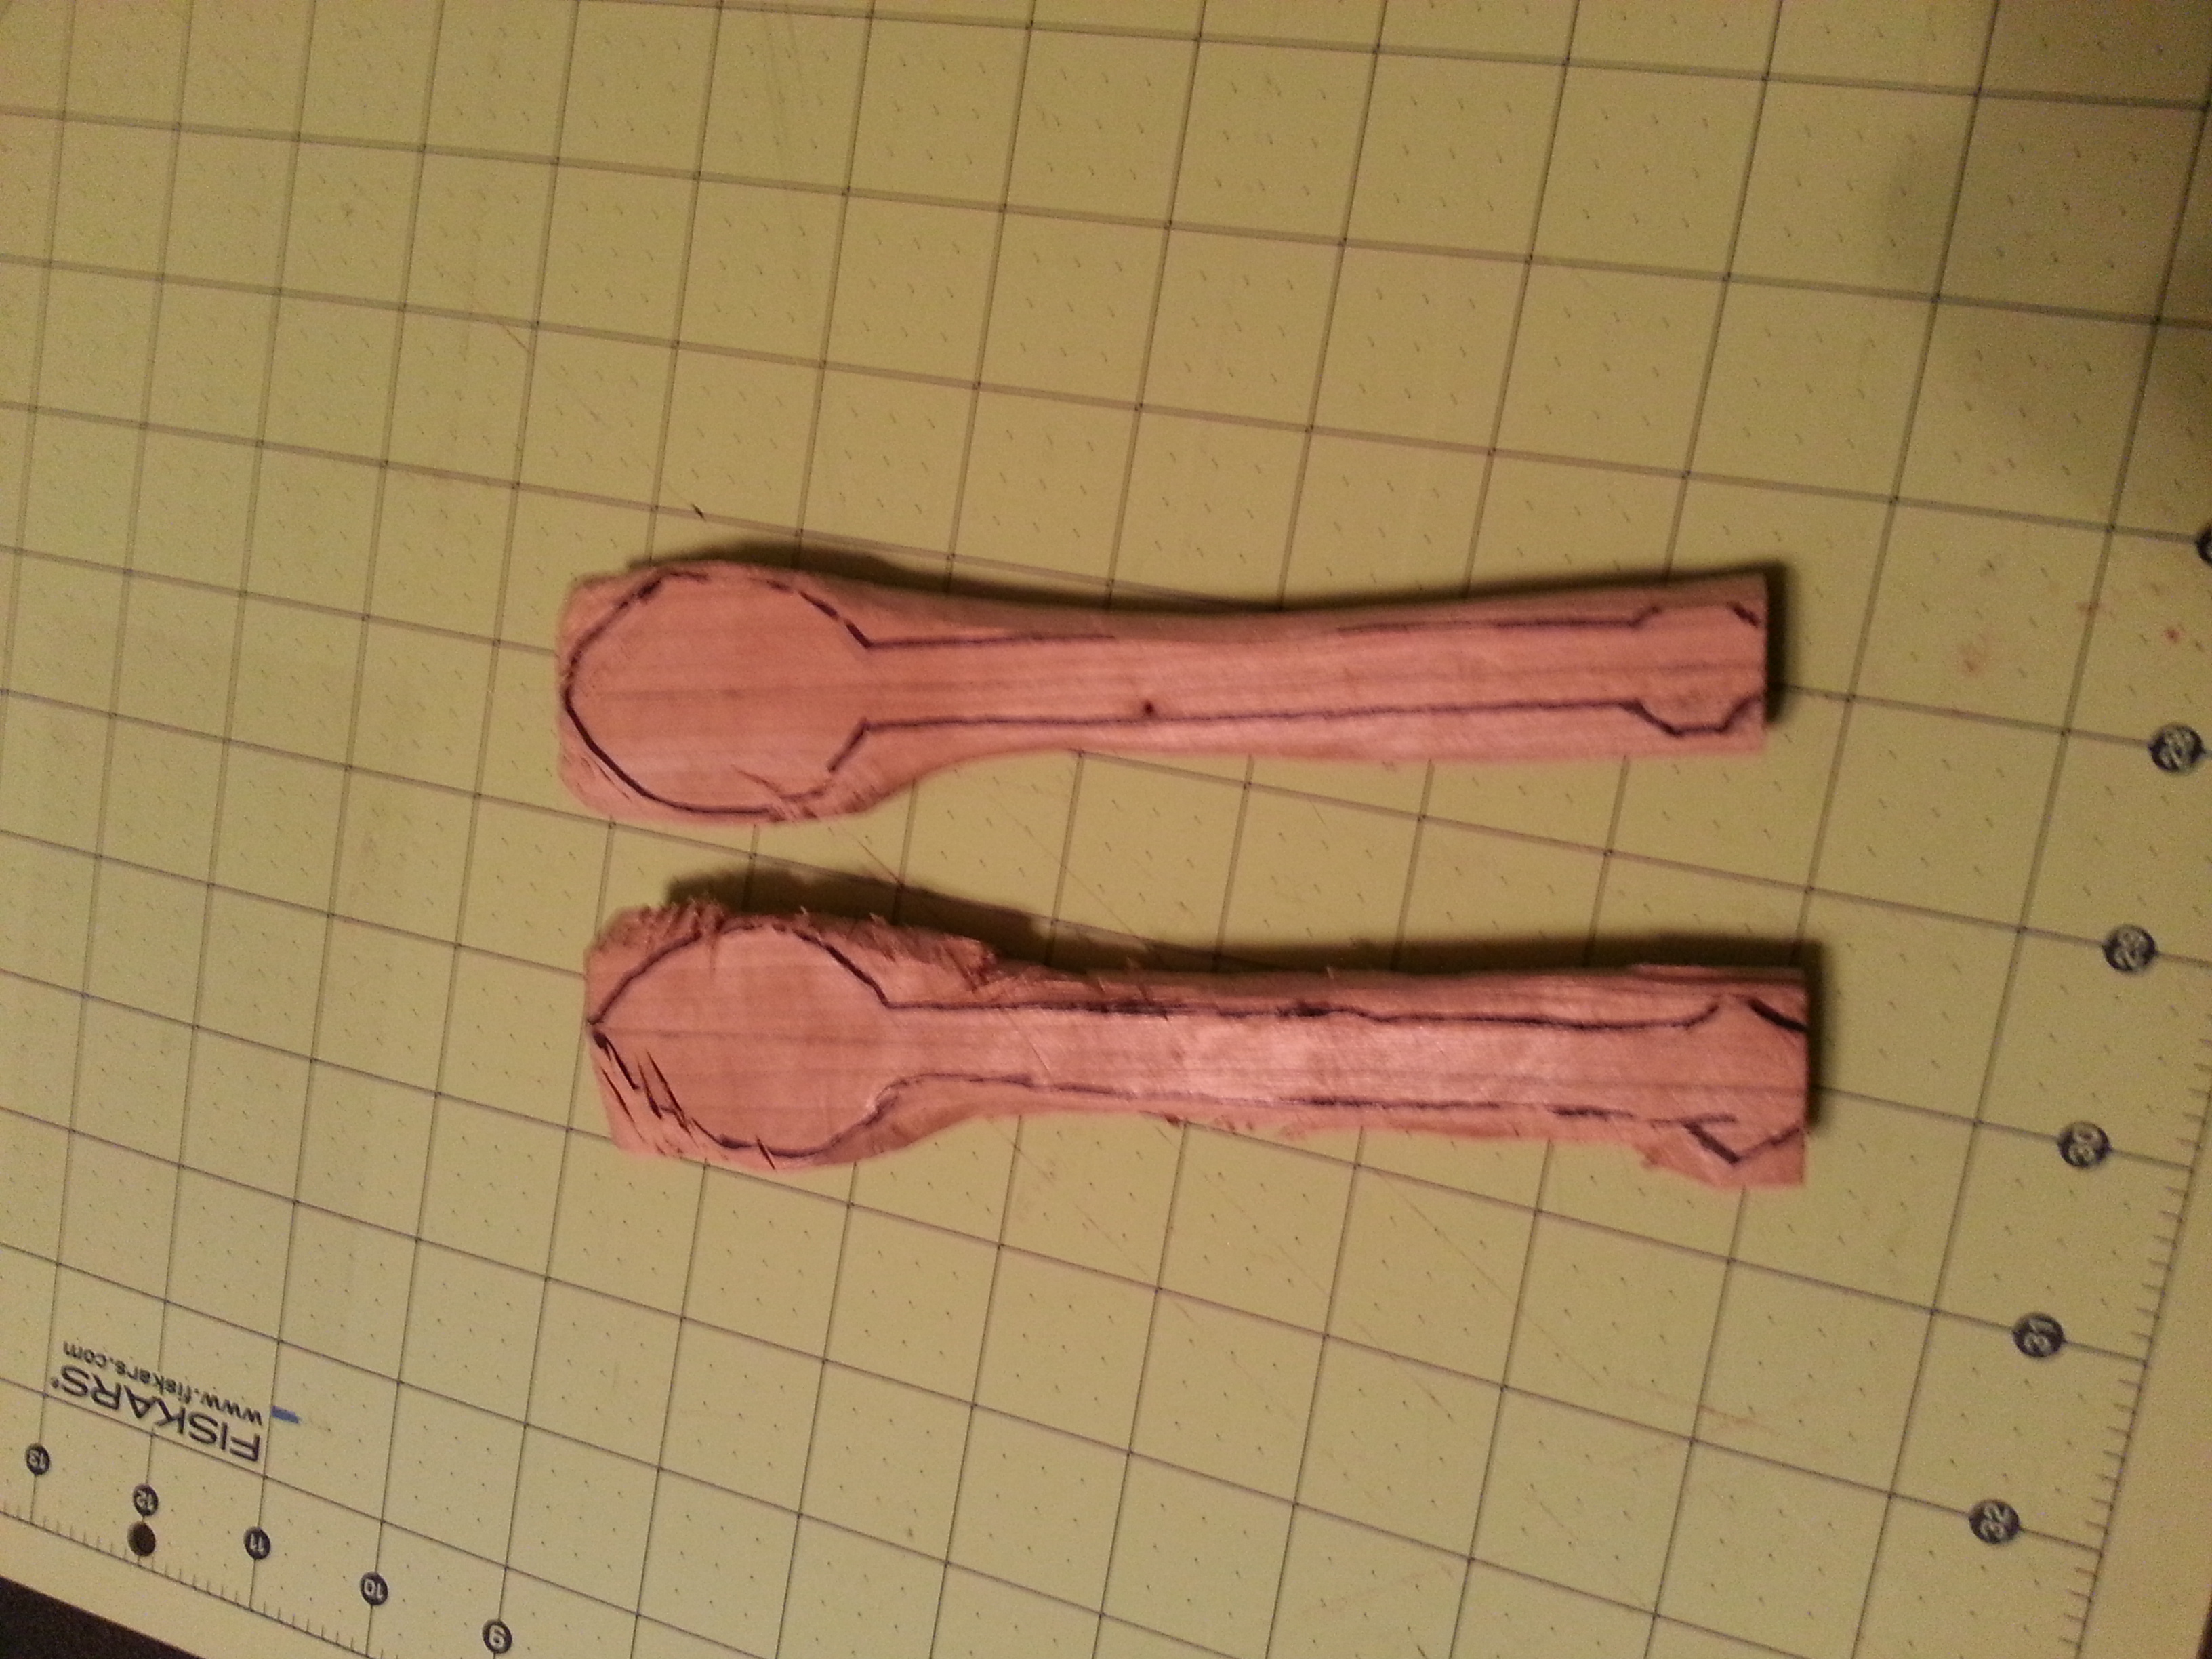
The top one is my second attempt, the bottom is the first, Both have the bowl of the spoon towards the top of the screen. I think the first attempt is more historically accurate, but seems like it would break easily. So since I want the spoon to last a few meals, I went with the more modern concave curve, vs the convex historical spoon.
However, the horn made spoons more closely resemble the second attempt, so there is a decent chance that there were wooden spoons made in this shape.
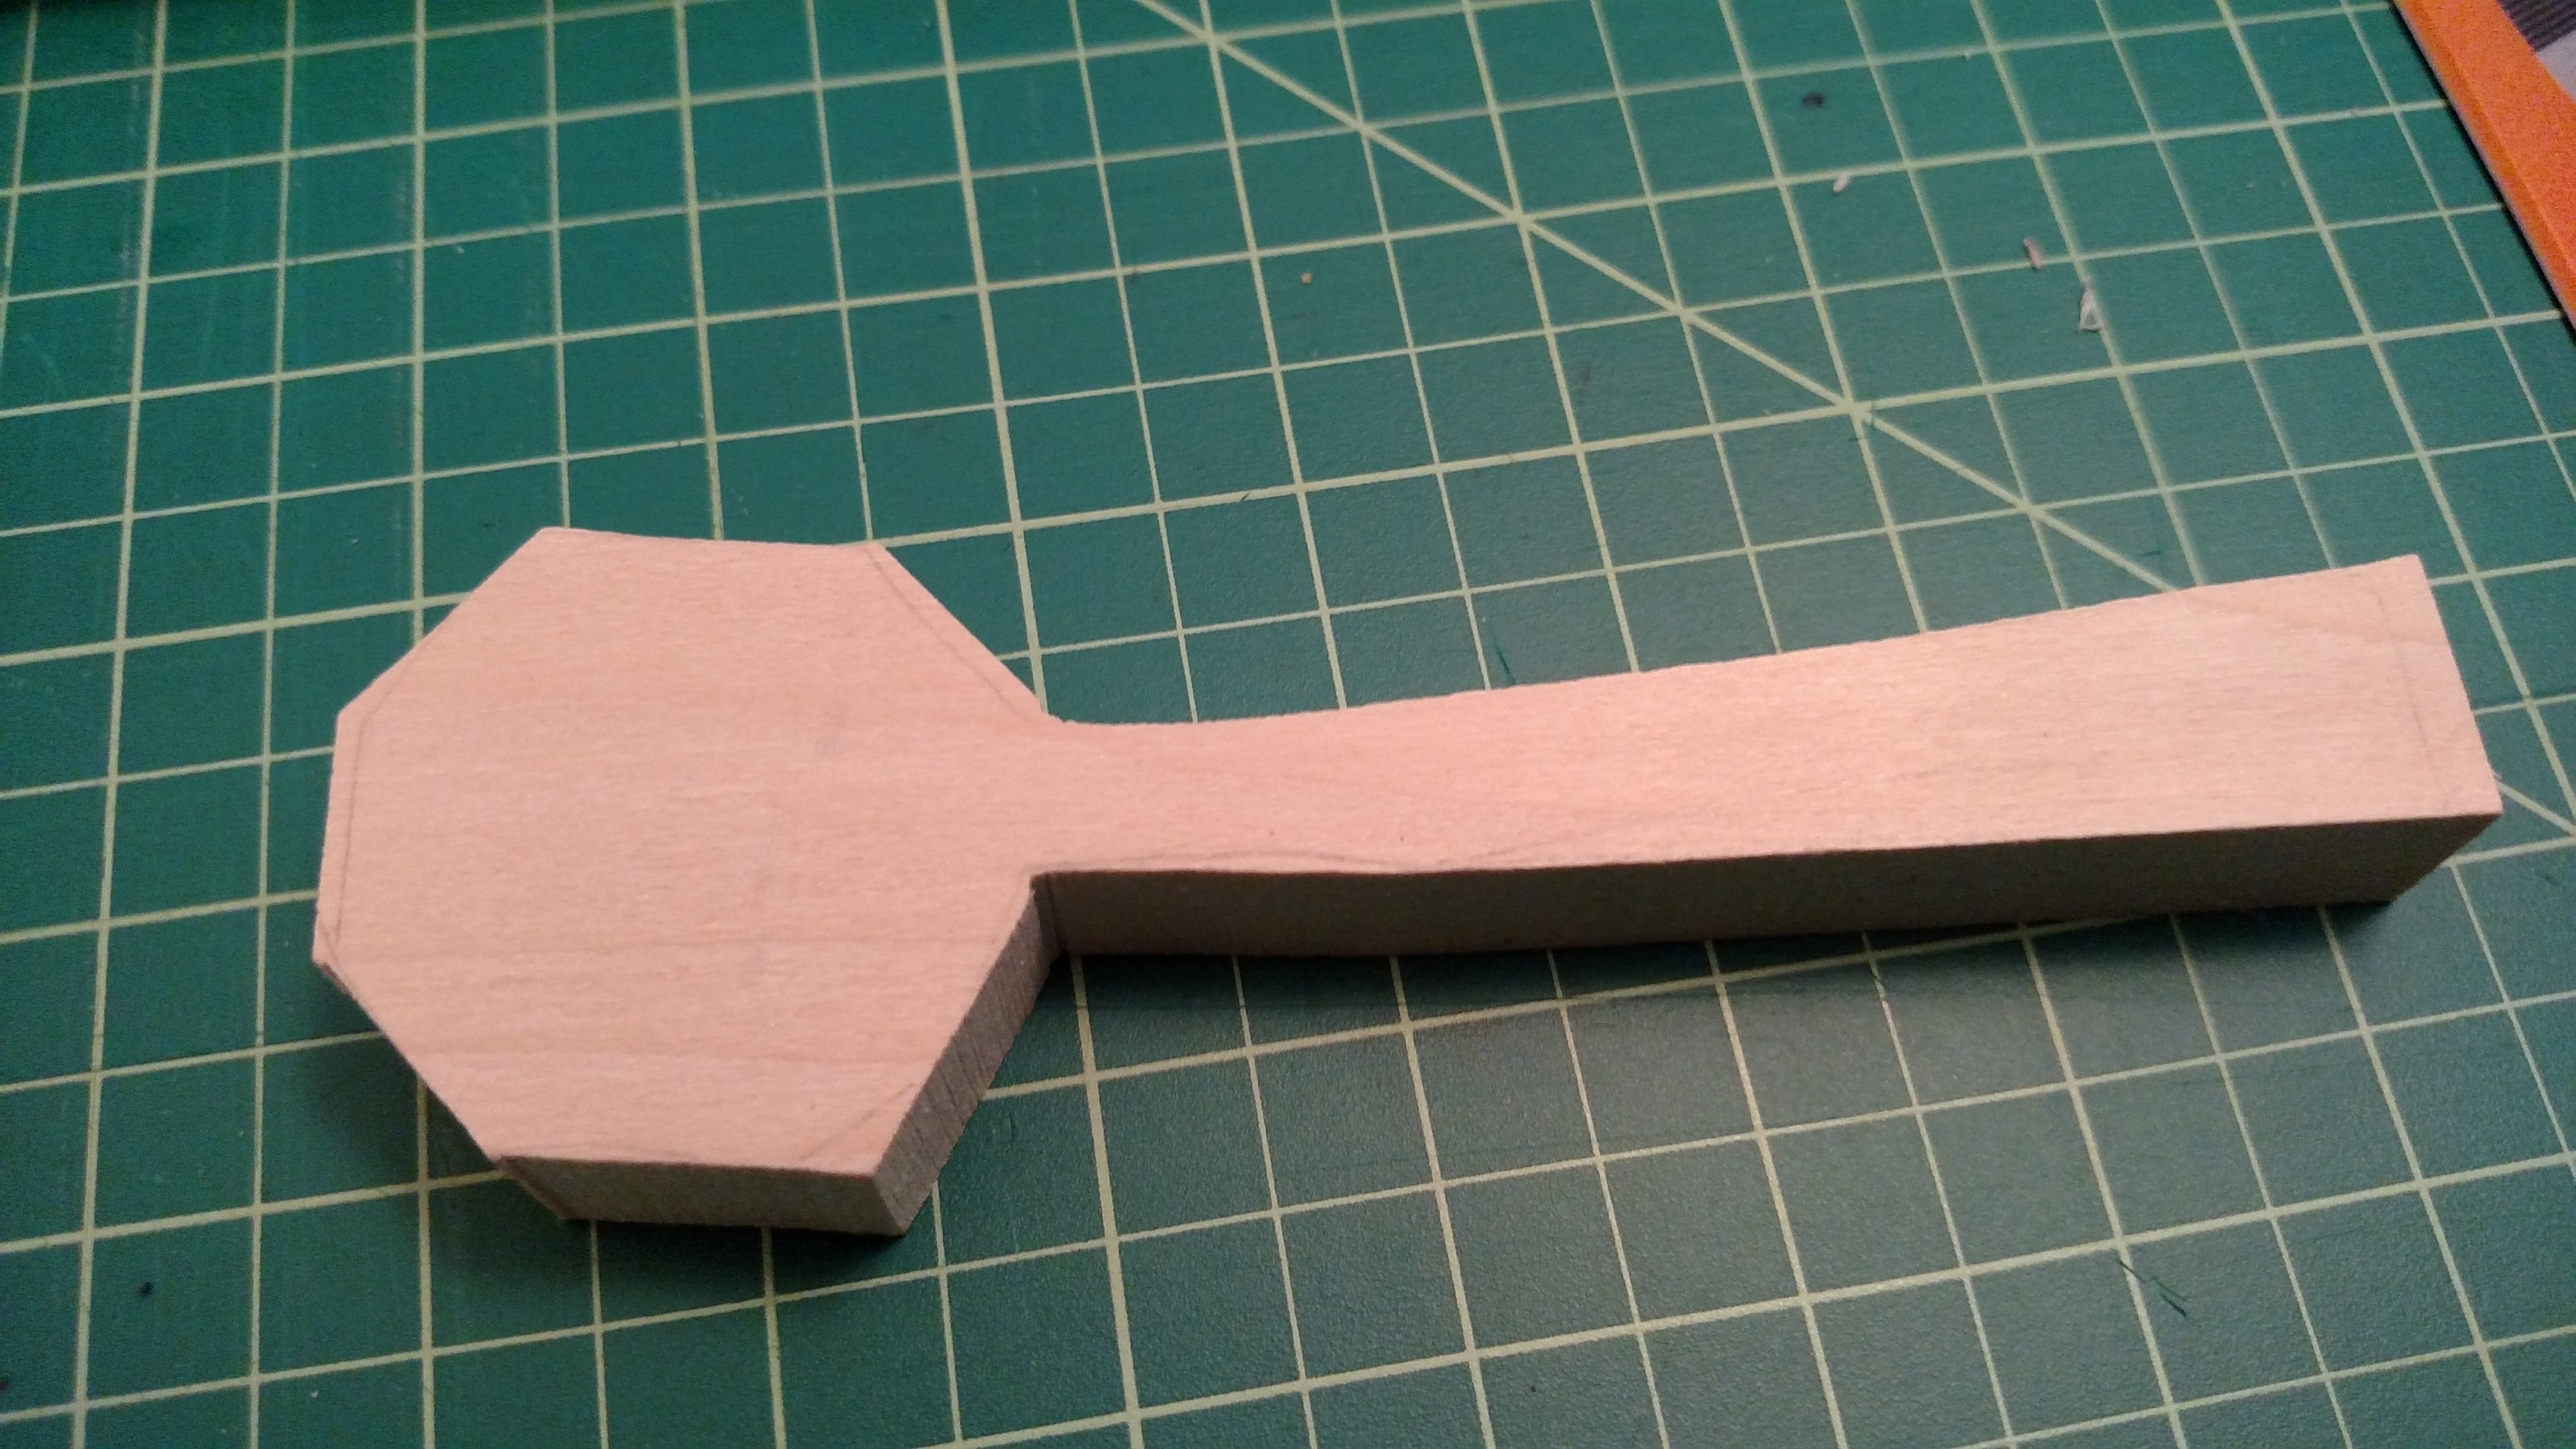
To make the spoon I went to home depot and bought a half inch board of poplar, after a lot of agonizing over the wood choice. (I actually bought Oak, Maple and Poplar, but decided to use the poplar)
I then took a survey of the extant spoons I had found and figured out the average size of an eating spoon, the average length worked out to around 16 cm, with a wide bowl, narrow handle, ending with a perpendicular squared off end.

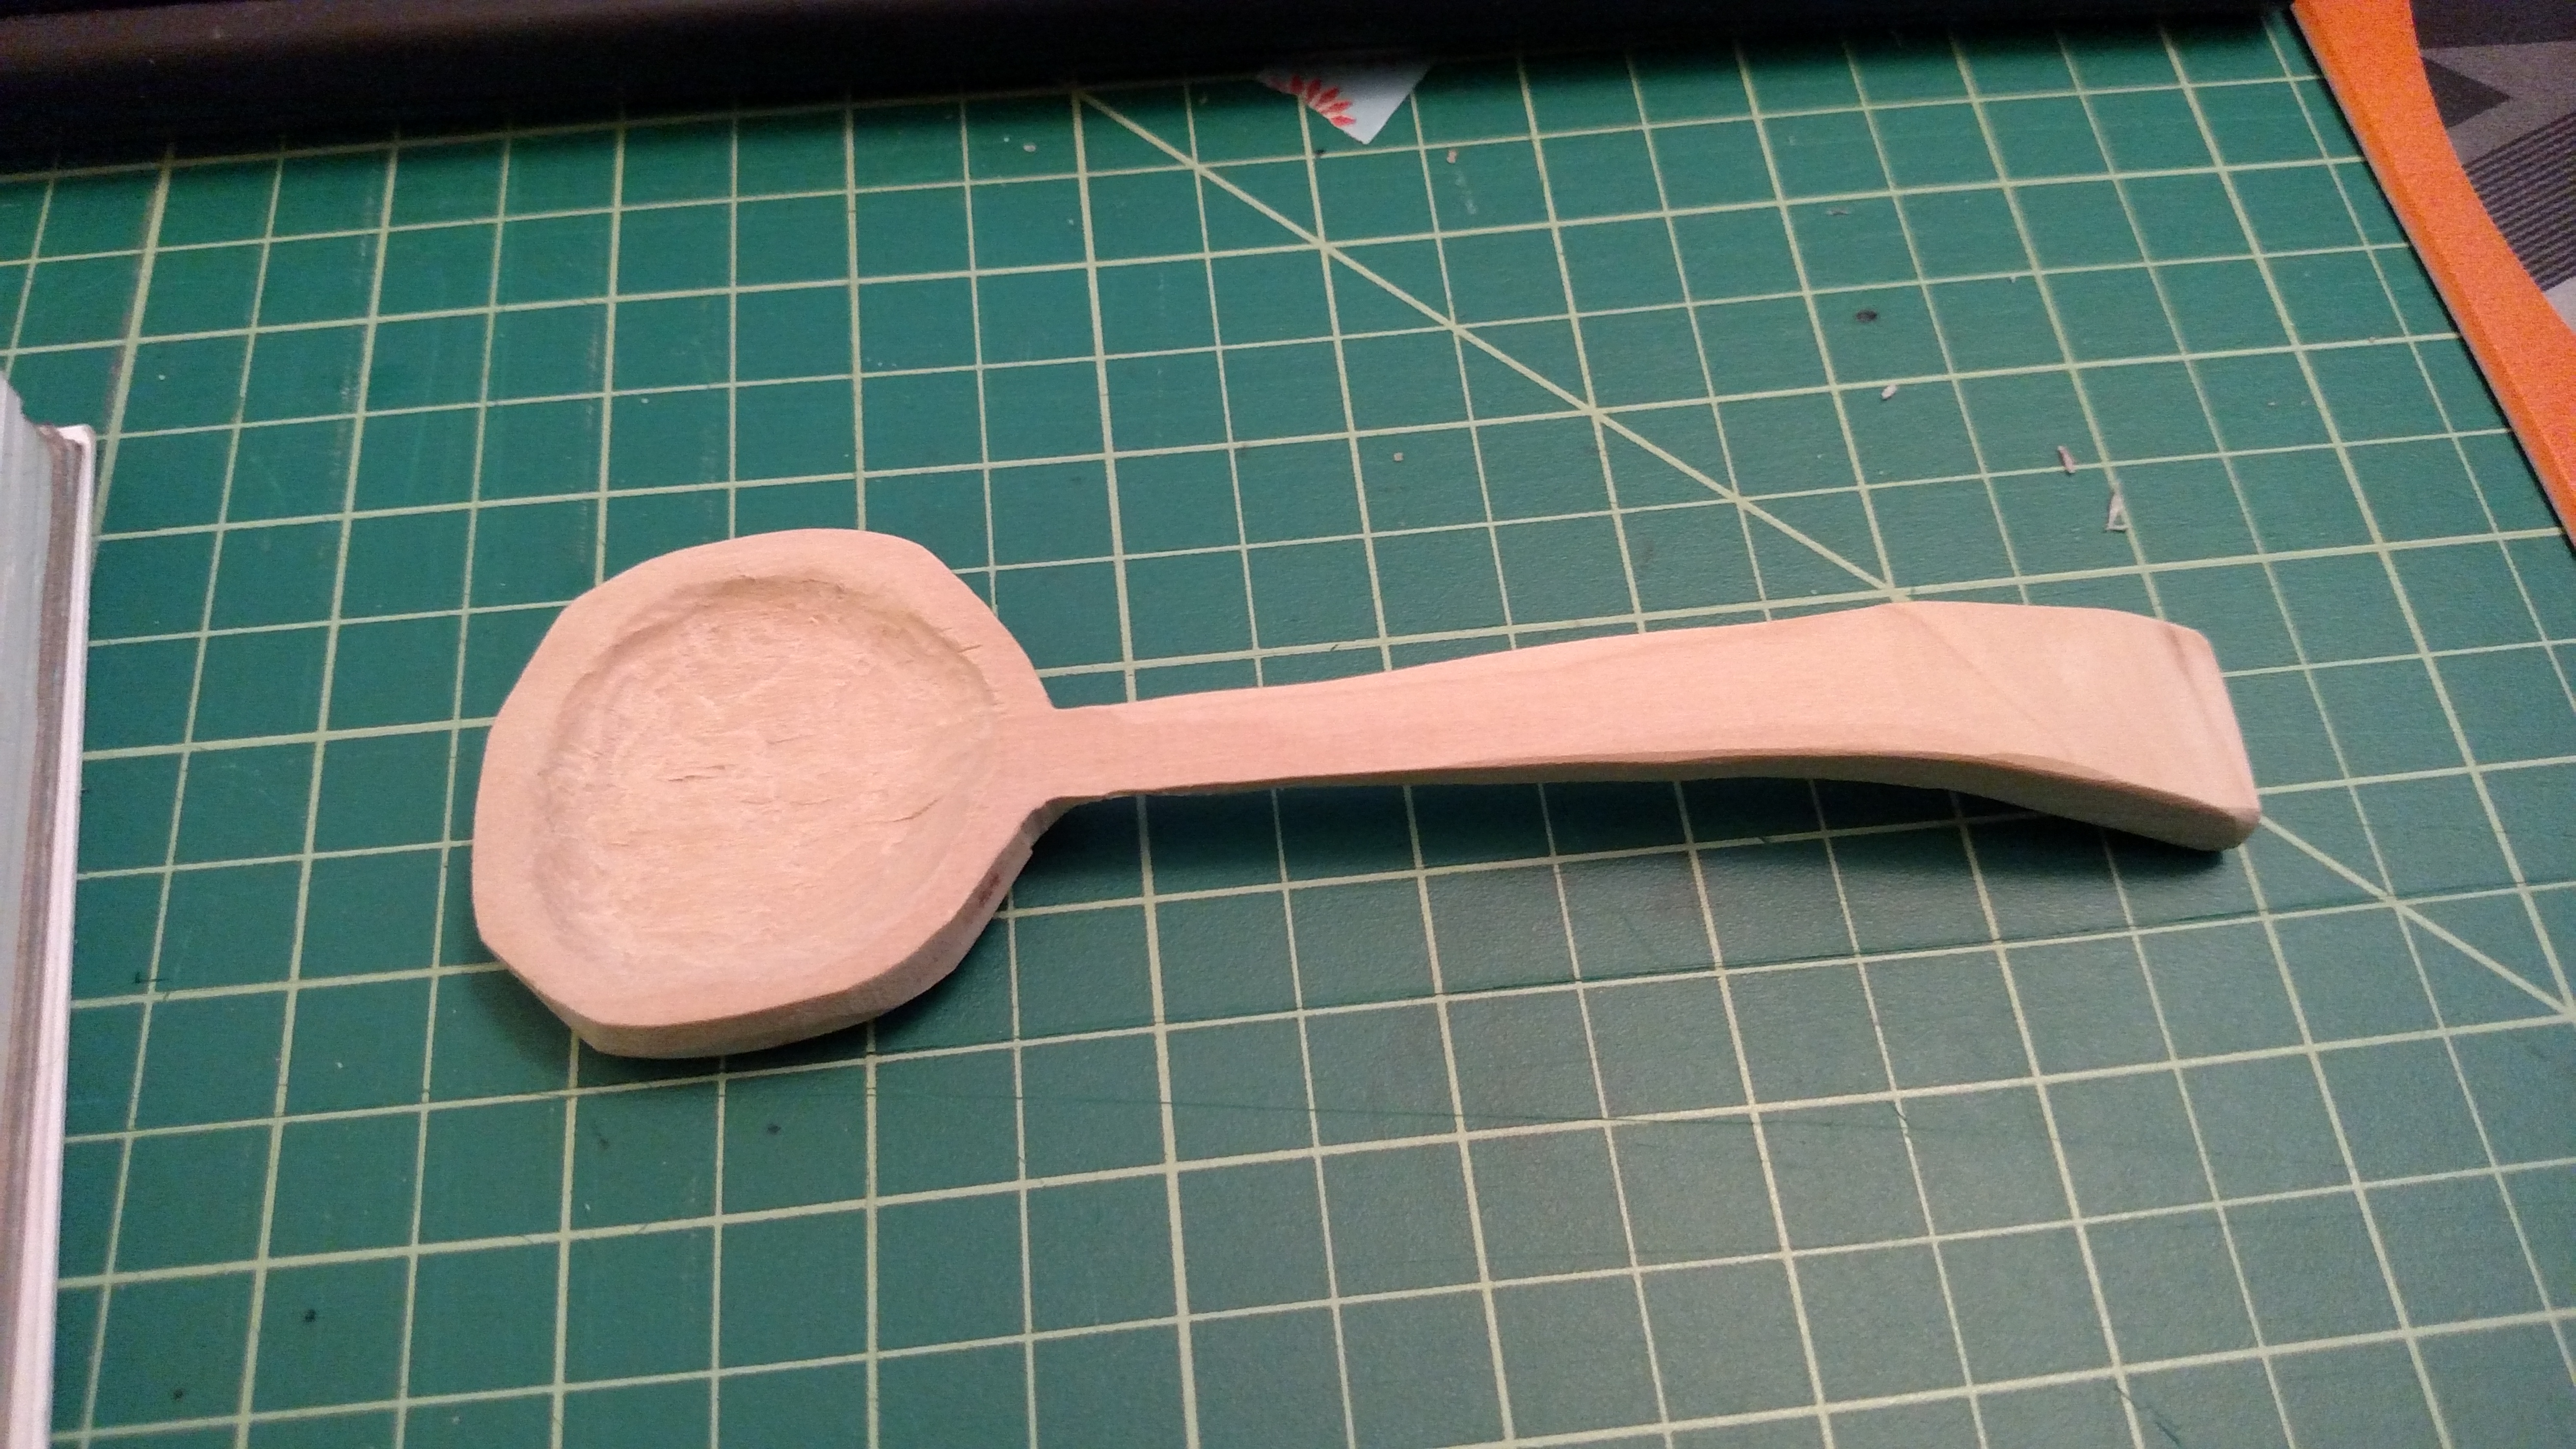
So I took my board and traced out the design and then totally went off the historical road map and borrowed my friend’s band saw, ta da, instant spoon blank. I then drew the elevation on the side of the spoon and started carving away with my Flexcut knives and Lee Valley chisels and gouges. Soon I had something resembling the cedar version. (sorry, forgot to take a picture)

I then sanded it up a bit :

Much lighter and spoon like! Now to decorate the handle with incised interlacing like the bone handles.

I then used Butcher block oil to make it durable and food safe.
(Here’s the spoon with the first coat)

 Once I had all my holes drilled I cut my pegs and sanded off their sharp splintery bits on the ends. And then I remembered I had 4 shuttles to cut and drill also, so I went back and did that and then sanded them to be not spiky. Though at some point I need to put an edge on each of them as they currently aren’t terribly effective beaters since they are blunt. But I’m curious if my design for how the string goes on will work better for me since I have a hard time keeping the string from falling off. Also man Maple is pretty.


Recent comments