Pretty Pickled Eggs and Beets

pickedeggs_0

This is the second time I’ve made these. The first dozen, a few months ago, came out so well and so prettily that I couldn’t wait to make them again. But since we have the problem of hardboiled fresh eggs being terrible to peel, I had to wait until our next dozen eggs had aged a few weeks first (and even then, these were somewhat challenging to peel).

I based the recipe off of Emeril Lagasse’s but doubled it, reduced the sugar slightly, and added quite a lot more pickling spice than he suggested.
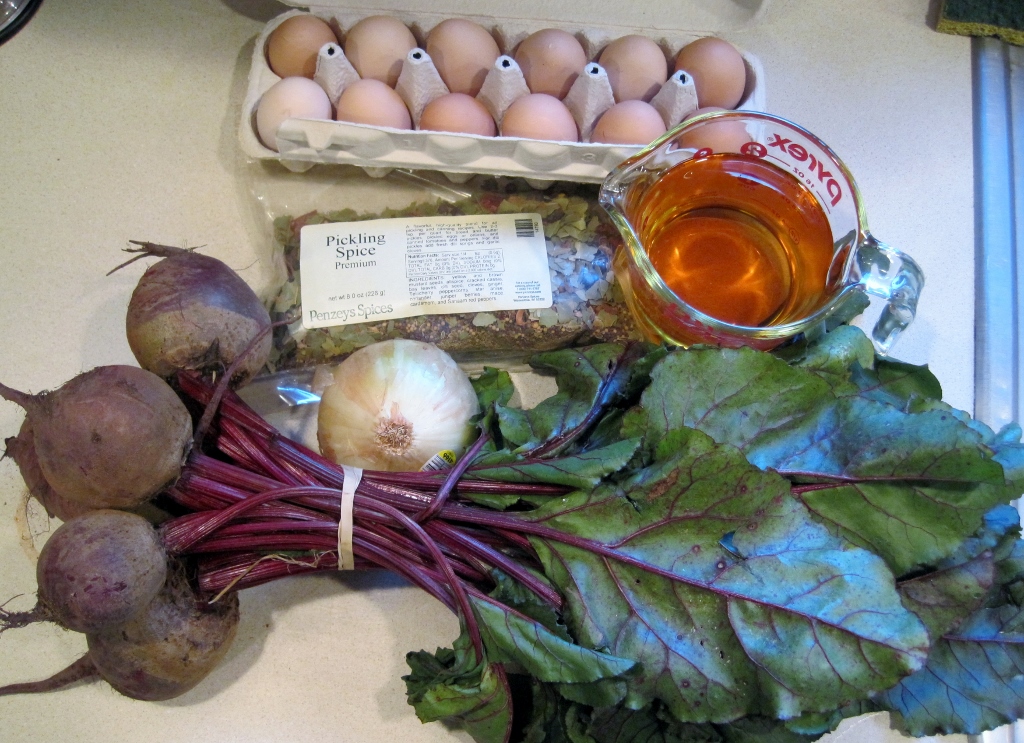
pickledeggs_1

  • 1 dozen eggs
  • 1 large bunch of beets
  • 2 cups cider vinegar
  • 2 heaping tablespoons pickling spice
  • 1 tablespoon peppercorns
  • 1 onion, sliced thinly
  • 3/4 cup white sugar
  • 6 cloves garlic, peeled and smashed

Cut off the beet greens (we had them for supper in a sausage bean soup) and scrub the beets clean. Wrap in tin foil and bake at 350º for an hour and a half.

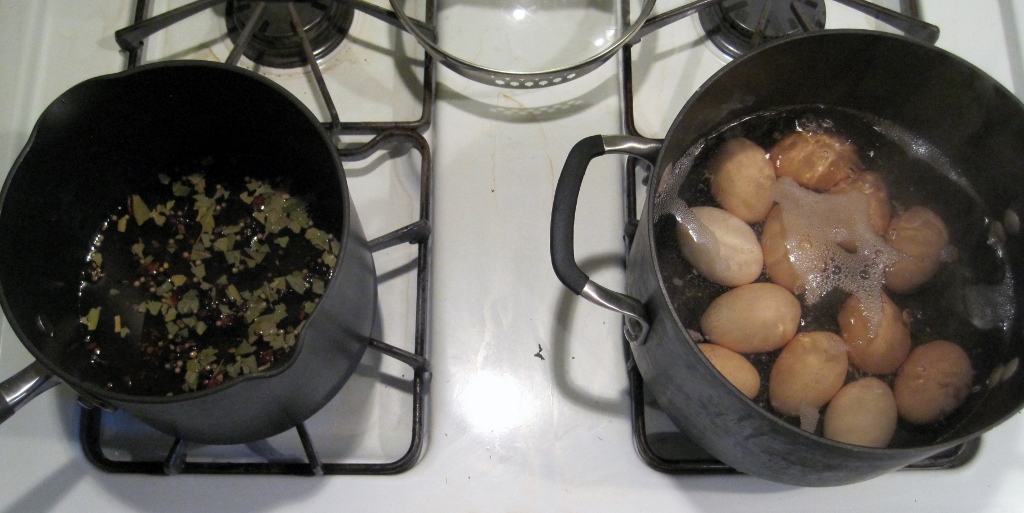
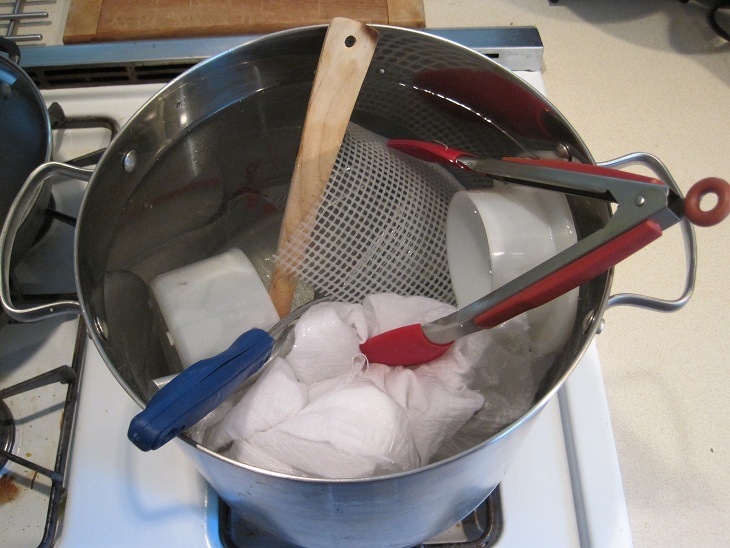
While that is happening, hard-boil the eggs however you like. For me, I start with the eggs in a pot with cool water, then bring them to a boil over medium-high heat, boil for 6 minutes, then put into ice water until cool. Also during this time, put the vinegar, sugar, pickling spices, and peppercorns in a small pot and boil until the sugar is dissolved.

pickedeggs_2

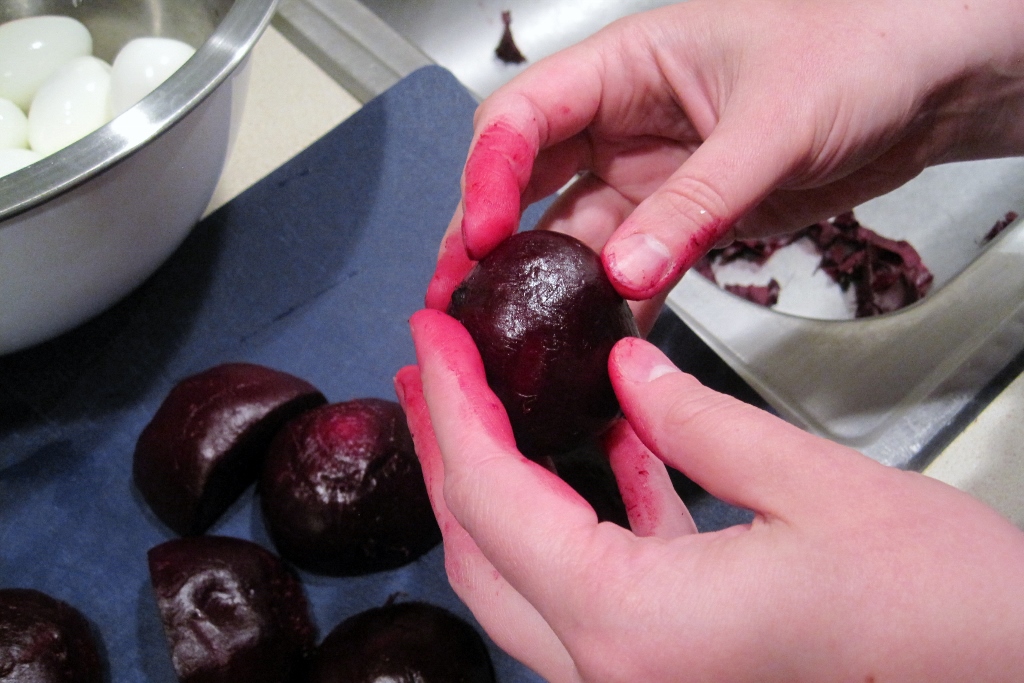
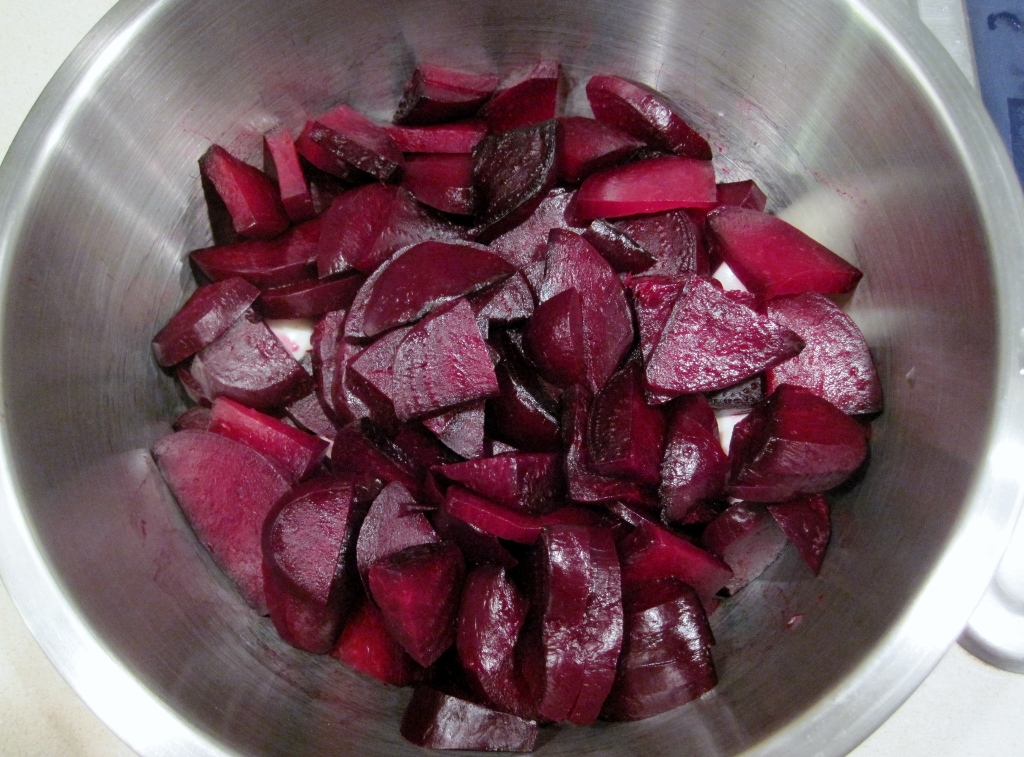
Peel the eggs and put into a large mixing bowl. When the beets are done and cool, peel them as well. Peeling beets is always fun.

pickledeggs_3

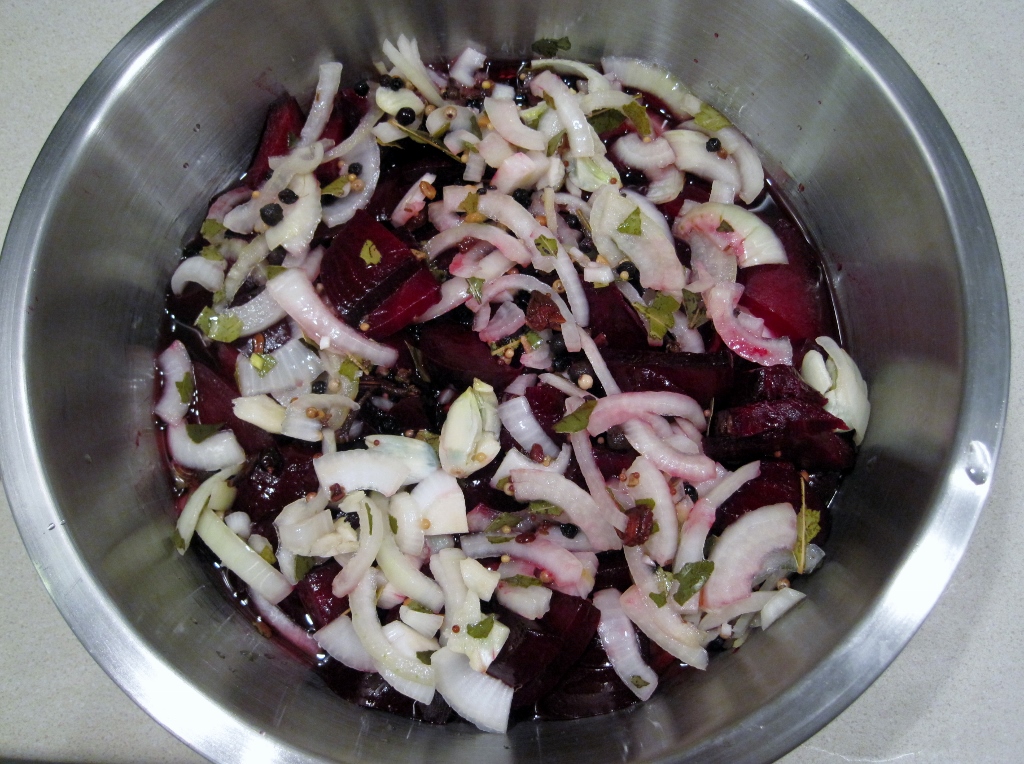
Slice the beets and put them in the bowl with the peeled eggs. Add the sliced onions.

pickledeggs_4

Pour the vinegar and spices over everything.

pickledeggs_5

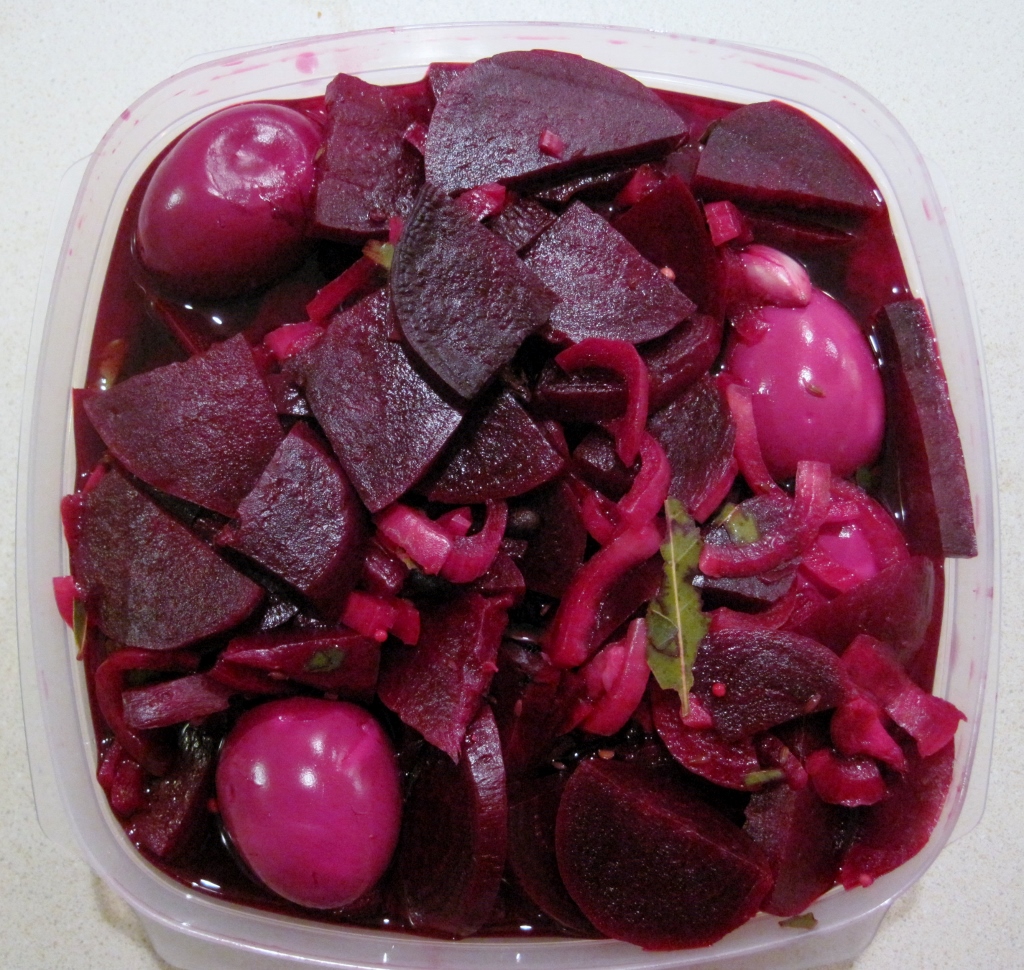
Transfer to a sealable container, with the eggs arranged such that they are all submerged. Store overnight. The next day, gently move things around so any eggs that were pressed against the side of the container get more exposure to the liquid.

pickledeggs_6

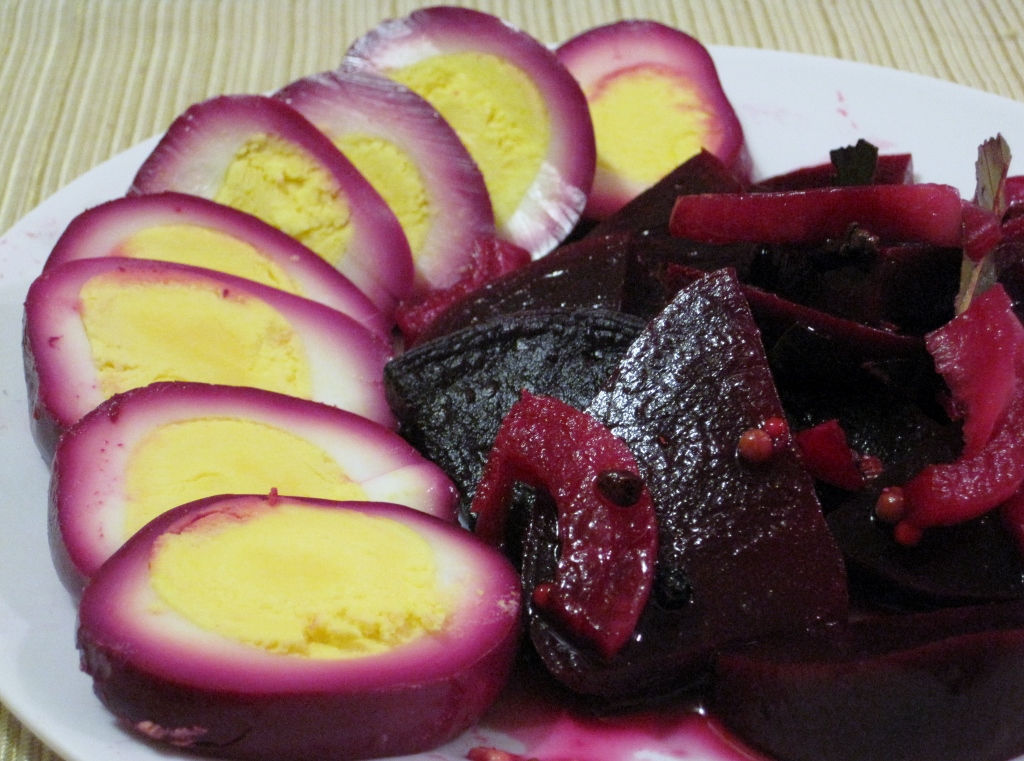
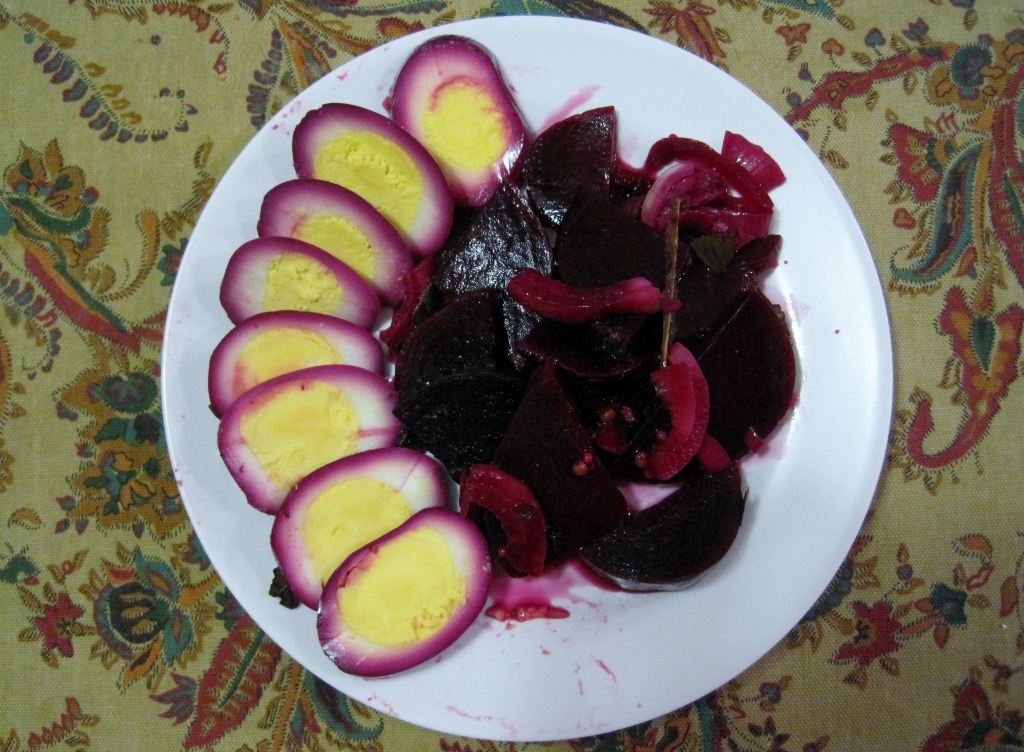
The afternoon of that day, they are ready for eating. The longer you keep them in the liquid, the stronger they will taste. I imagine they should be eaten within a week, since the preservative pickling action doesn’t really penetrate to the center of the egg. They look prettiest when sliced thinly and fanned on a plate with a side of beets and onions (which are also quite tasty).

pickledeggs_7

How I Make Tea Eggs

teaeggs_done

I love tea eggs. They’re a great way to make hard-boiled eggs flavorful and interesting. They’re also very easy to make, though they do take some time. I like to make them when I can be home all day to let them simmer for hours, filling the house with the smell of Chinese 5 Spice. There are tons of slightly different recipes on the web (the most common variants use soy sauce and star anise), but I like this one.

  • 1 dozen eggs
  • 2 black tea bags
  • 2 tablespoons chinese 5 spice powder (cinnamon, star anise, anise seed, ginger, cloves)
  • 2-3 tablespoons salt
  • teaeggs_ingredients

    The first step, if you have farm-fresh eggs, is to set them aside in the back of the fridge for 2-3 weeks. This is because hard-boiled farm-fresh eggs are an absolute nightmare to peel (the membrane between the shell and the white is very tenacious). If you get eggs from the store, they are probably fine to cook right away.

    Then, boil the eggs however you like to make hard-boiled eggs. For me, I cover the eggs with cold water, bring them to a boil over medium heat, and boil for 5 minutes or so.

    teaeggs_boileggs

    Remove eggs with tongs and let them cool in a colander until they are comfortable to touch. Carefully crack them all over as if you were going to peel them, but leave the shell on. Try not to damage the egg underneath with over-exhuberant cracking.

    teaeggs_crackeggs

    Put a couple of inches of fresh water in the pot along with the black tea bags, chinese 5 spice powder, and salt. The powder will float on the surface of the water, so I whisk it in.

    Gently put the eggs back into the water and bring it to a simmer. The water level should be slightly higher than the eggs; add more if necessary. Cover and simmer for 3+ hours, checking every now and then to make sure the water is still high enough.

    Remove the eggs with tongs and let them cool. You can either peel all of them or store them as-is and peel before eating. If you find they are too salty for your liking, a quick rinse under the tap can temper it somewhat.

    They should be stored in the fridge and probably eaten within a week.

    My First Romano Adventure

    romano-finished

    I used the recipe from Ricki Carroll’s Home Cheese Making book with some minor modifications.

    First, I gathered everything I thought I would use, put them into my cheese pot, and boiled them for sterilization. (Inevitably, I forget something. That’s what bleach spray is for.) This is a wooden spoon, wire basket, cheese mold & follower, cheese mat, butter muslin, a 1-cup measure, curd knife, and tongs.

    romano-sterilize

    While this was boiling, I cleaned the counters and put down paper towels to put all the clean stuff on when it came out of the pot.

    Using other tongs, I extracted the sterile tongs. When the sterile tongs were cool, I used them to take out everything else. Then I emptied the nearly-boiling water out of the pot and waited for the pot to cool.

    When it had, I added 2 gallons of good whole milk and stirred in 1/2 tablespoon of calcium chloride diluted in a half a cup of non-chlorinated water.

    I heated the milk to 88º in a water bath, then sprinkled a packet of thermophilic culture on the surface, waited two minutes for it to rehydrate, and stirred it in. I covered and let the milk ‘ripen’ for 20 minutes. Then I added 1/2 tsp. of rennet diluted in 1/4 cup non-chlorinated water and stirred gently, covered and left it alone for 30 minutes. (There are no pictures of these steps because the visuals are really boring.)

    Then, behold the magic of cheese with this clean break:

    romano-cleanbreak

    Here, the instructions said to cut the curds into 1/4″ cubes. This is pretty hard to do. I started with the knife and cut them up further with a silicone whisk (note to self: boil that next time). Here’s a picture with half of the pot cut and the other half whisked (soon to be entirely whisked):

    romano-cutcurds

    Now, the exciting drama of very slow heating. The goal is to heat the curds slowly at first — 1º every two minutes. Eventually you want it to get to 116º at around the 45-minute mark. I tried not to stress about it too much, just set a countdown timer for 45 minutes and got a feel for whether it was heating too quickly or slowly to hit the desired temperature as time went on. The curds changed in appearance as they cooked, pulling apart and showing more whey between them:

    romano-cookcurds

    The recipe didn’t mention stirring, but I stirred slowly most of the time to distribute the heat evenly and discourage clumping. And eventually, ta-da!

    romano-maintaintemp

    I lined my cheese mold with muslin and transferred the curds into it using a wire basket.

    romano-packmold

    With previous cheeses, the curds first go into the muslin to drain for a period of time, then salt is added before they go into the mold. This type of cheese just goes directly into the mold — which means it is very wet and not at all compacted. I ended up packing the curds into the mold over the sink and pressing them in with my hands so they would all fit, while a lot of whey drained out.

    Then I pressed the cheese with an increasing series of weights, eventually doing 40 lbs. overnight:

    romano-press

    The next day, the cheese looked very different:

    romano-pressed

    It was brining time. We already had a brine solution (essentially, non-chlorinated water saturated with cheese salt) so I boiled it to kill off any bacteria, then chilled it back down to fridge temperature before plopping the cheese into it.

    romano-brine

    After 12 hours in the brine, I took the cheese out and patted it dry.

    romano-finished2

    Now it needs to be flipped every day for a few weeks and occasionally after that. In two months, it will get rubbed with olive oil. Then it should age 4 months or more before we try it. I can’t wait!

    Here it is nestled in our tiny cheese fridge with Stephanie’s manchego:

    romano-fridge

    No-Marinade Turkey Jerky

    jerky-closeup

    I decided I wanted to try making turkey jerky for the first time, so I looked up some recipes. A lot of them called for marinating overnight, and I didn’t want to wait that long. Then I found this recipe and decided to give it a shot. The final product was quite good, though it didn’t taste like Thanksgiving to me since I used a few different spices.

    I also couldn’t find whole turkey breasts at the grocery store — they just had tenders and tenderloins. The latter seemed big enough, though not ideal, so I picked out a little over 3 lbs’ worth.

    First, slice the turkey as thinly as possible (for me and my knife skills, anyway) against the grain:

    jerky-cut

    Sprinkle spices on each side. I used Penzey’s Lemon Pepper Seasoning: salt, black pepper, citric acid, lemon peel, garlic, and onion.

    Skewer the pieces with enough spacing such that they will hang off the oven rack like so:

    jerky-inoven

    A little over 3 lbs of turkey tenderloin filled a single oven rack with a little turkey left over that was too small to cut easily (that became tomorrow’s dinner).

    9 hours at 200º with the oven door propped open about 1″ using a special tool:

    jerky-fork

    And they were done!

    jerky-done

    I’m happy with how they came out. The flavors of the spices are not overwhelming, but enough to make it interesting. The texture is quite crunchy, but my guess is they would not last long if they still had enough moisture to be chewy, without preservatives. I would definitely make this again and maybe experiment with different spices.

    2-Hour “30 Minute” Mozzarella

    2013-08-13-20-29-19

    I used a recipe very similar to Ricki’s 30 Minute Mozzarella, written by the same person, but in a printed book without photos.

    This cheese came out surprisingly well given my lack of precision in making it. It produced about a pound of mozzarella, which was just enough for four adults who really enjoy caprese salad. I was happy to try a recipe that only made one pound of cheese — most recipes make two — as the resulting cheese is only good for a couple of days, and I didn’t want any to go to waste. Plus, the smaller batch meant only one gallon of milk and a smaller pot.

    Compared to aged cheeses, this was utterly simple. Not quite as simple as a quick cheese of milk and lemon juice, but pretty close.

    The reason it took an hour and a half longer than advertised was mostly due to the fact that I heated the milk too much on the first step, then had to cool it down again before I could add the citric acid. Apparently milk heats up really quickly on the stove. Further delays occurred because I then switched to heating it in a water bath — having gone too far once, I was concerned about using the stove for the rest of the process — but the water bath method takes longer to effect temperature change.

    First step, gathering the ingredients (including rescuing the citric acid from the hidden depths of the pantry):

    2013-08-13 18.21.10

    Heat the milk to 55*, or if you’re me, accidentally heat it to 75* on the stove and then cool it back down to 55* in the water bath.

    2013-08-13 18.33.02

    Add dilute citric acid while stirring so the milk doesn’t immediately curdle.

    Add hot water to the water bath until the milk reaches 90*, then take off heat and add rennet, stir for 30 seconds, and let sit for 5 minutes. When I checked it at that point, I didn’t see much curd formation, so I let it sit for another 3 minutes or so.

    Cut the curd and put back into the water bath to heat to 105* while stirring. After this stirring, my curds were significantly more broken up than the pictures in the recipe. I’m not sure why; it could have been temperature differences, milk differences, the slower heating rate, all sorts of things. I’m actually kind of glad I wasn’t looking at the pictures from the recipe, because I would have been worried, and it turned out fine.

    Scoop out the curds with a wire basket and put them into a microwave-save bowl.

    2013-08-13 20.10.56

    Attempt to press more whey out of the curds in the bowl. I discovered a convenient synergy between the bowl and the wire basket such that I could press the curds with the basket while I poured out the whey.

    Microwave the curds for a minute, then fold/knead them with a spoon to distribute the heat. Add salt to taste if you want. At this point, my curds were melding together and suddenly started looking like mozzarella. Microwave and knead a few more 30-second times as necessary. When it stretches like taffy, it’s done. Magic!

    2013-08-13 20.16.56

    Knead to evenly distribute the heat and watch it become more uniformly shiny. I suspect I didn’t quite do this part right, as my cheese log had some issues staying together. However, it was dinner time, and the cheese was cheese, so I sliced it into 1/4″ slices and plated it. We assembled our delicious morsels of fresh mozzarella, CSA tomatoes, and basil from our garden — with a dab of olive oil and a sprinkle of kosher salt — and dug in.