So today I took out the hatchet, also some leather to protect my leg, and more puncture proof gloves. And it helped a great deal. I actually ended up using the side of the garden box as a steadying surface, with the leather protecting it. I managed to get off most of the wood, now I need to make some decisions regarding the bowl and the handle.
Spoon progress – hatchets help
20 Oct 2013 Leave a comment
in Usables Tags: carving, cherry, hatchet, spoons, wood
Spoon progress
19 Oct 2013 Leave a comment
in Usables Tags: carving, cherry, spoon, wood
So I got some cherry turning wood from woodcraft, and used a terribly dull band saw to cut it in half (See blackening on the back).
Then I drew on the shape I wanted to rough out:
Then using a wood carving knife from my deceased grandfather (Along with his sharpening stone) I started to rough it out. This didn’t go so well, so I switched to my Niji set which are way too small for wood this dense, but I did eventually make some progress. And along the way I snapped one v-blade and pretty much dulled all the gouges, and somewhat successfully resharpened them. After about 2 hours of work I ended up with this:
So I asked around and was told of the marvels of hatchets for roughing out work. So I went to sears and got a sportsman’s axe We’ll see how that performs tomorrow. I’m a little scared it’s going to take off way too much wood. I also got a new pair of leather gloves as apparently mechanics gloves don’t have leather in the spots where I keep stabbing myself. (Which includes my right thigh, the new gloves won’t help with that)
Wooden spoon
05 Oct 2013 1 Comment
spoons
03 Oct 2013 1 Comment
in Usables Tags: basswood, pewter, spoon, wood carving
So last week in pewter class I tried to make a sculpy spoon, but it broke in a few places when it came out of the oven. So this week I started to whittle a spoon from a piece of basswood. It’s coming along, it really needs a lot of sanding currently, then perhaps some more carving. I also need a gouge of a slightly different shape, but I think I have one in my kit.
I can’t decide if I want to use sandpaper or my dremel to sand it.. I like the control of the sand paper, but it is hard to get round shapes to come out right.
Once my spoon is done, we are going to cover it in Vaseline and put it in a little Lego box and pour bondo around it to make a mold for the pewter spoon.
Since the dremel was out..
31 Aug 2013 Leave a comment

I finally got around to making a hook board for my necklace collection. I’ve had everything for it for months now, but I just kept putting it off. This will vastly improve the likelihood of me wearing a necklace, like ever.
Pewter class, wherein I learn to carve wood.
28 Aug 2013 2 Comments
in Usables Tags: pewter, wood carving
So tonight I was introduced to using wood as a mold for pewter and got to try my hand at carving some cedar, which had a very prominent and pretty grain that added a lot of character to the piece I was making.
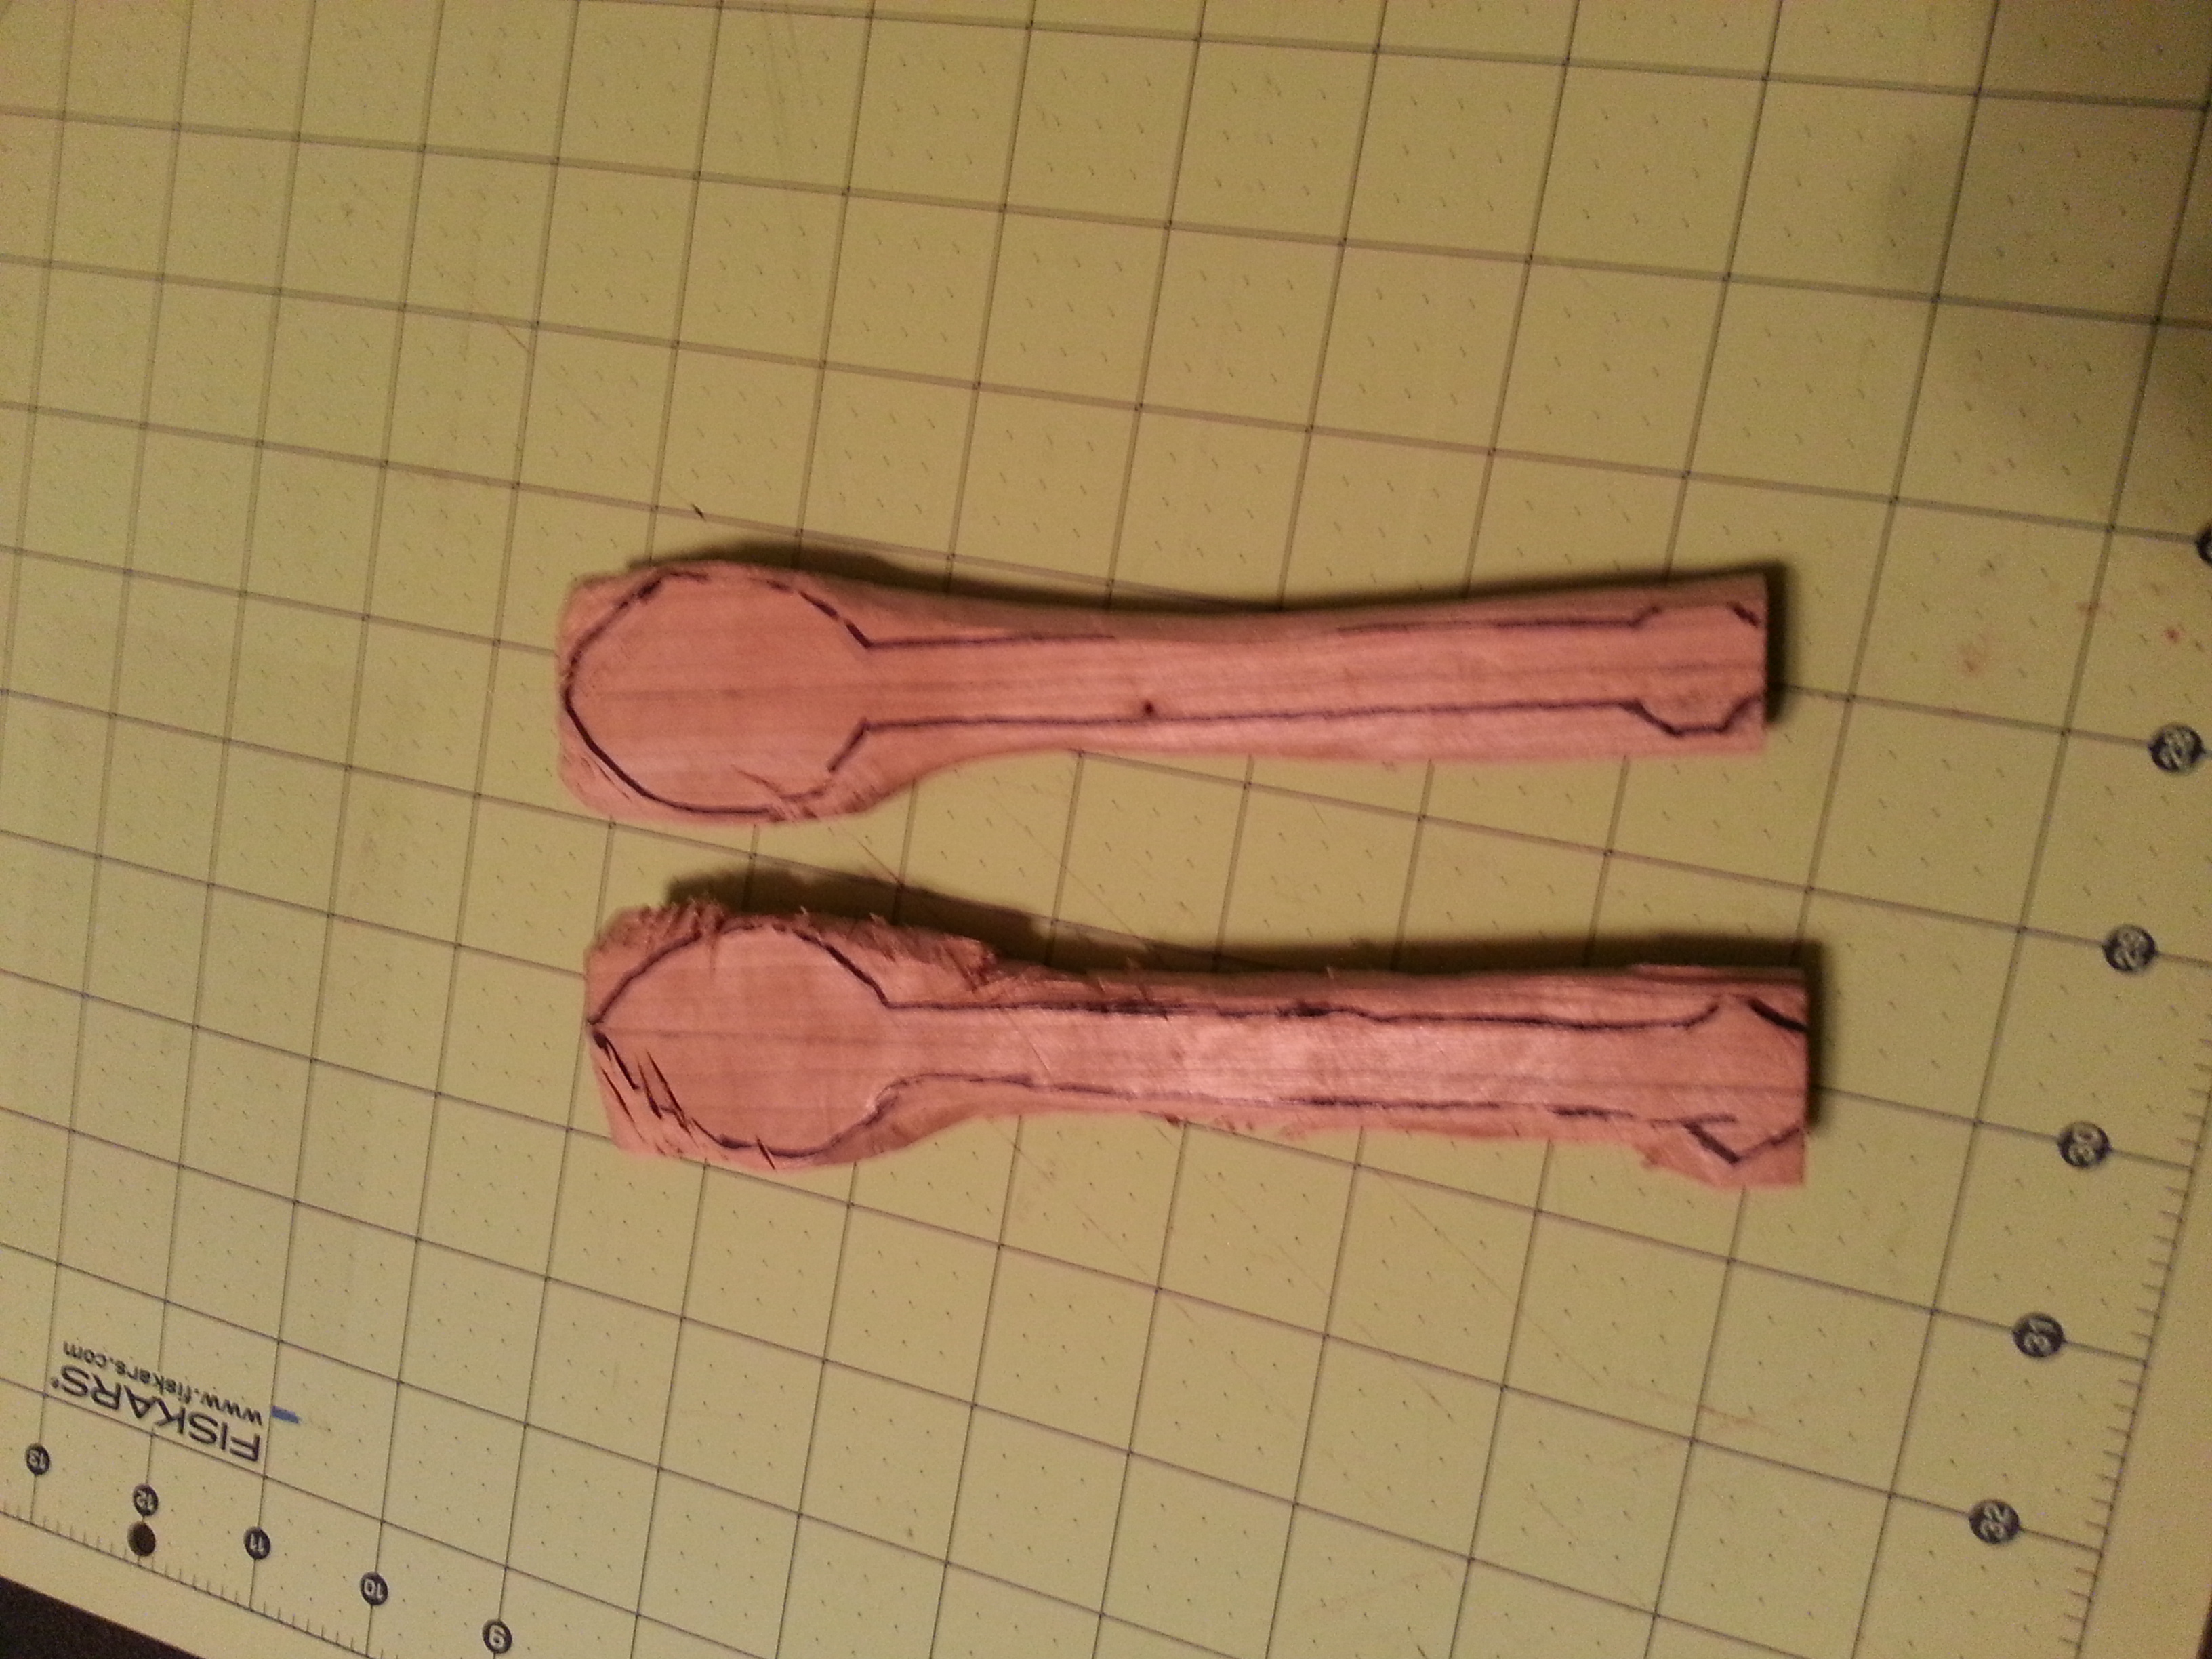
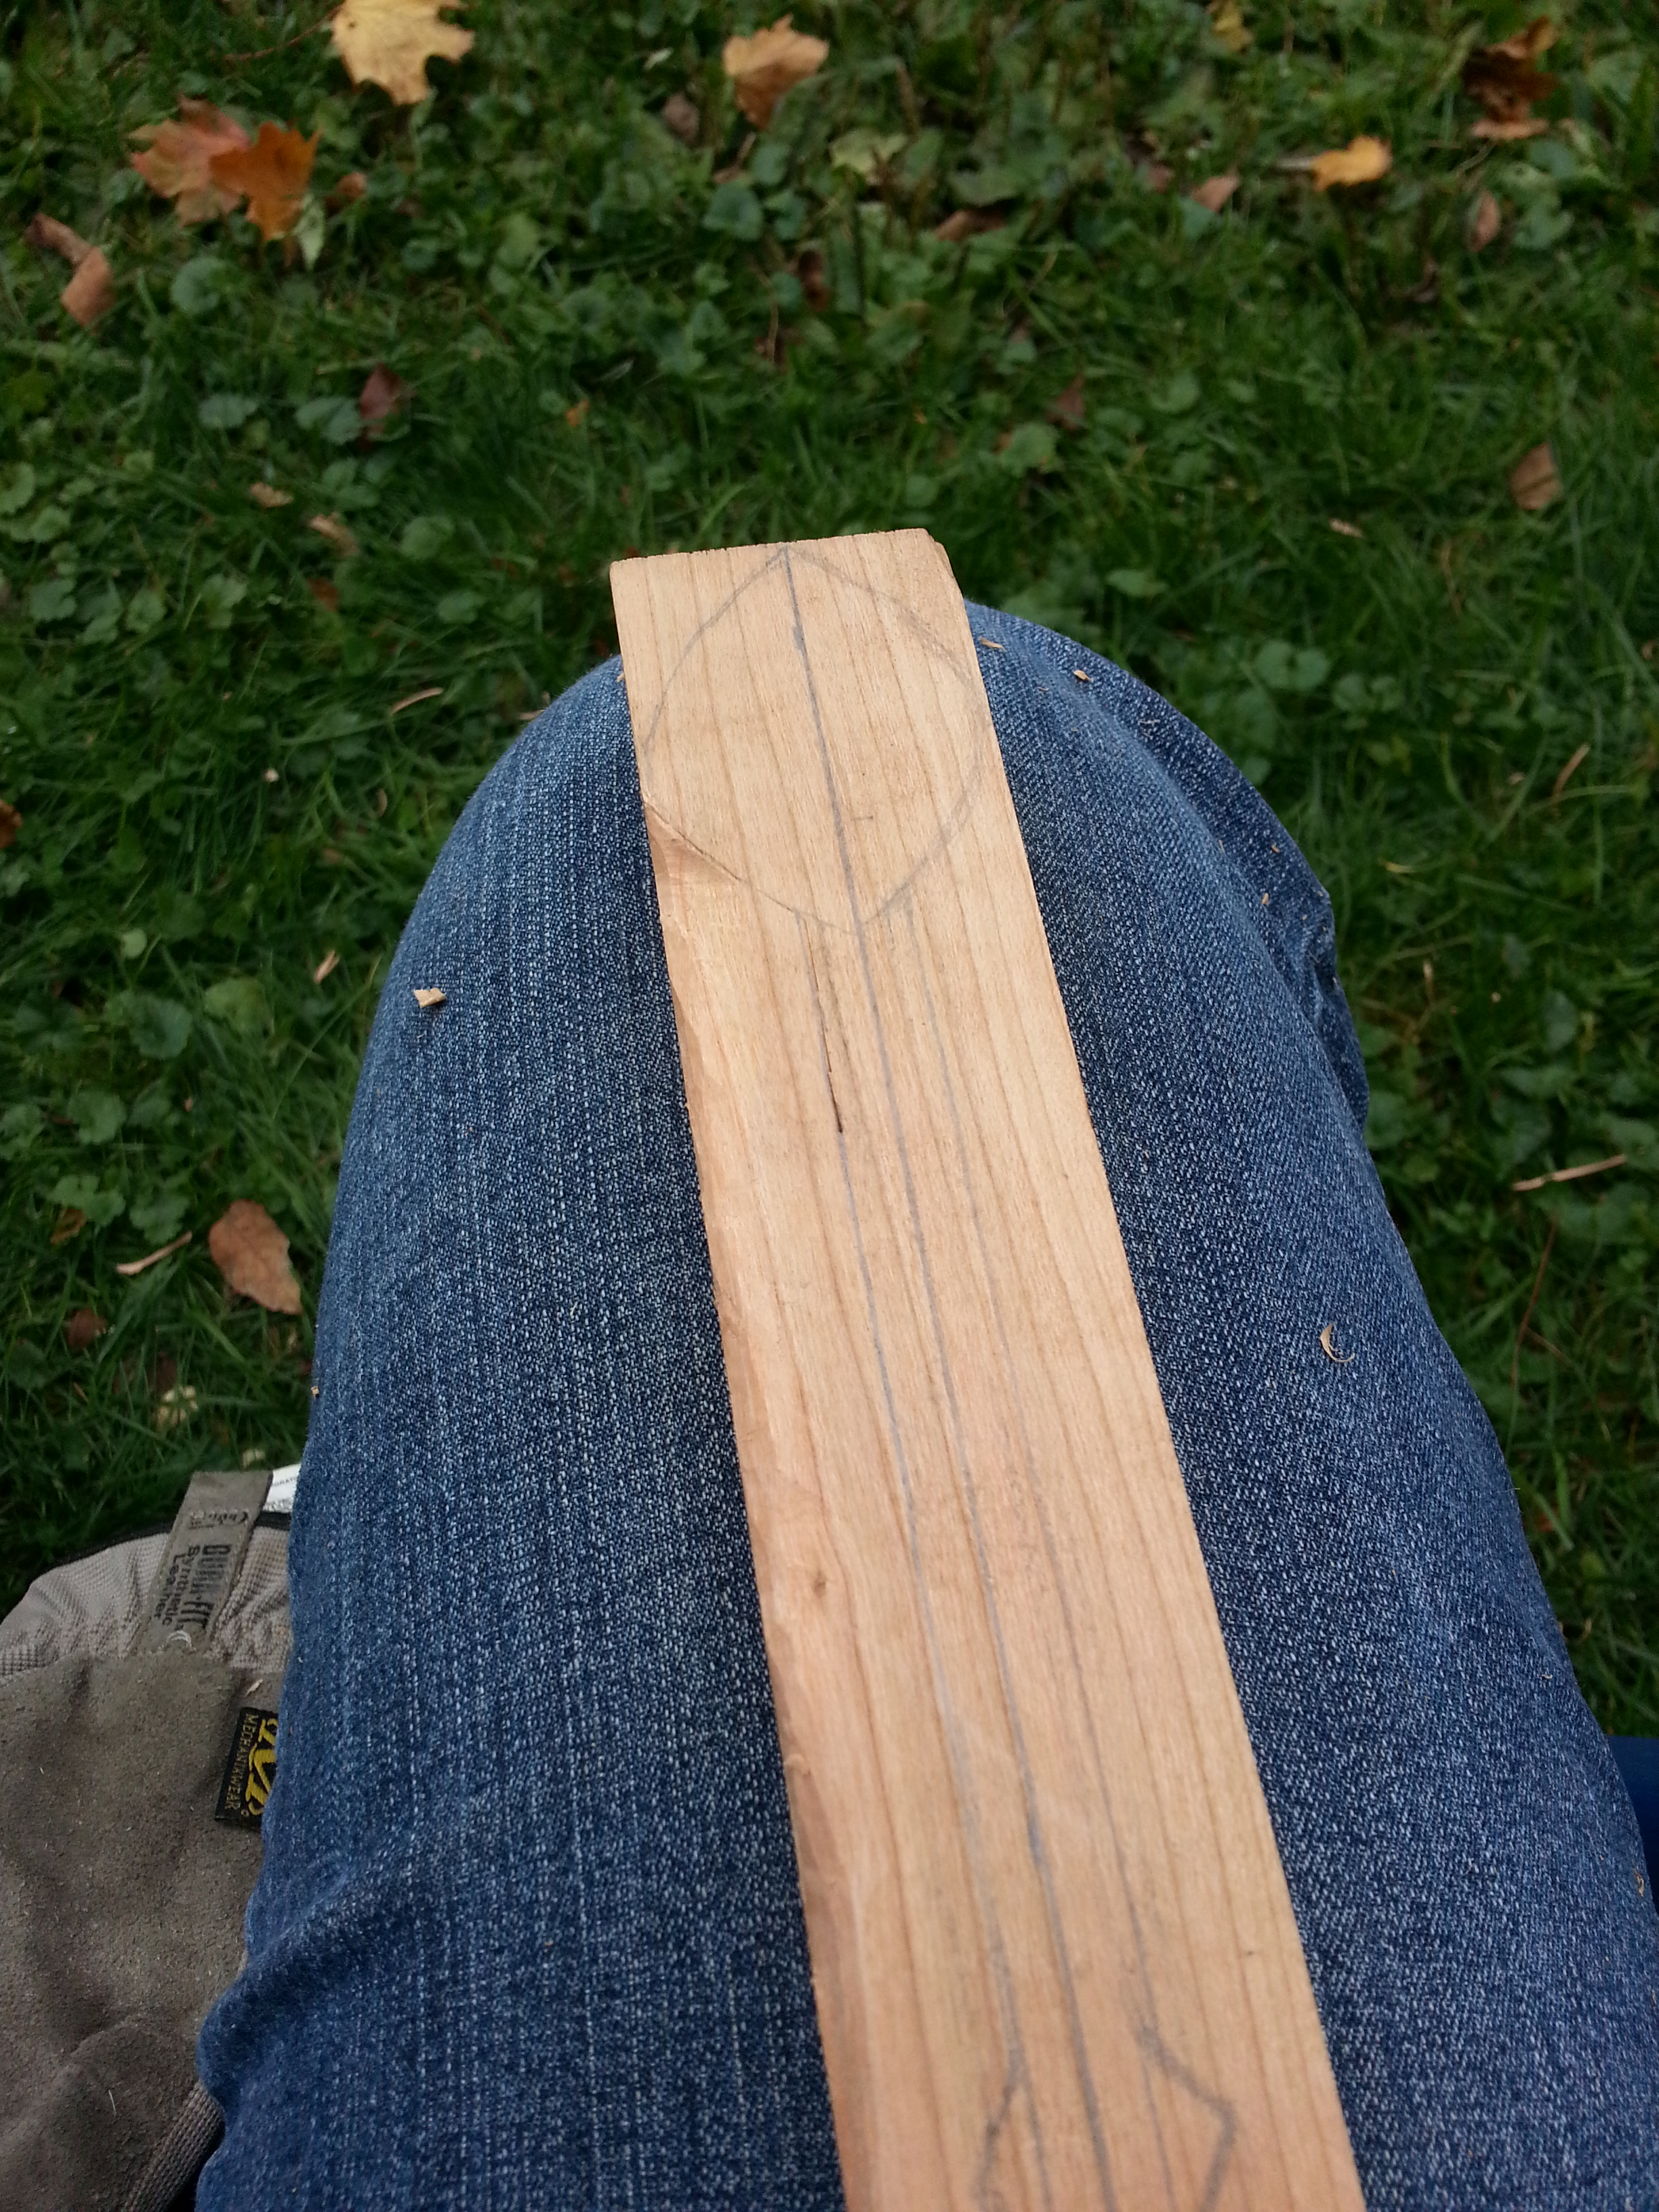
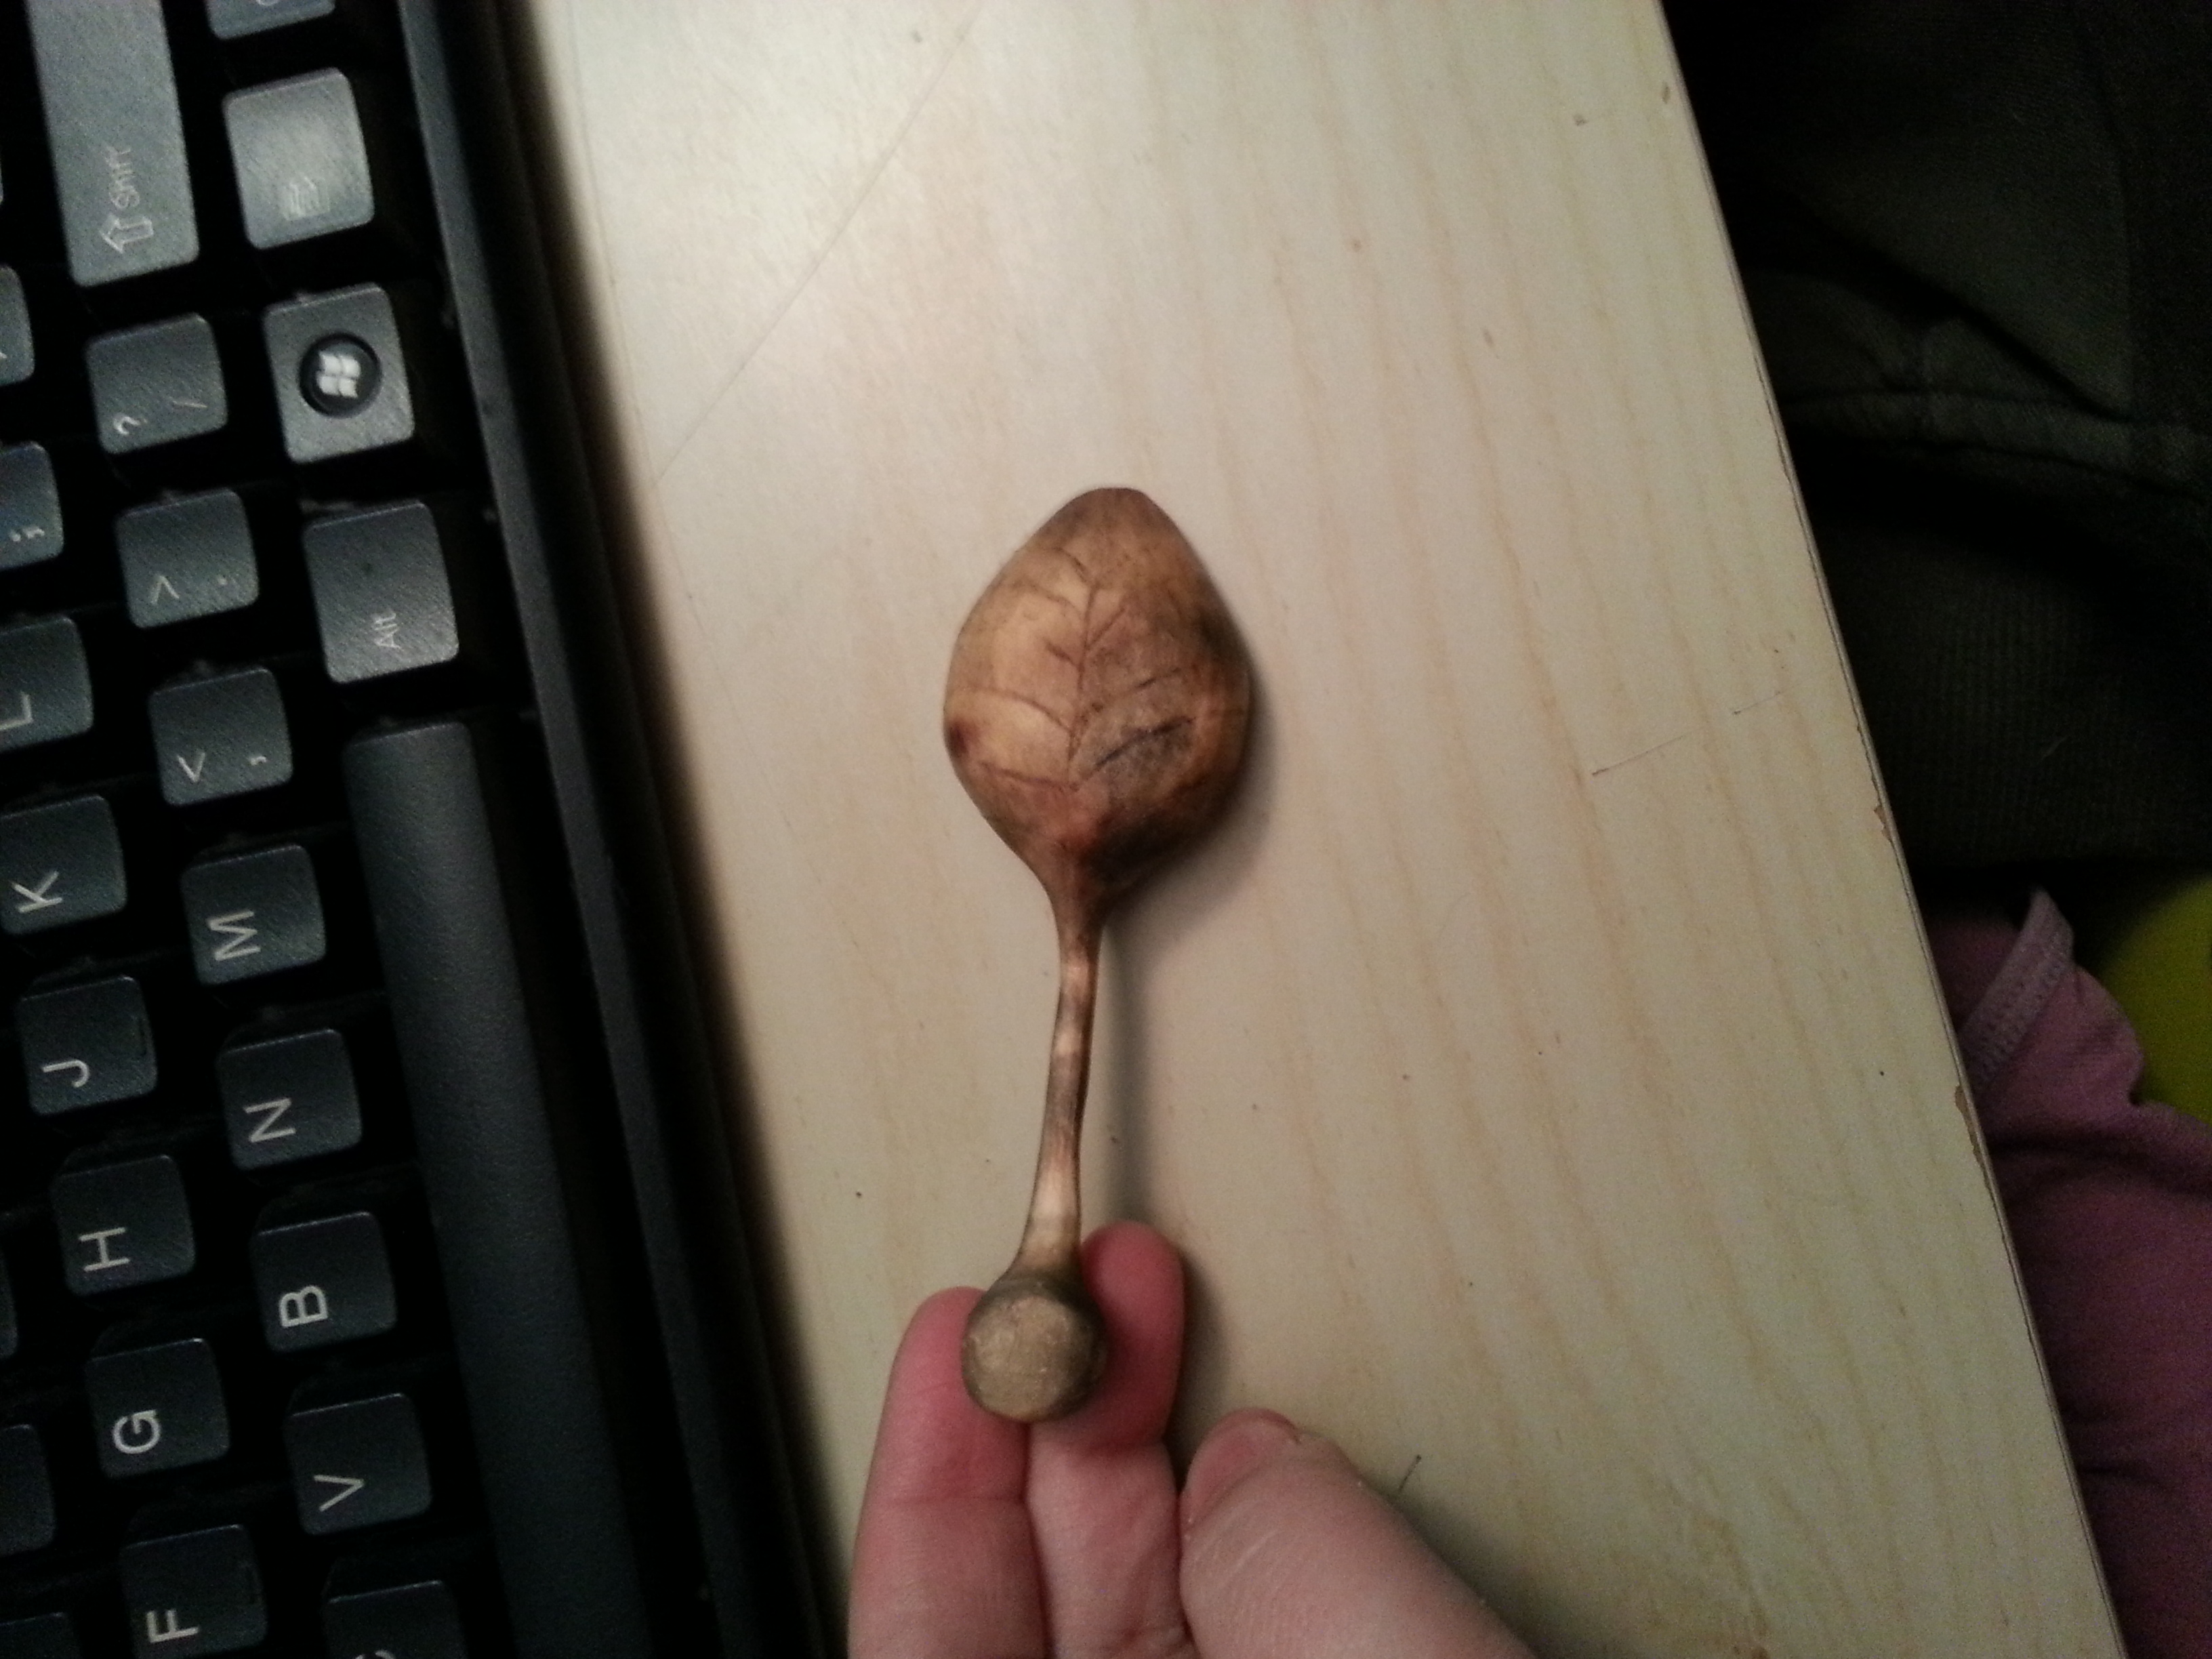
The first suggestion was, make a feather, so I started sketching feathers but they all just looked wrong with the grain, so I decided to go with a leaf, my old standby…
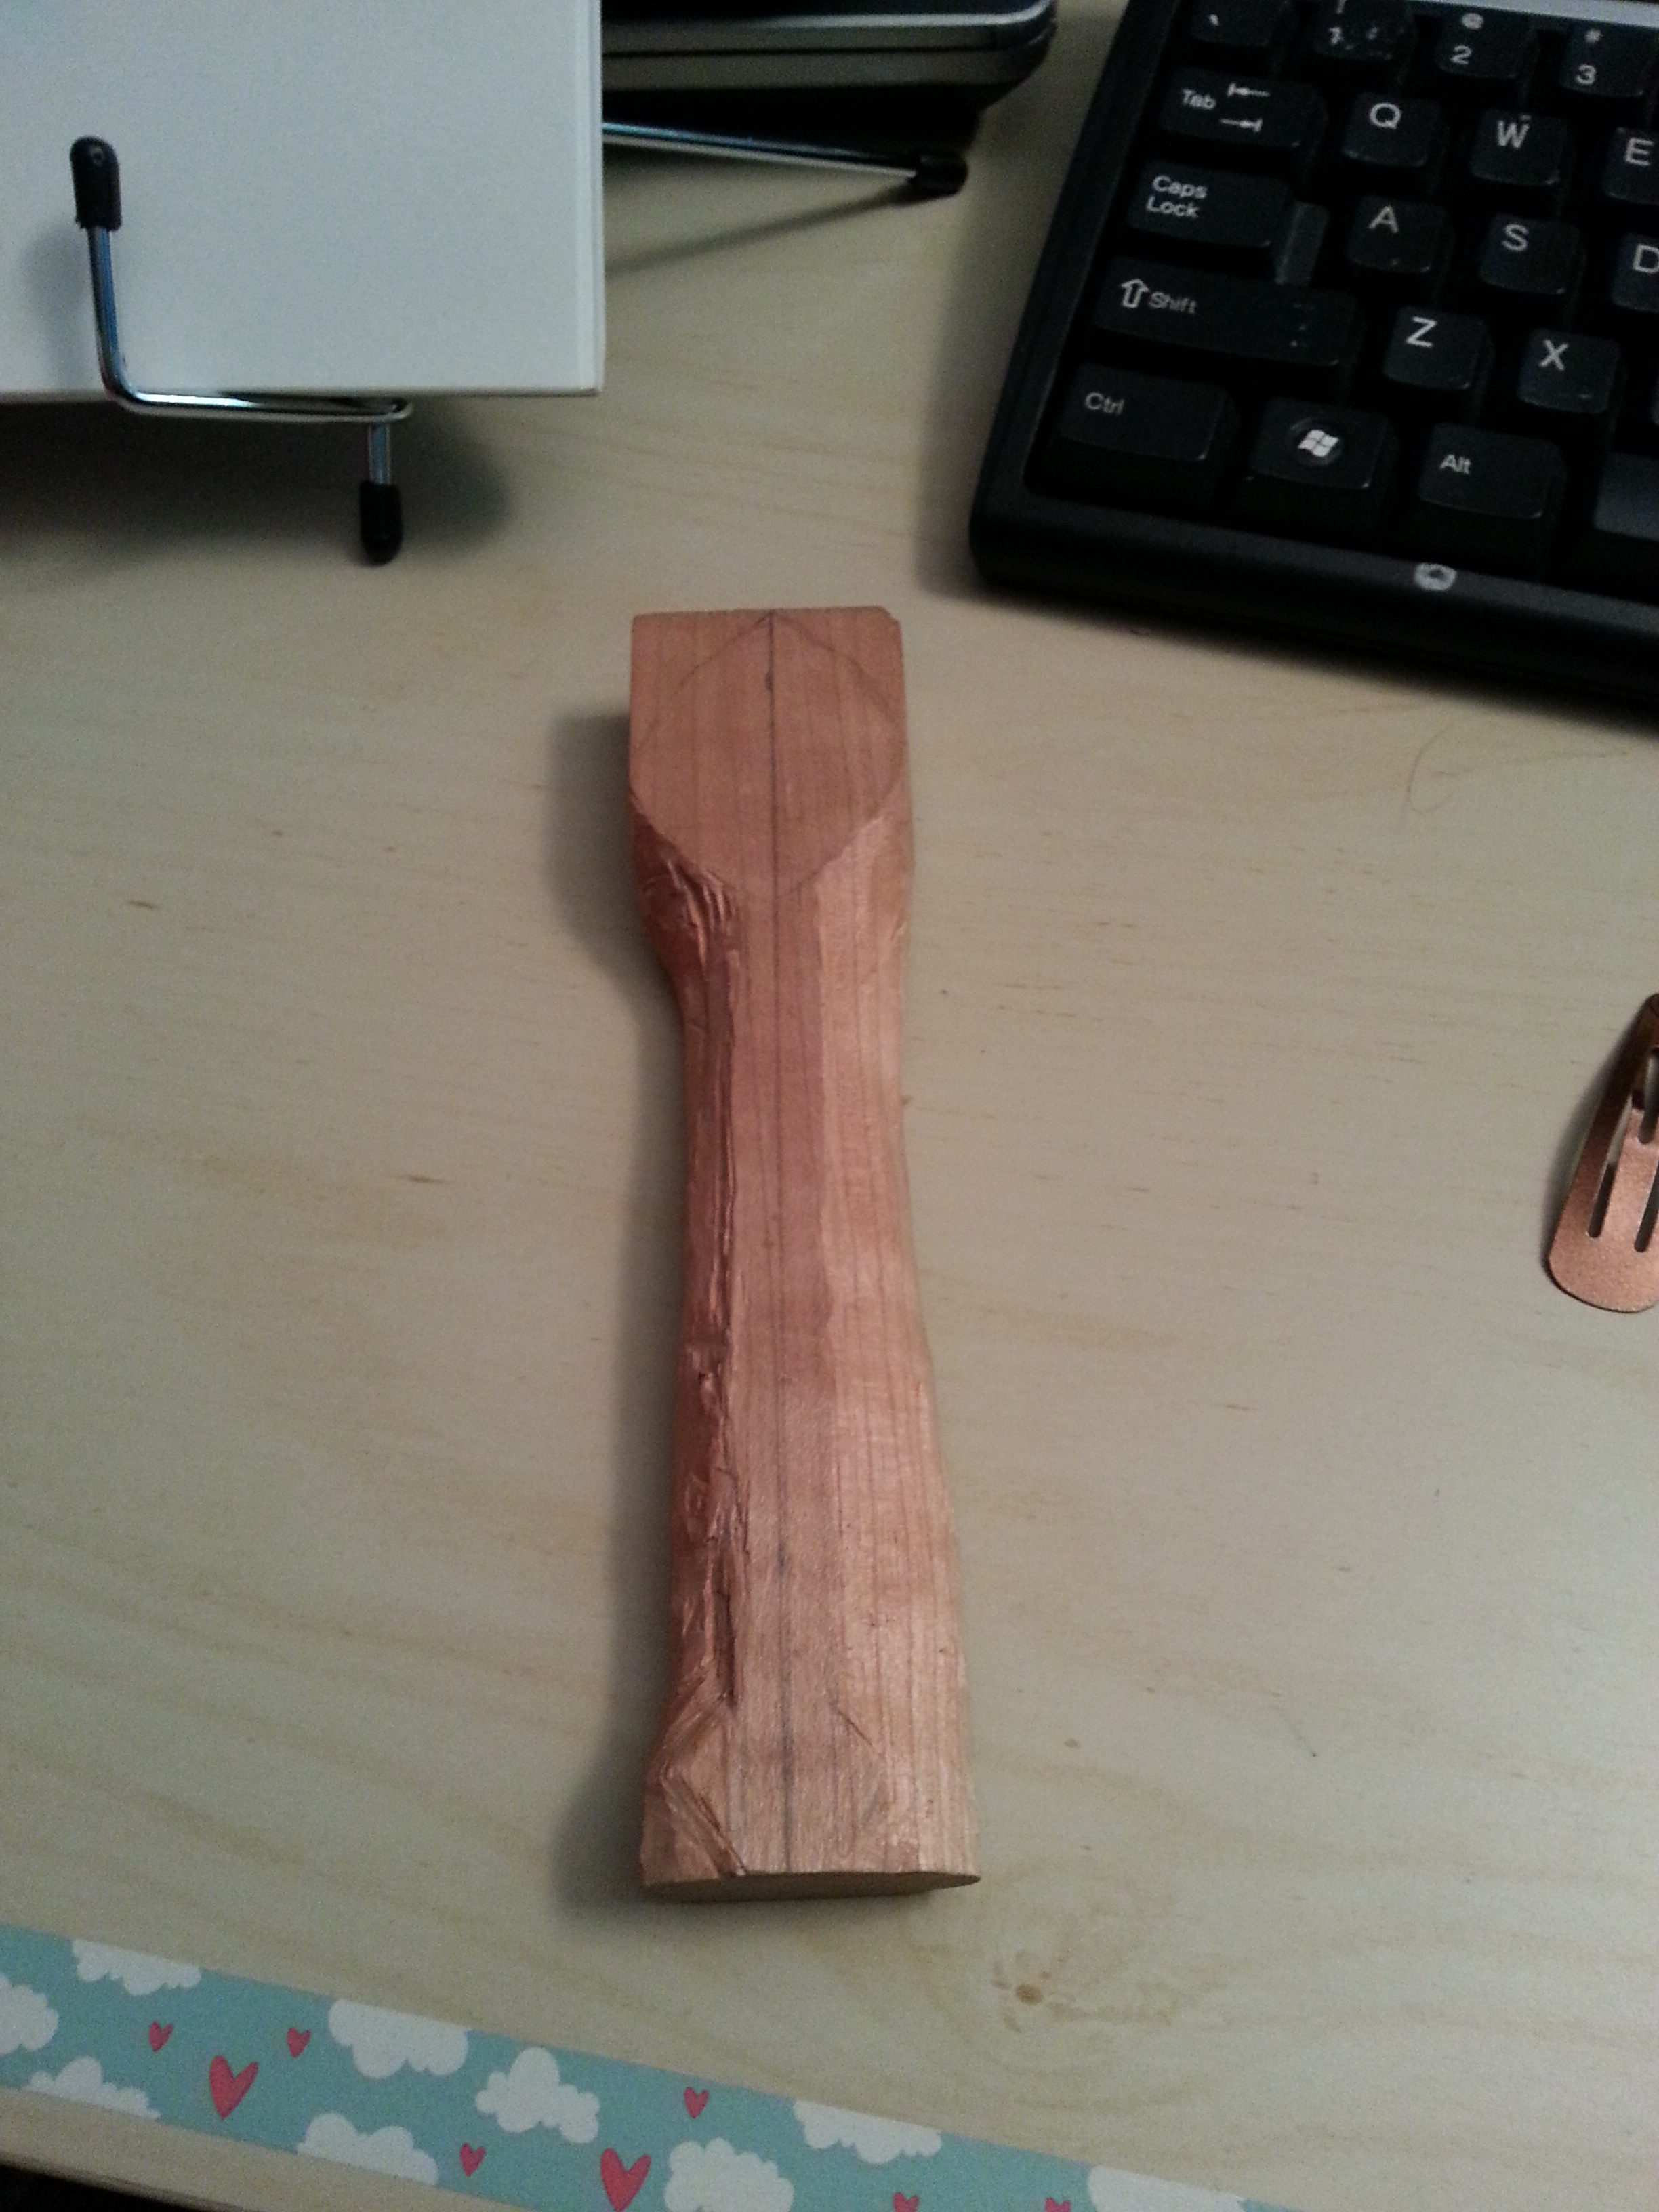
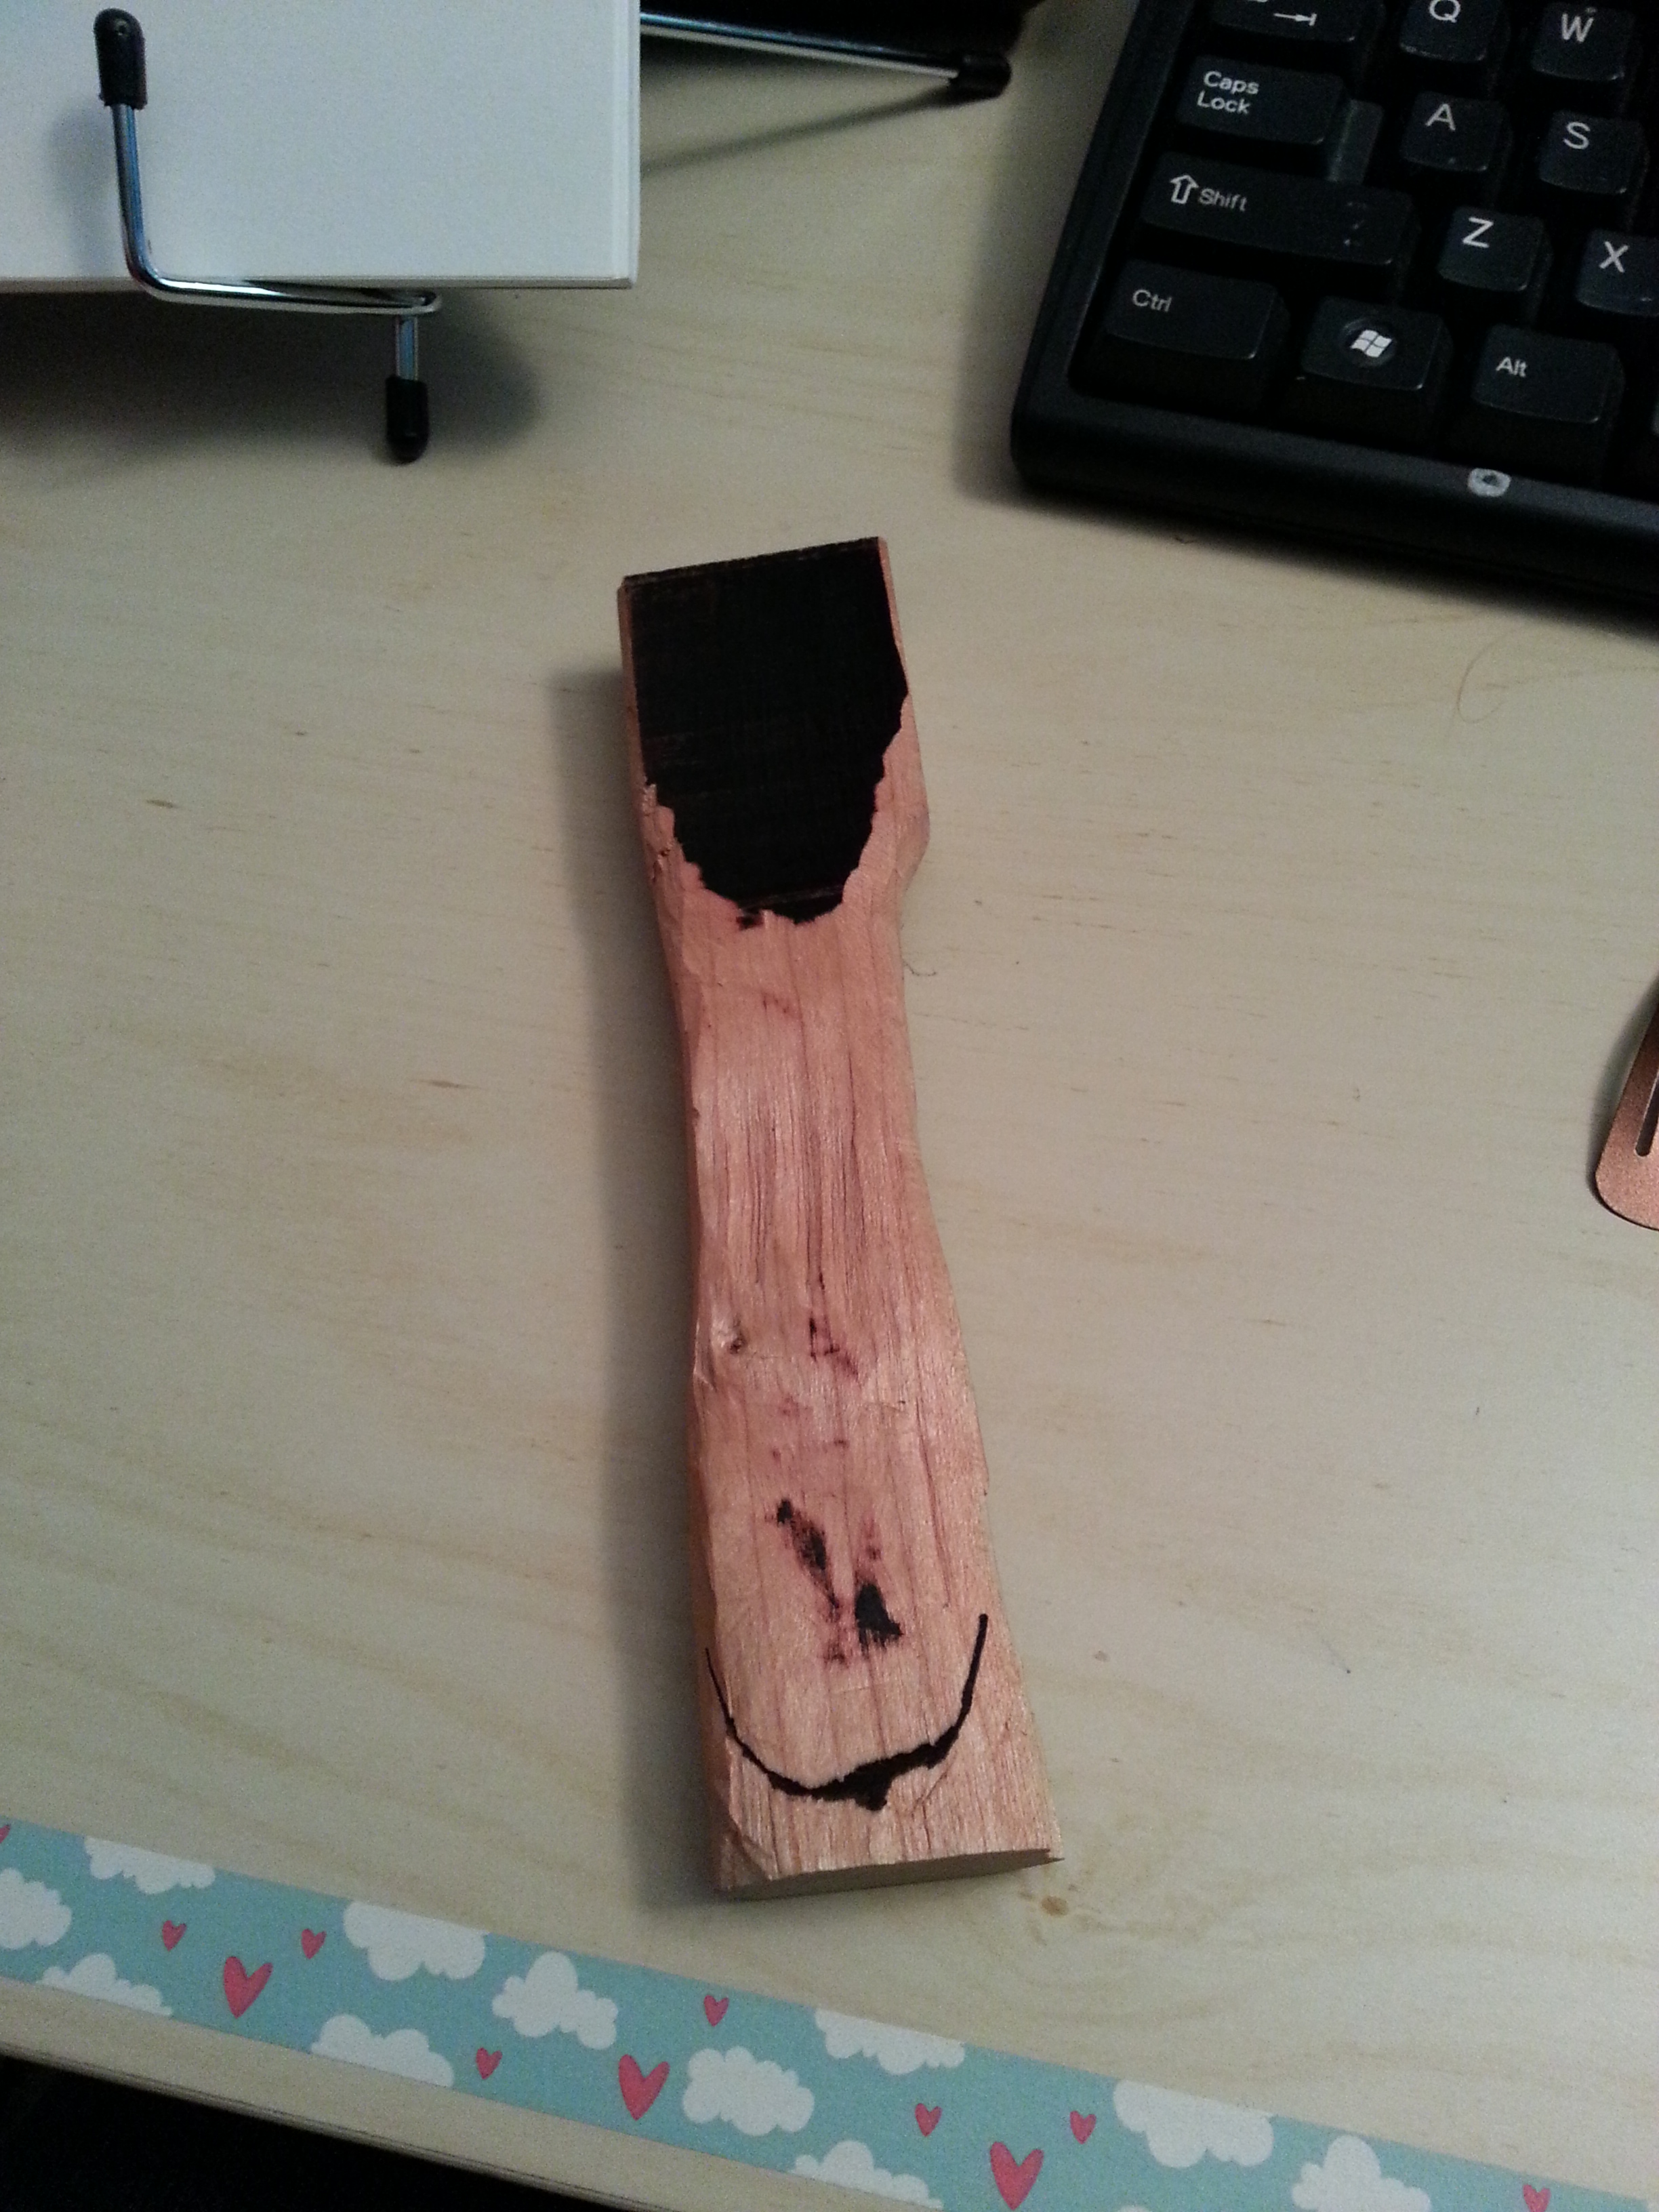
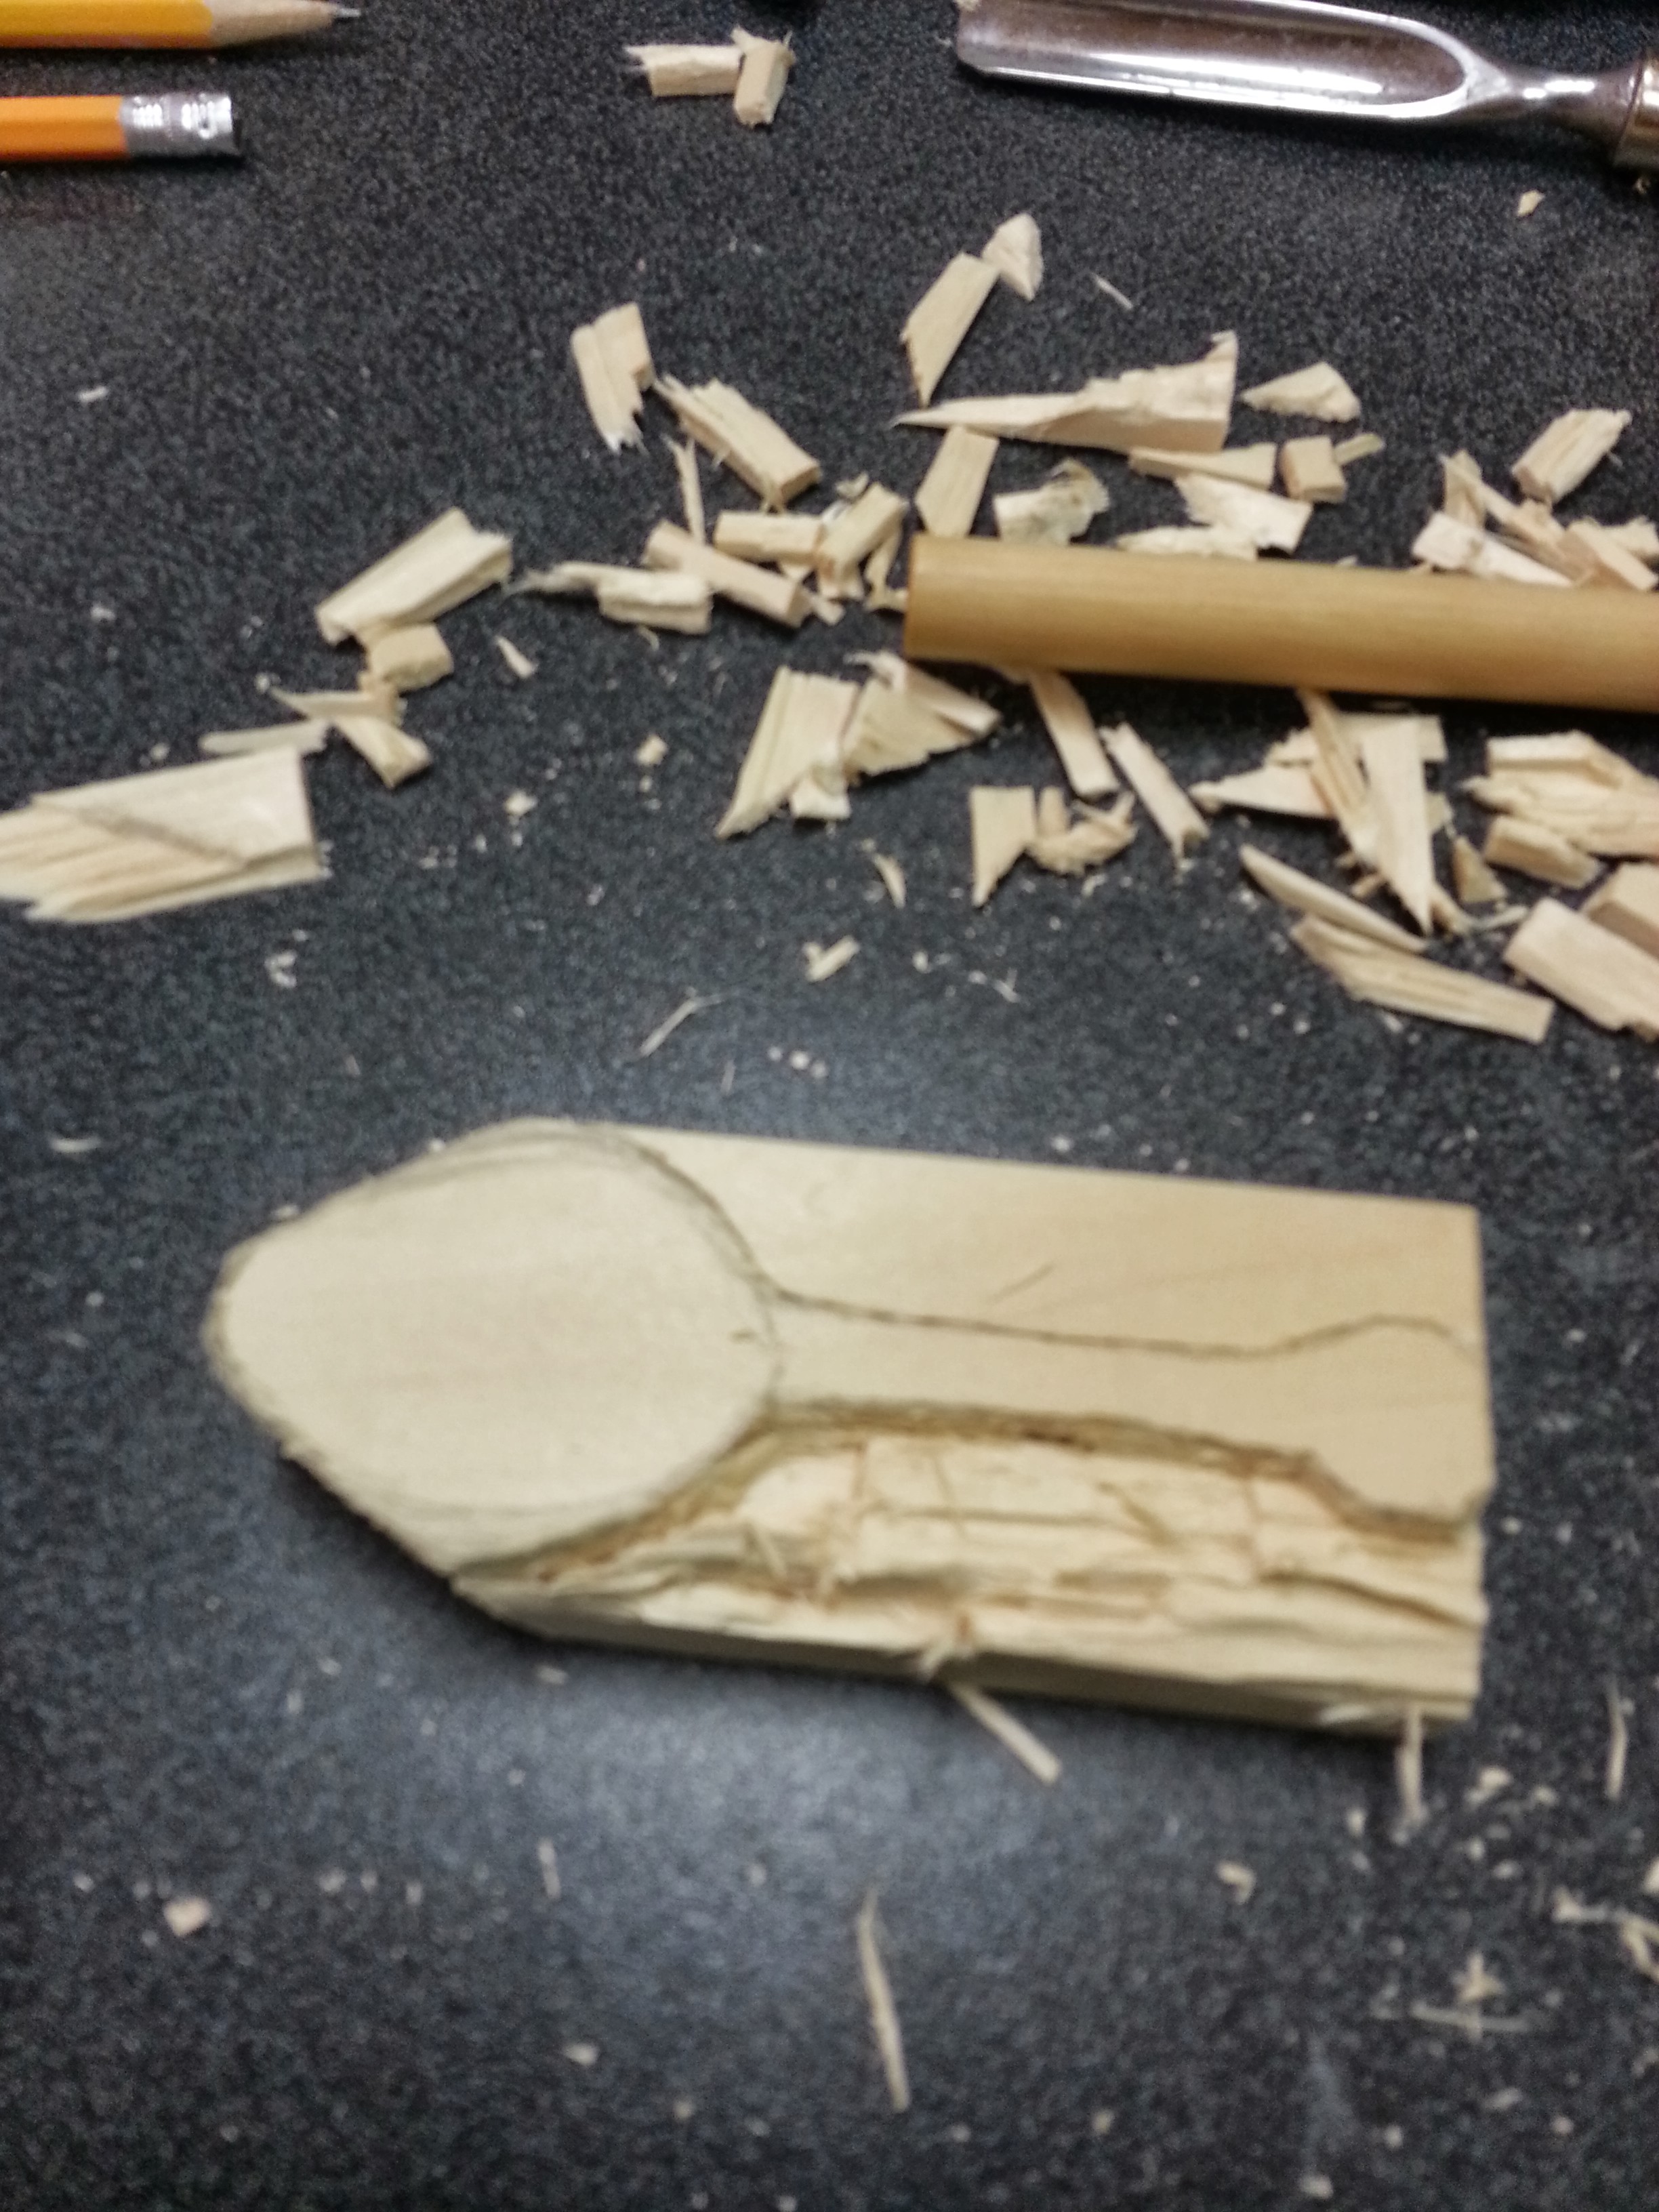
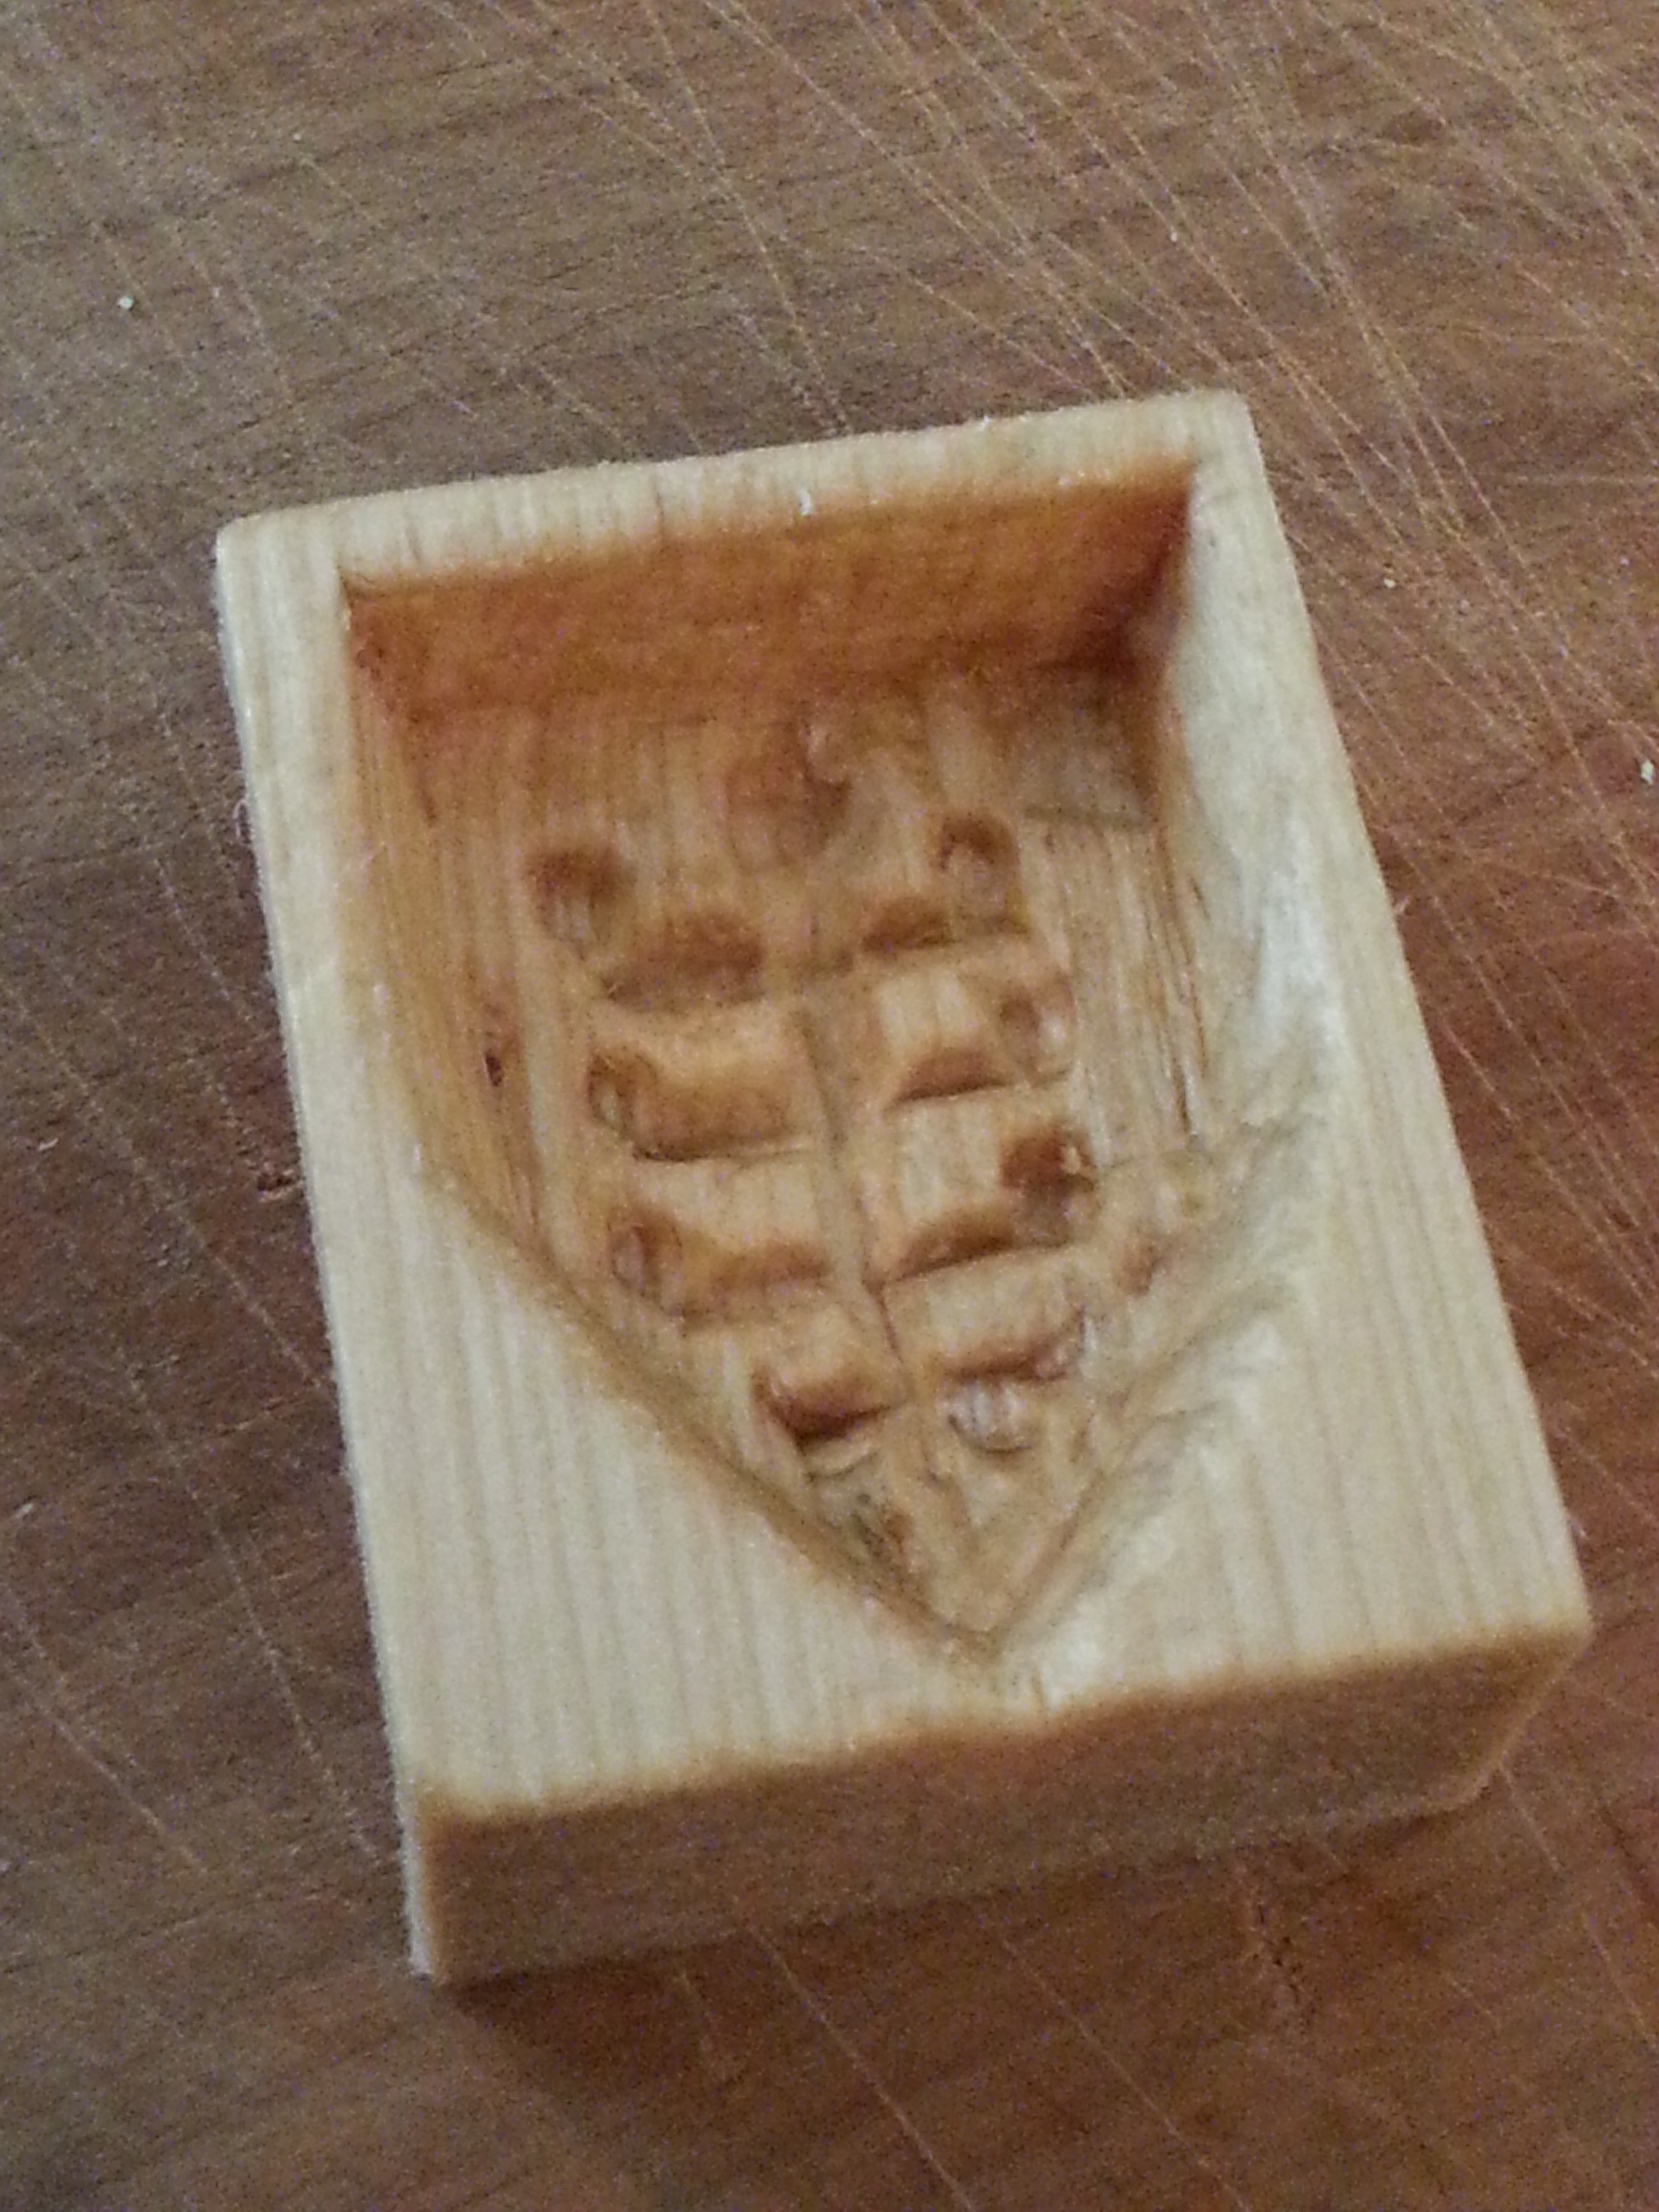
However the wood was significantly harder than expected and so carving was a much less detailed process than I am used to (which is to be expected with wood, I just didn’t expect quite this much lack of detail). I finally made some progress using a dremel to essentially burn out the wood, first with a round tip, but that gouged more than I wanted, then with a large burr like tip, which worked pretty well but I was having trouble controlling it. I went to the sanding tip, and that allowed for a lot more control, but made it very slow going. Finally I had a general shape of a leaf cut so I went to pour some pewter into it, and it looked really rough, mostly from air bubbles, so it was suggested I make a channel to pour the pewter in (like we’ve been doing with the soap stone) and that was when I finally figured out how to use the dremel with control! So with that newly gained knowledge I smoothed out the mold and tried again.
I then went to work trying to make the sprue larger, and accidentally caught the paper towel in the dremel, sending my mold flying across the room, and the dremel wrapped tightly in the towel. I was kind of amazed I had the good sense to hold it away from me, and then turn it off within a second of it happening instead of panicking at all.
Now with a larger sprue, and with the mold clamped together in two places, we poured again
It kinda looks like a whale to me! or maybe a fish.. I’m going to take some of this upcoming long weekend to try carving with my own dremel and wood working tools on some bass wood and see how that works instead. (Purely by coincidence, I had interlibraryloan send me 2 books on beginning wood carving that I picked up today, so I should be good for a little bit)
What I’ve been up to this week
23 Aug 2013 3 Comments
in Usables, Wearables Tags: chicken, leaf, pewter, weekly progress
Monday night I made the rough base of Caitrin’s costume for Shadows of Amun, which is basically a large black underdress. The linen was bought at pennsic from Carolina Cottons, and is so soft and drapes wonderfully. I’m very jealous of her costume.
Tuesday night I went to Alex and Joy’s for dinner and worked on my tiny populous badge, which should be done by tonight. I am so eager for that to be done with!
Wednesday night I went to Rozi’s for pewter class. Last week’s class was pretty much a disaster of soapstone breakage. This week Rozi made a back for my mold before I got there, so I only had to finish the backside of my chicken tokens. 
You can see which ones came before the others by the styling of the wings and the speckledness. I haven’t had a chance to clean them up yet, perhaps on Sunday if the weather is nice.
Once those were at a point where I liked them I decided to quickly make a button for Caitrin based on the crequier that is on her device:
The one on the left was the first one, which is why it has more texture – the mold wasn’t hot enough yet for a nice smooth finish. The one on the right shows much more of the detail. I hope to clean it up a little and make the leaves more distinct this weekend, but not too bad for about 30 minutes of work.
And by pure luck I happened to cast two perfect leaf buttons that were on the same mold. I wasn’t trying to get these, but they came out so well I decided to keep them:
Tonight I’m going to see Great Big Sea in Lowell, and I’m going early to try to get a good blanket space, so I’ll have plenty of time to finish my populace badge and perhaps start on the drawn/cut work pincushion I am planning on making.
It’s like the cheese press and cheese fridge were made for each other!
11 Aug 2013 Leave a comment
in Edibles, Usables Tags: Cheese, cheese fridge, Cheese press, pantry, press
Cat free pantry accommodations
Tomorrow’s project (since I didn’t get to it today) Preserved lemons!
The pressing issue – does it work?
11 Aug 2013 Leave a comment
in Edibles, Usables Tags: Cheese, Cheese press, press
Finally time to put the press through its paces.
First thing I’ll fix, make the holes on the weight plate bigger, as they get moved a lot.
But all and all it seems to work well:
This is the first press, so it’s still really thick, it’s on its final press right now and it’s actually inside the mold now.
I created a drain plate using a meat cutting board (yay for drainage channels!) and a towel to sop up the whey as it comes out. There’s also a plastic drying sheet between the mold and the cutting board which is supposed to help with the draining. It’s what it will dry on once it’s out of the mold as well. I put one of the extra weights behind to raise it up a little to help the whey drain in the direction of the towel. Manchego doesn’t drain terribly much after the first pressing because the curds are so small and packed in, I’ll probably need a more robust drainage system for other cheeses.
Top view, 15, well actually 15.79 lbs but close enough. 
We need a cat proofing plan though… I think the press will go in the pantry for the night.
The last press is 30 pounds for 6 hours, but considering it started at 7pm and I plan to be in bed by 10pm, It’s going to get about 10 hours at 30 pounds and then tomorrow when I wake up, I’ll toss it in the brine.


Recent comments